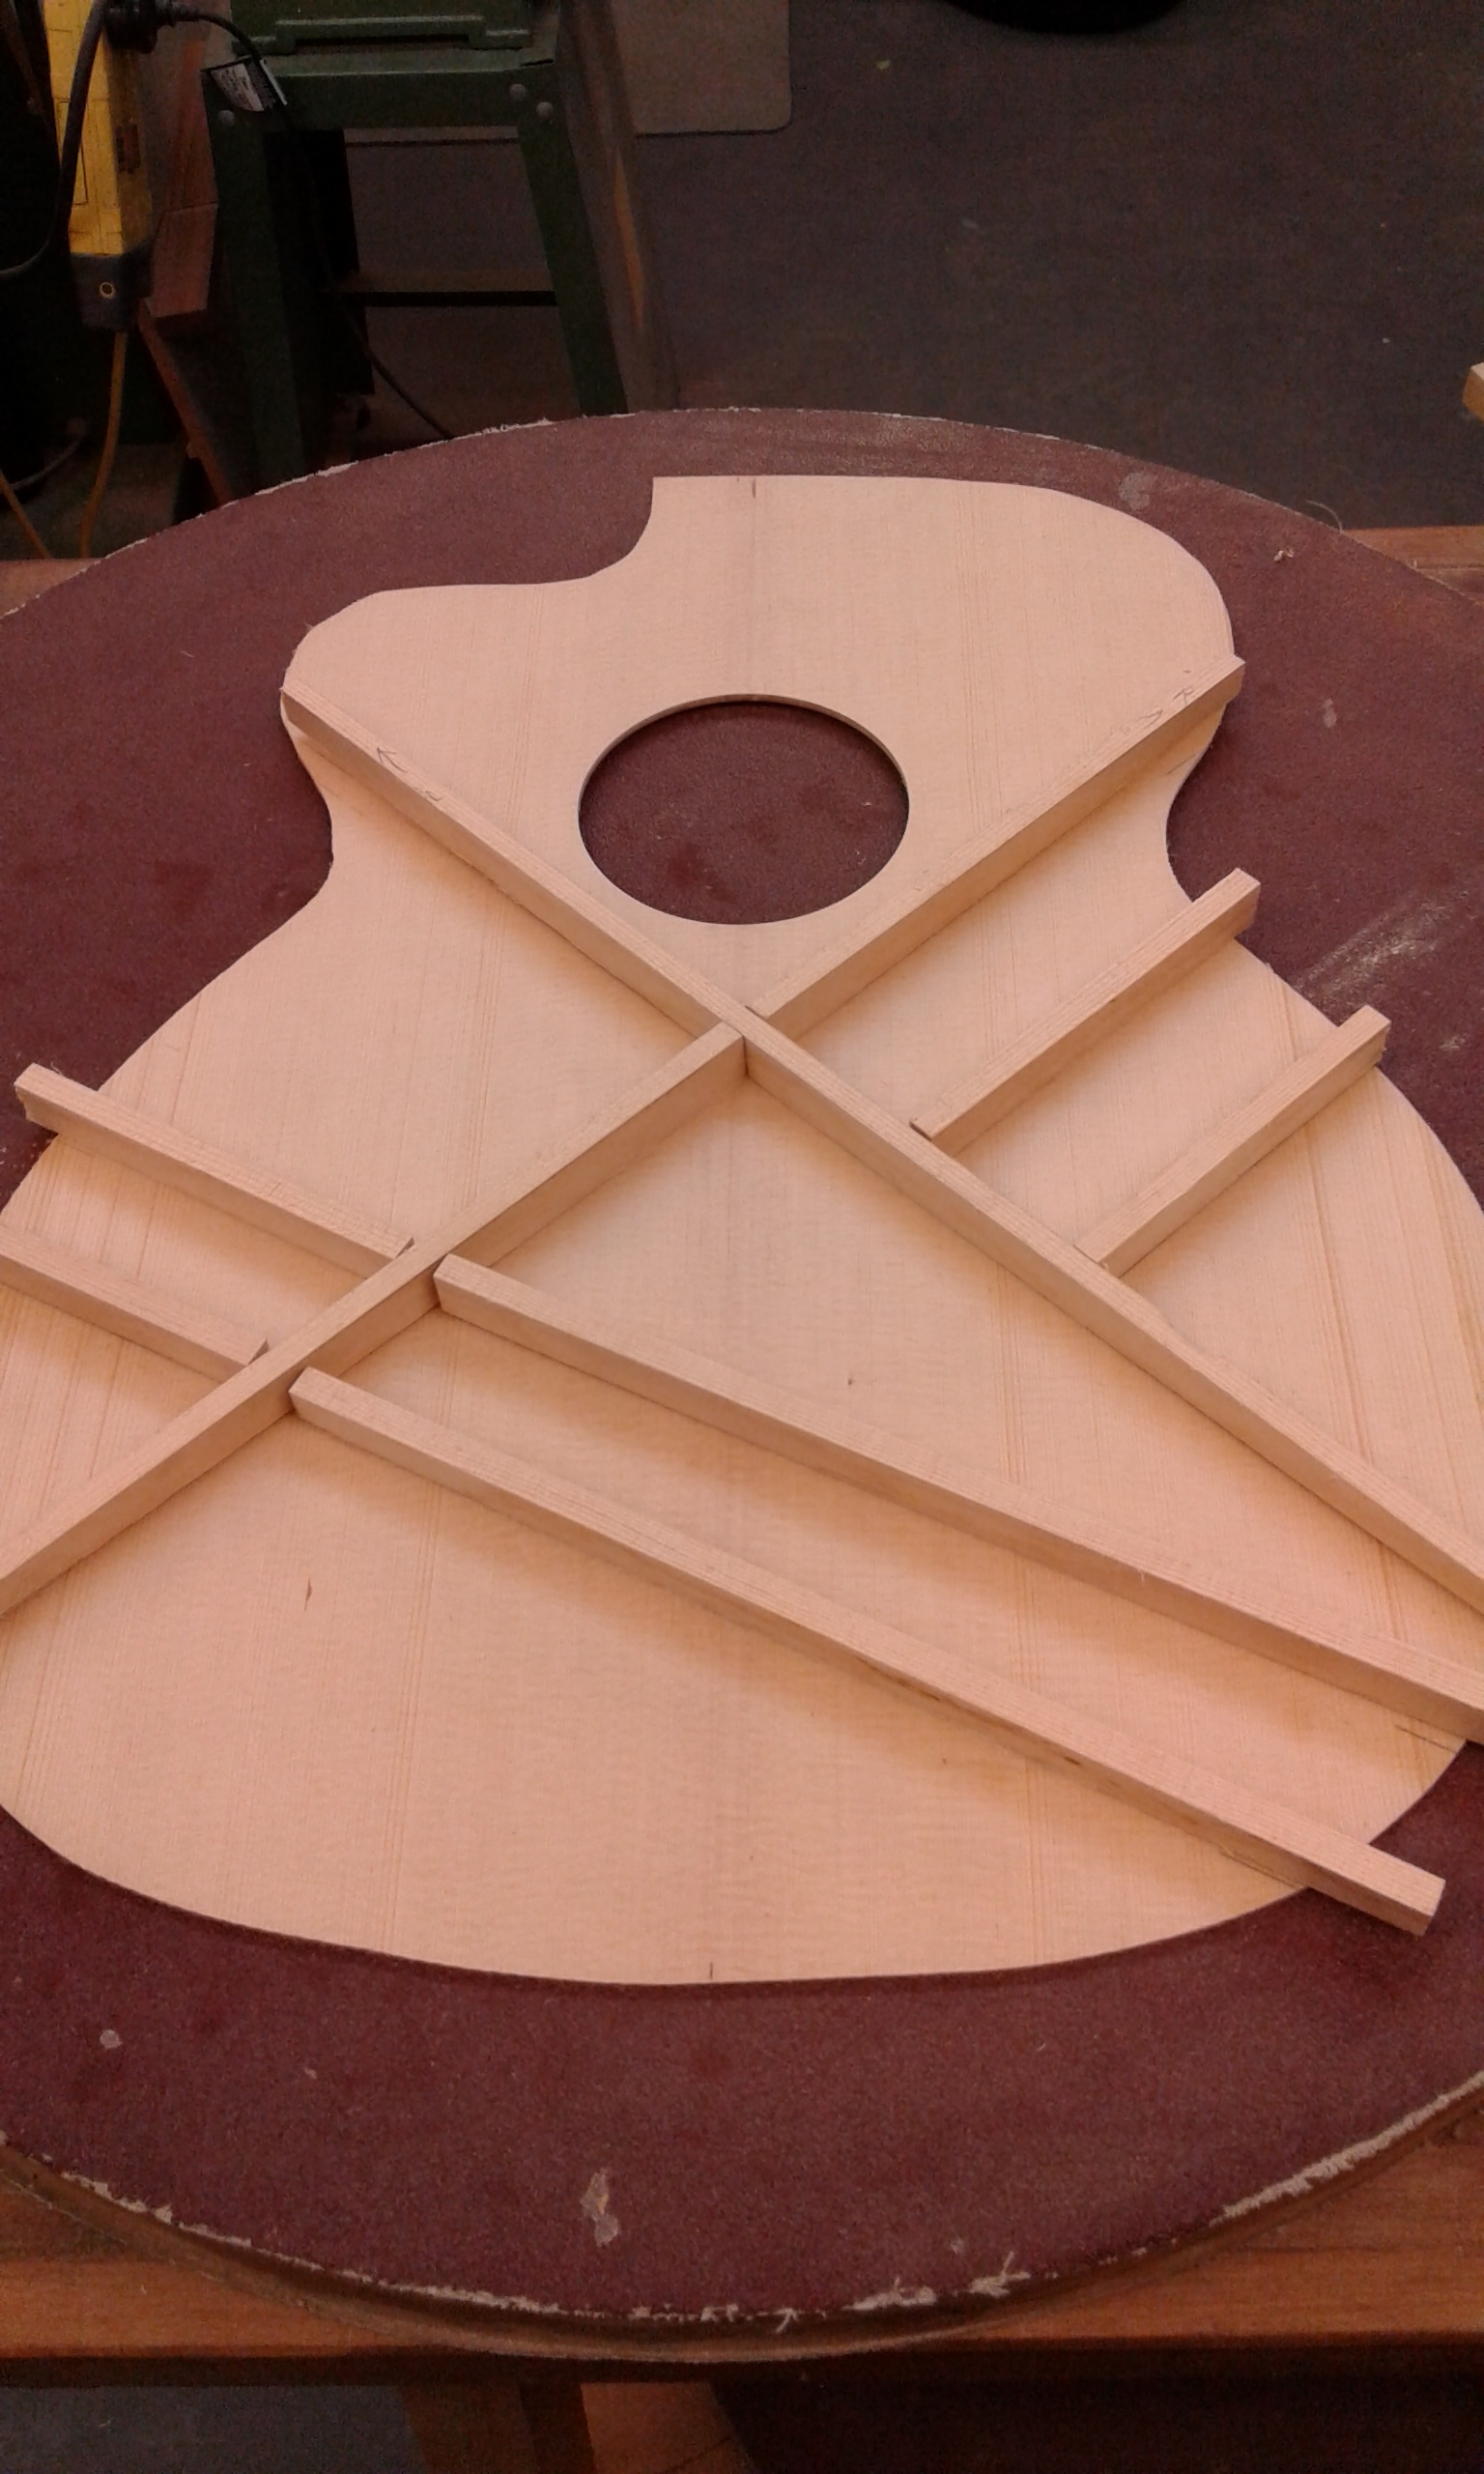
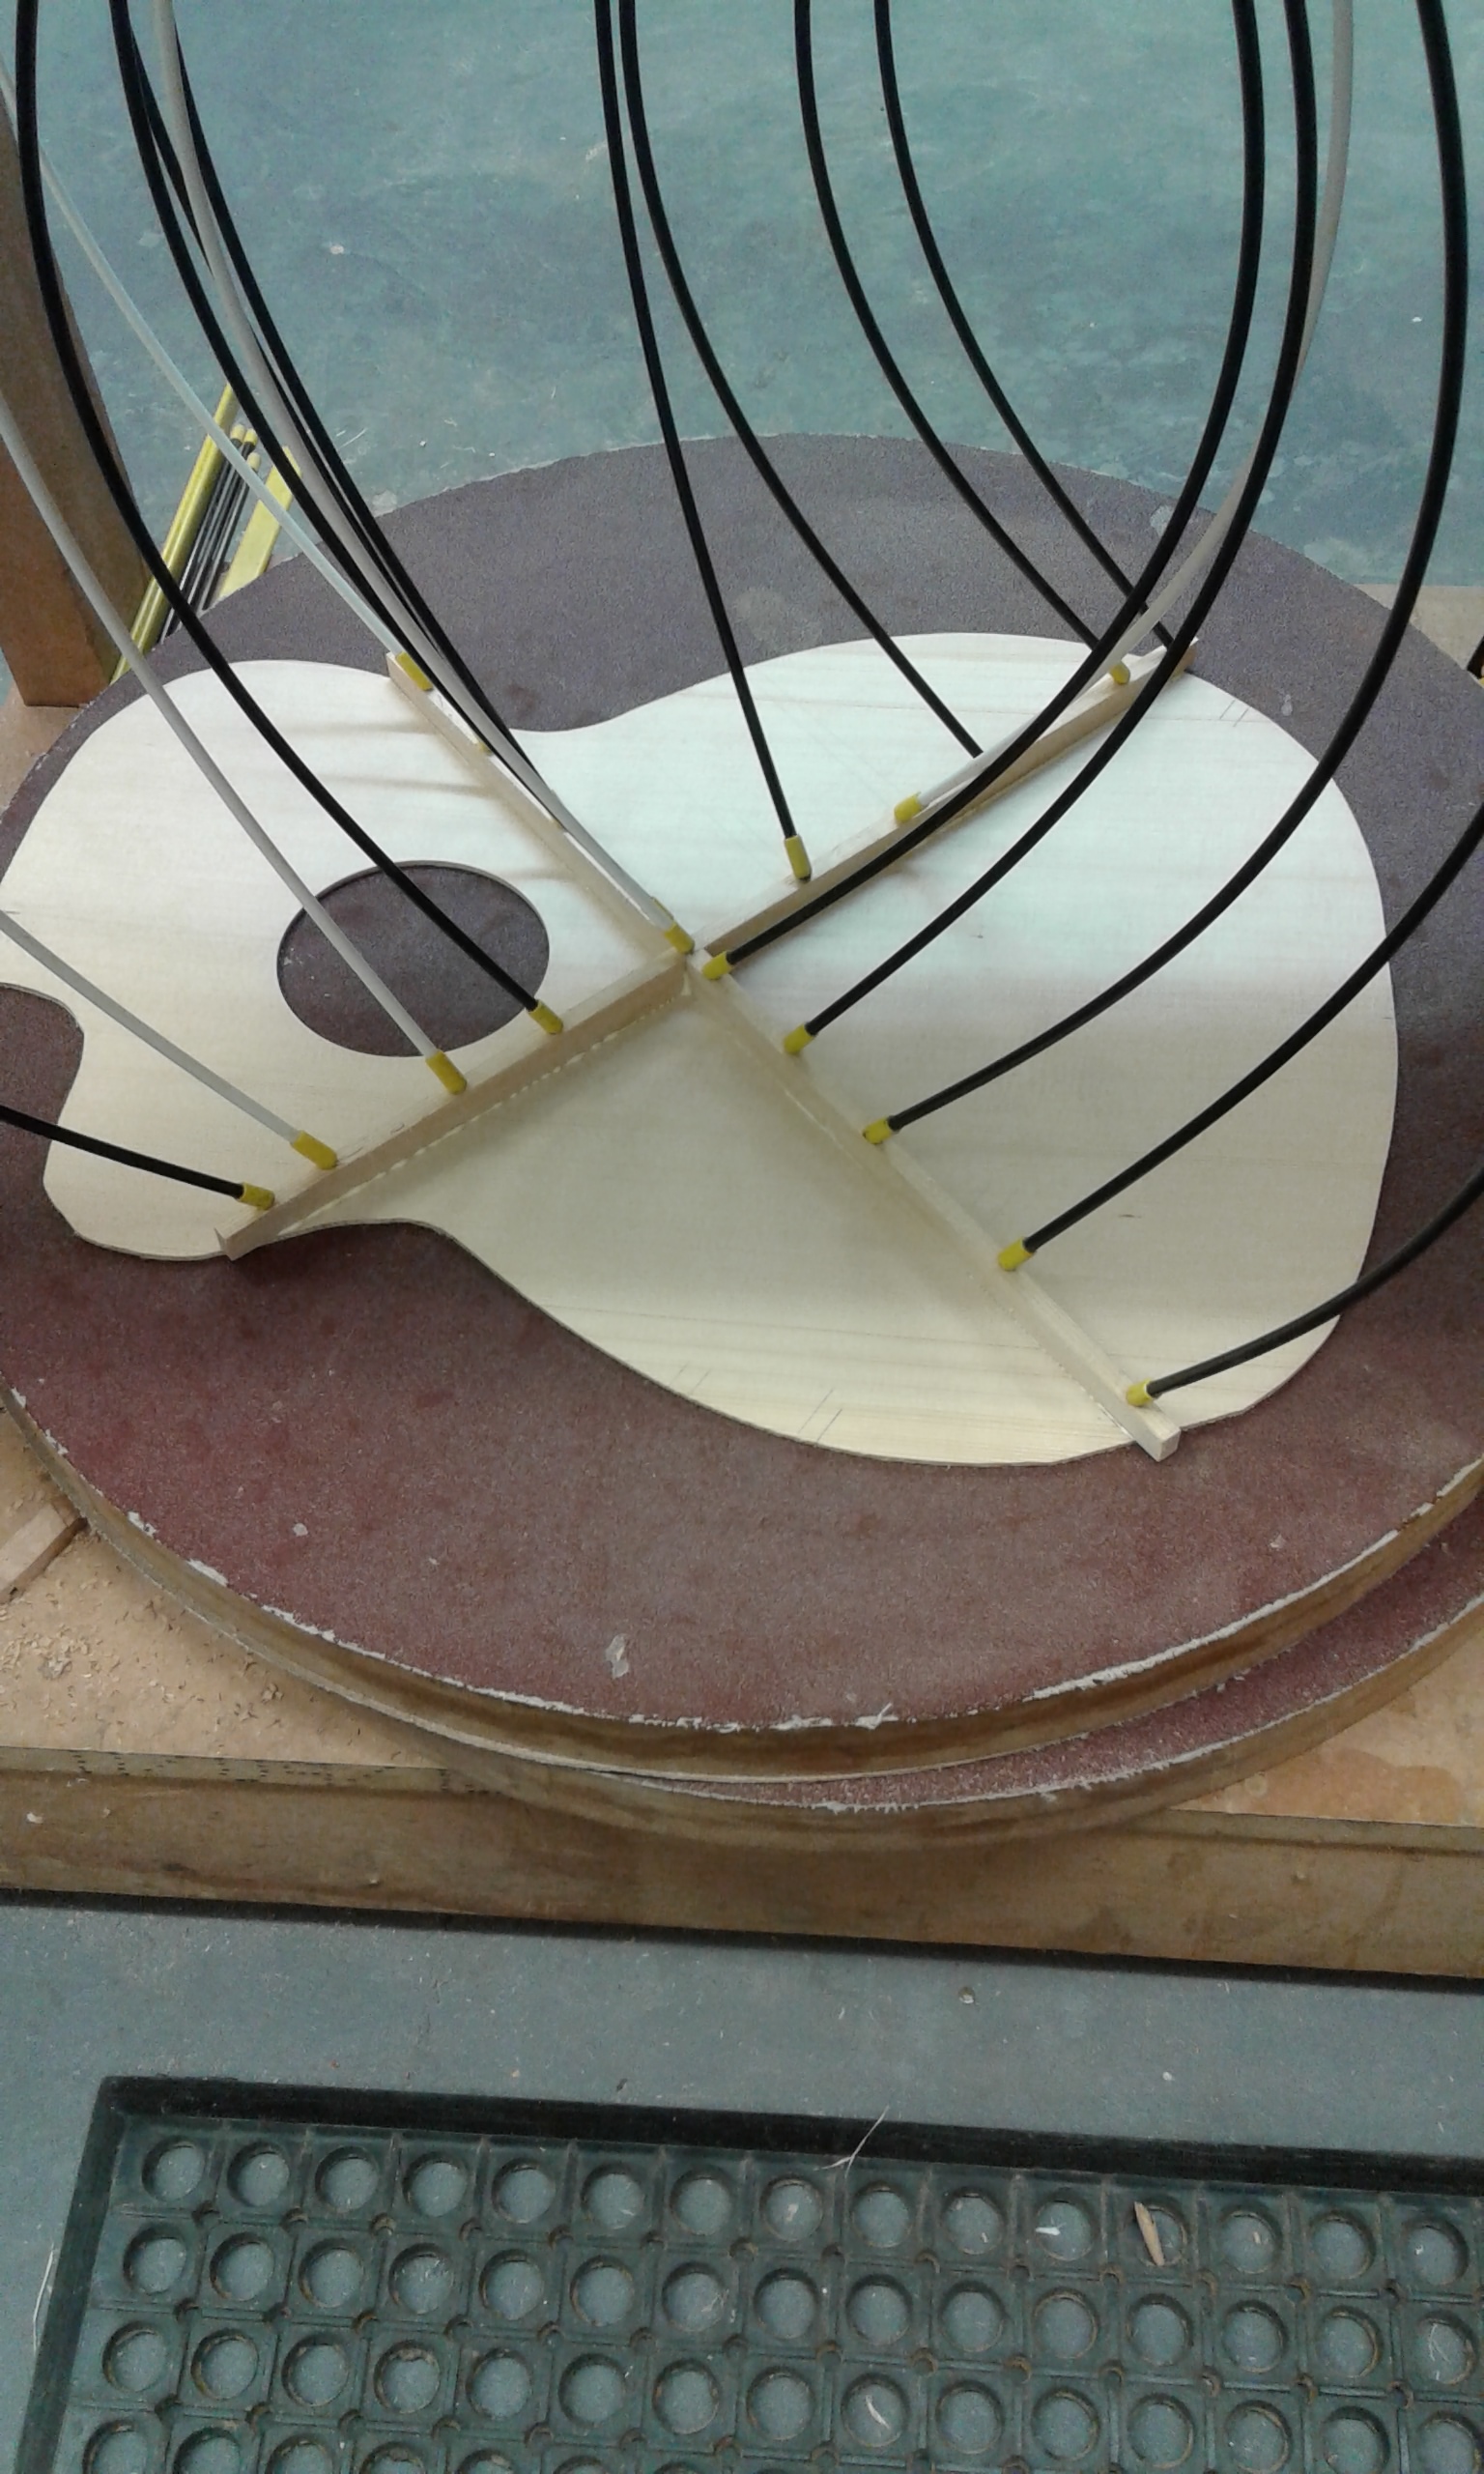
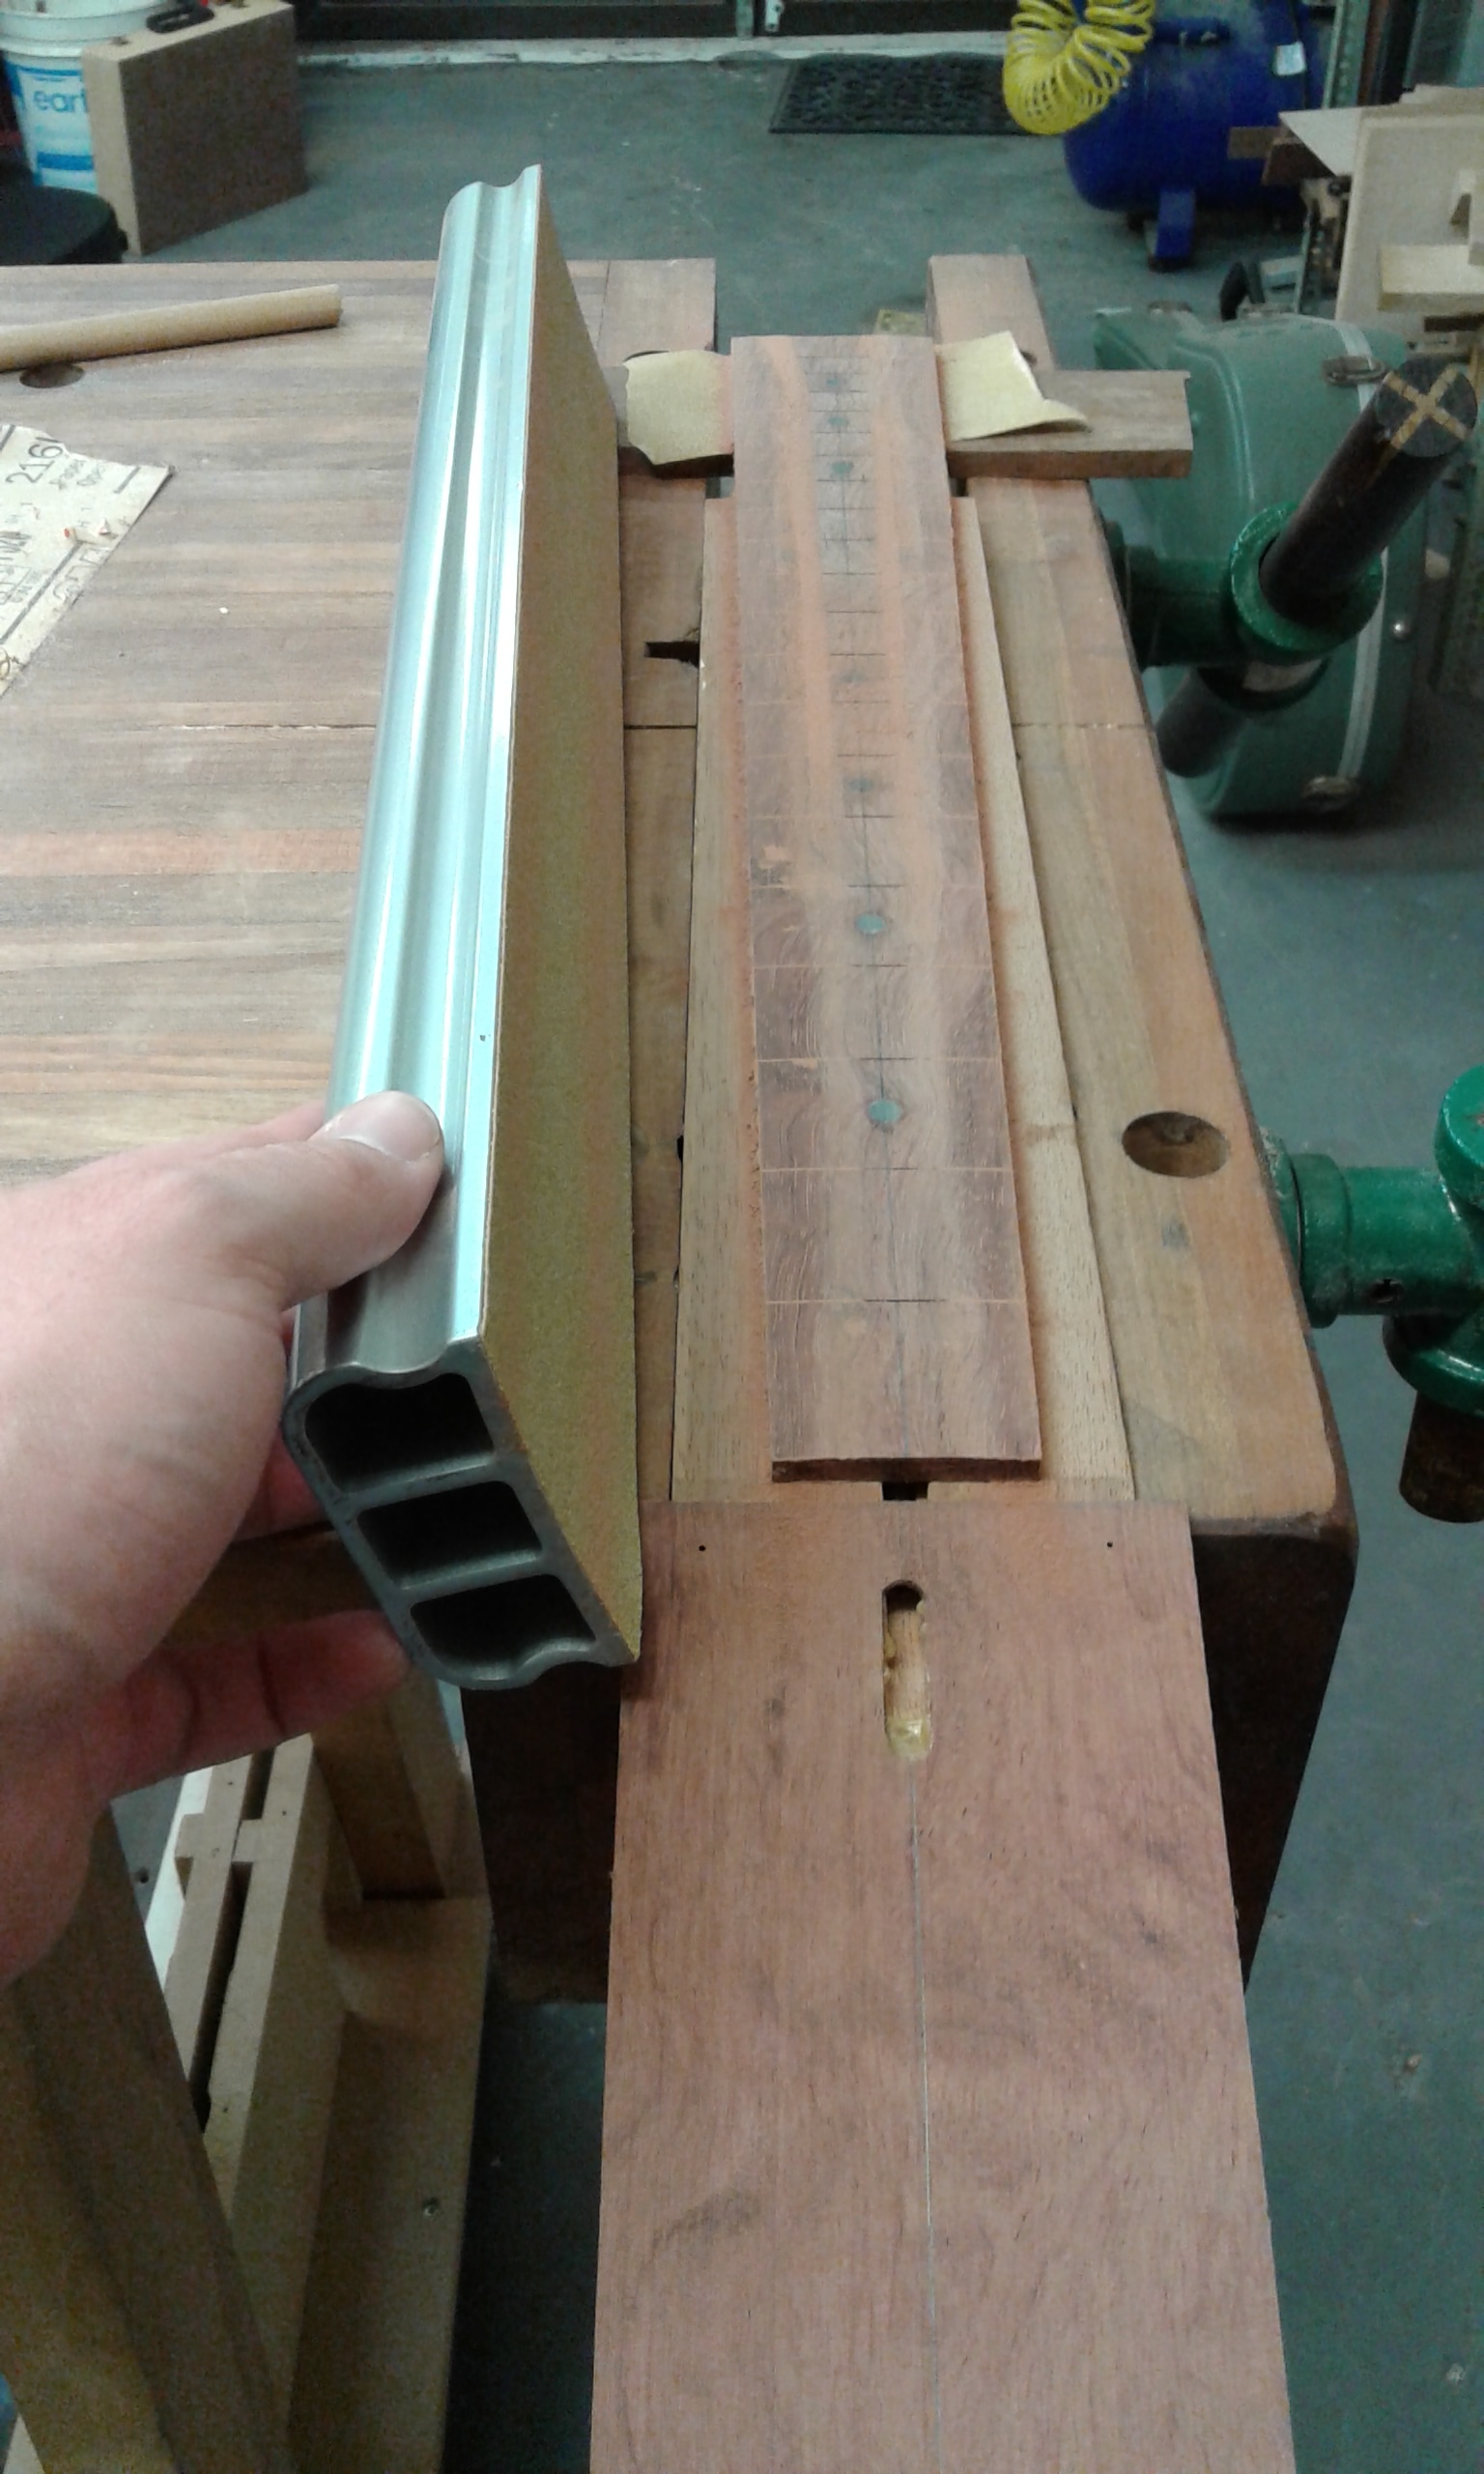
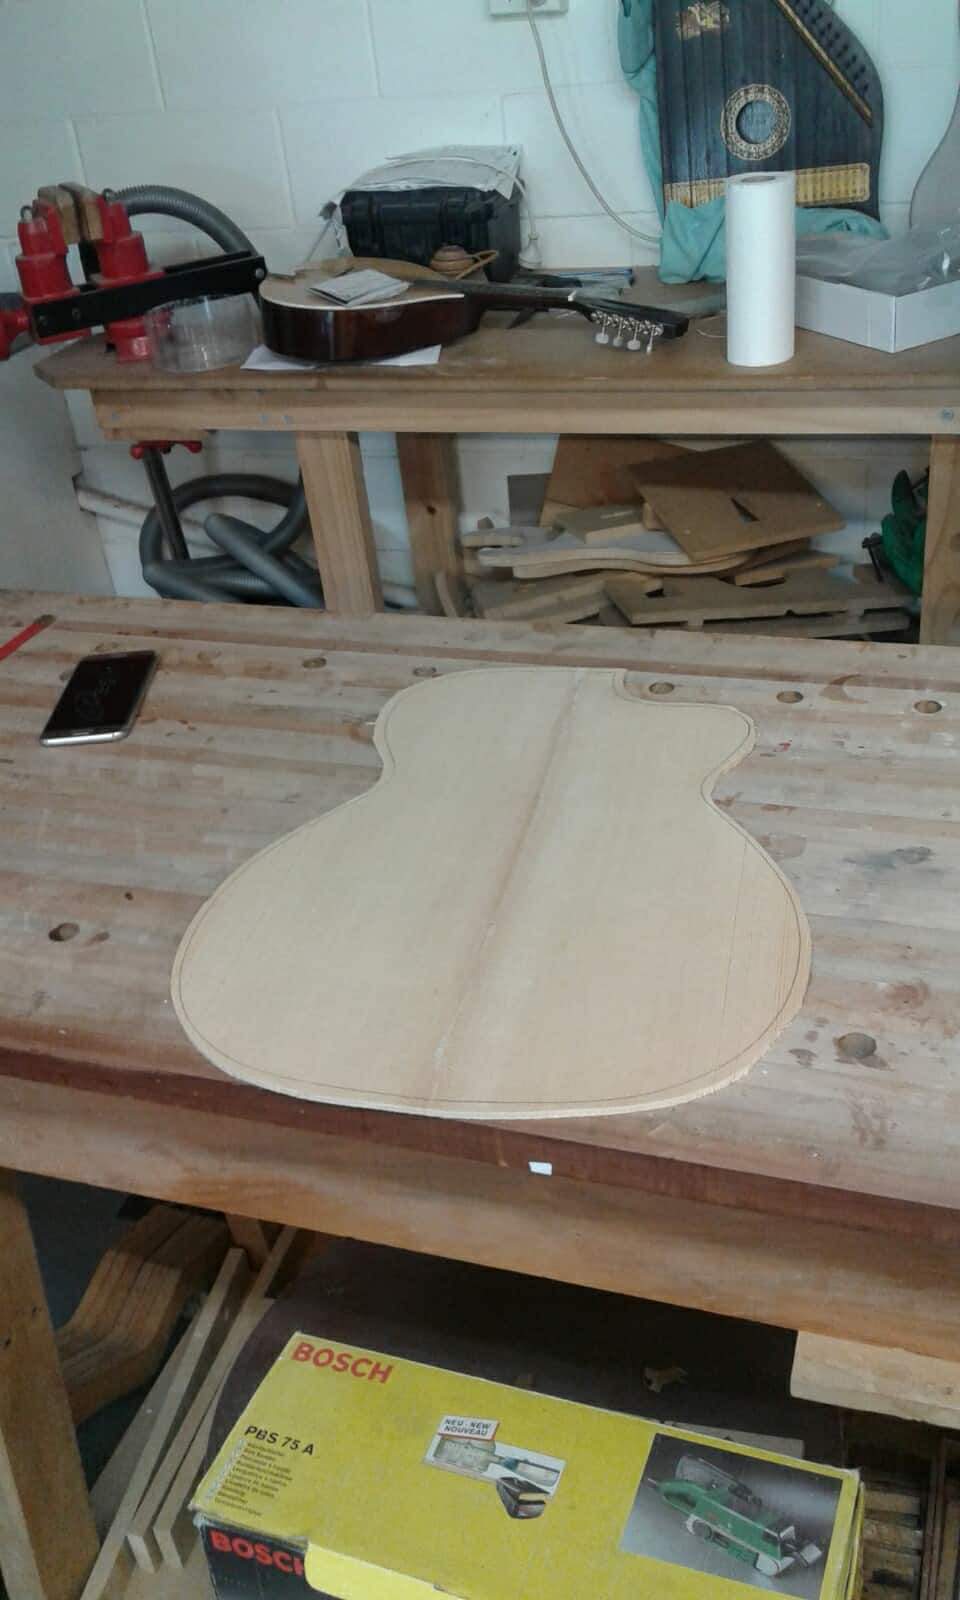
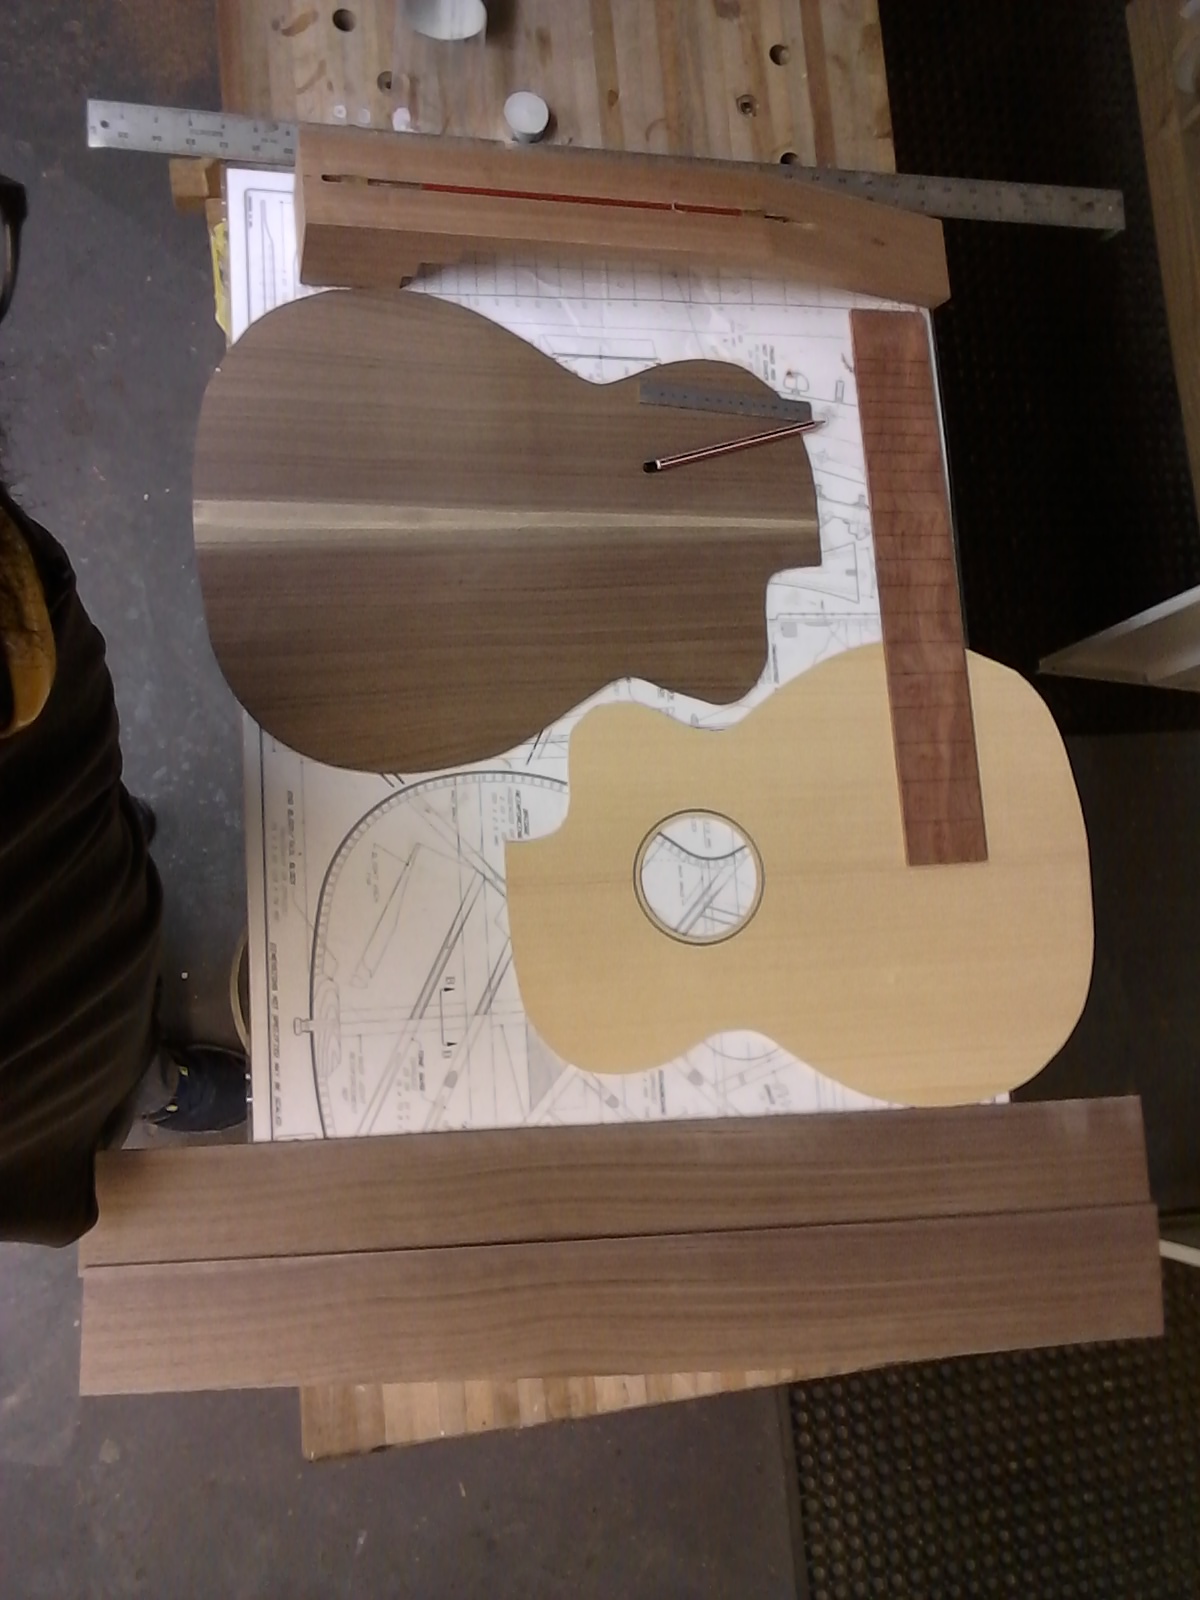
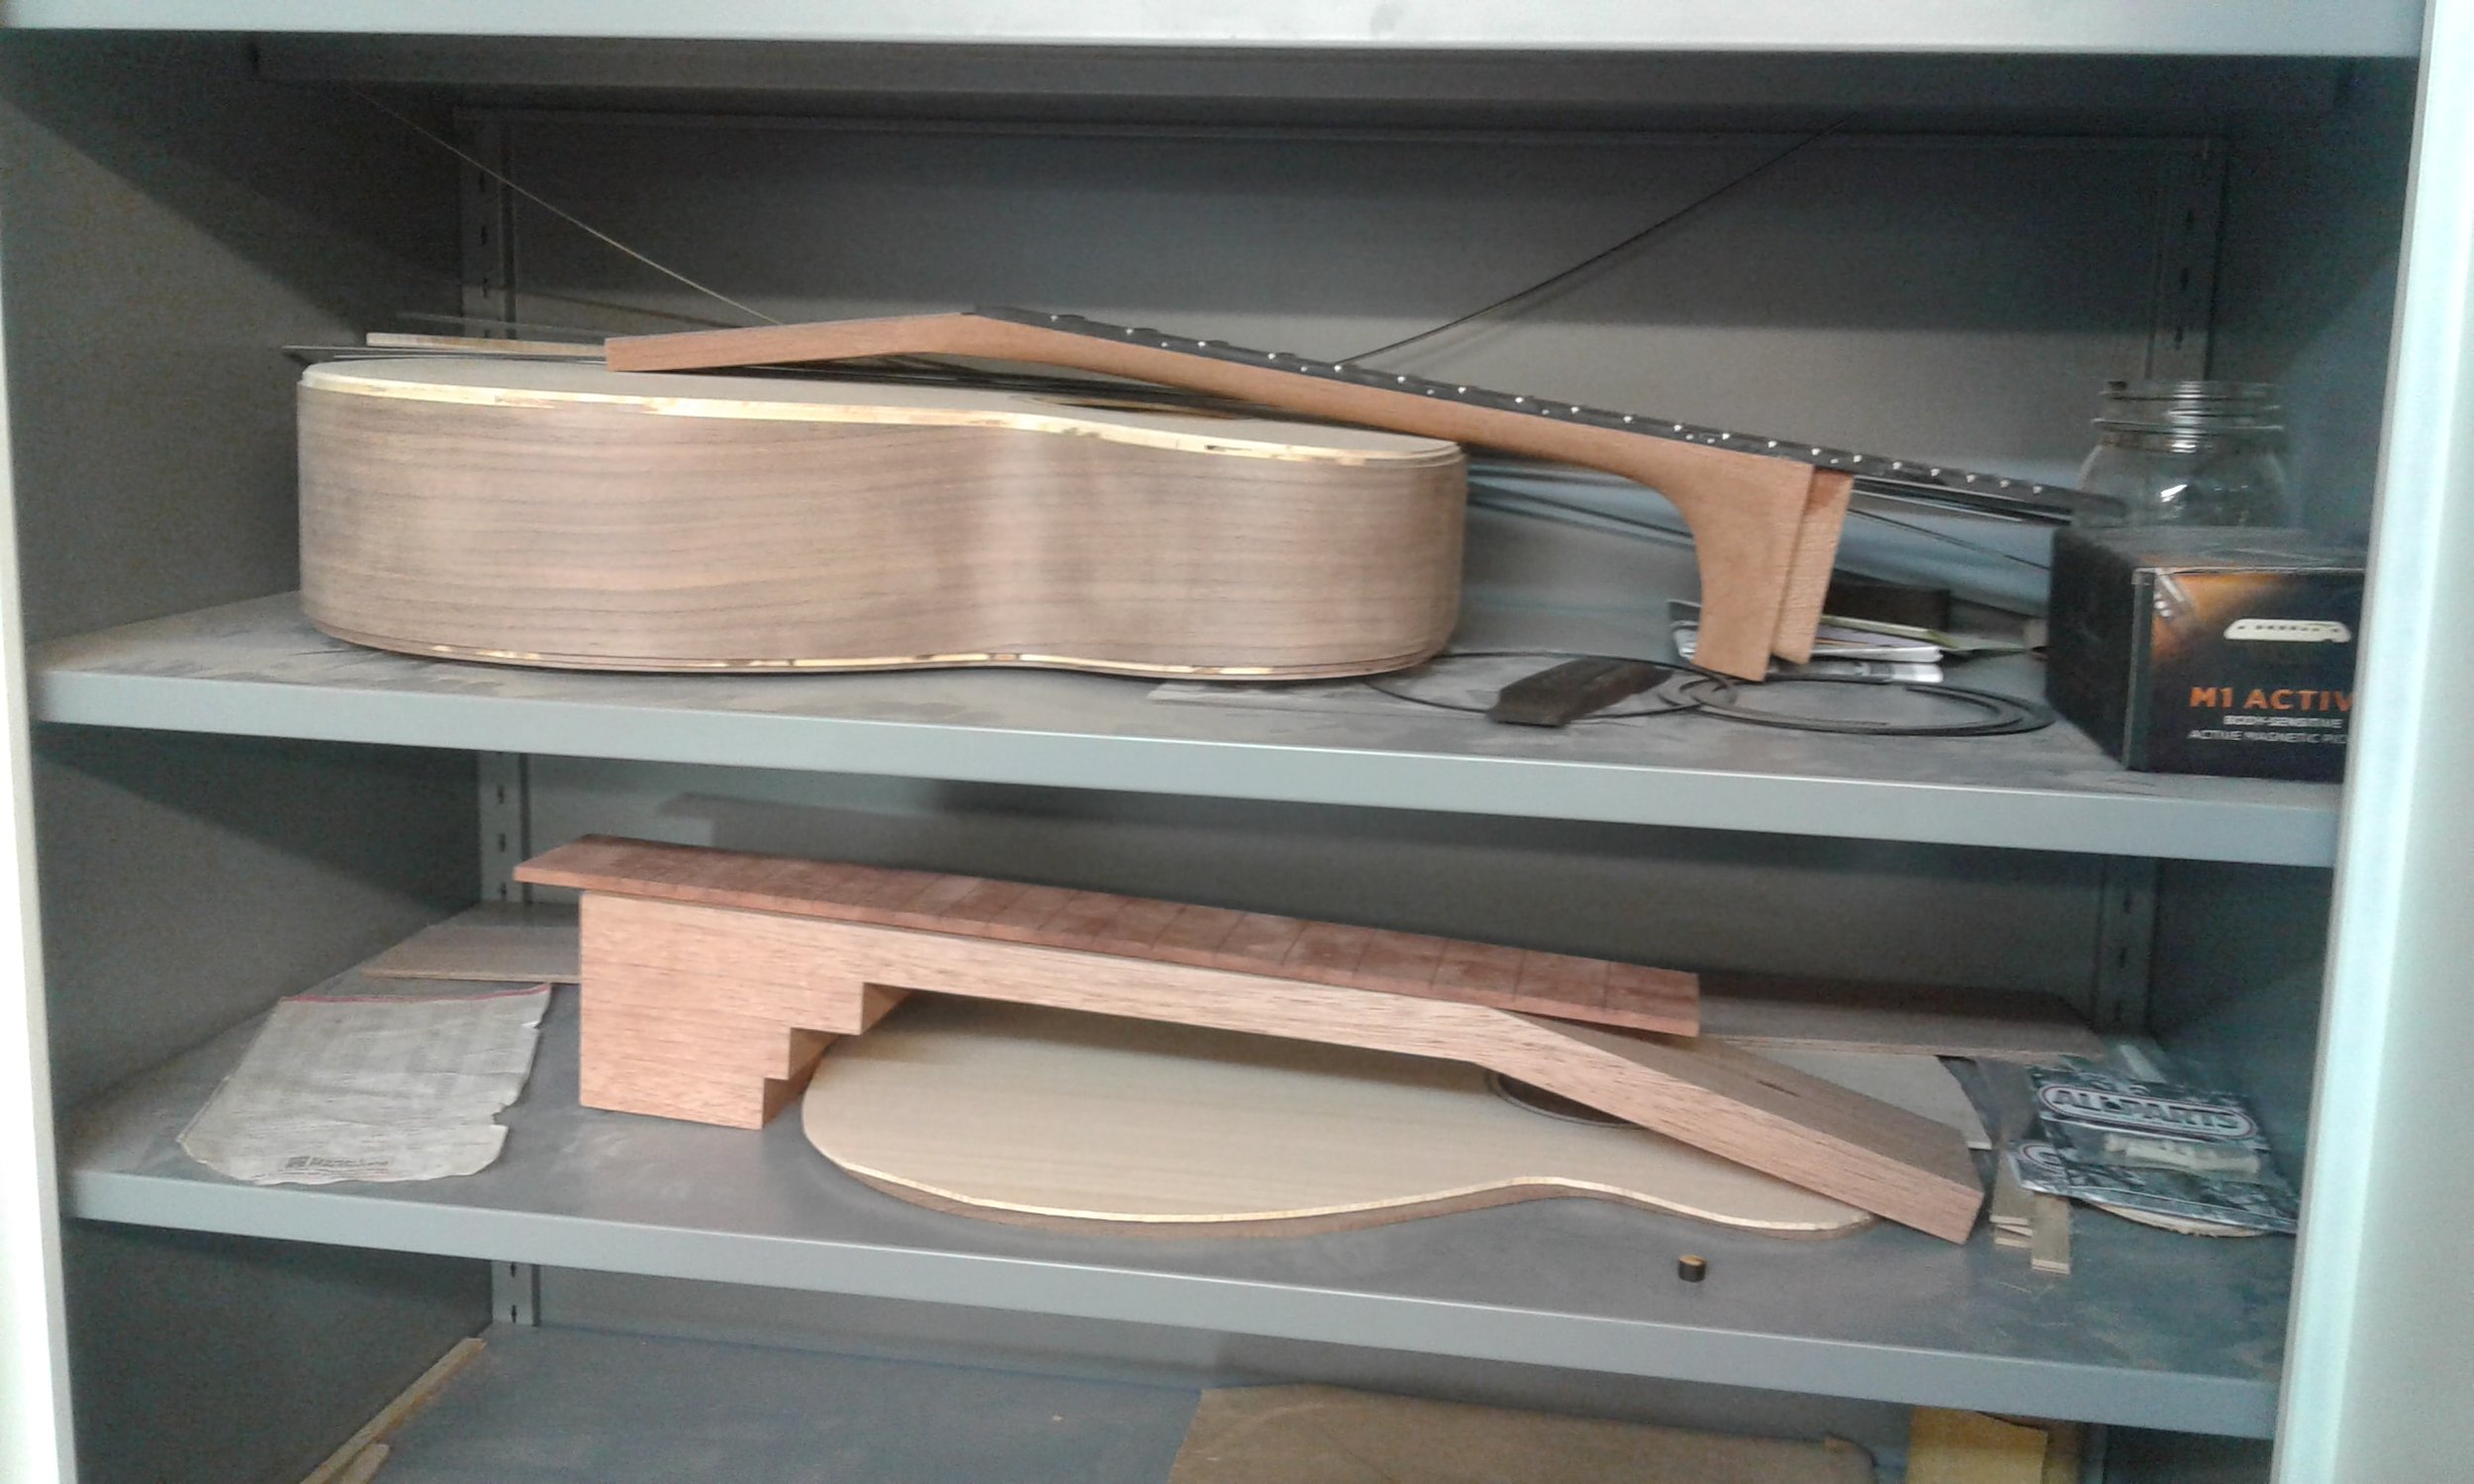
I’m building a guitar, and logging the progress on the 7th of each month. Here are Months: One, Two , Three, Four and Five.
Trevor told me it would take seven to nine months to build a guitar. I sit here, six months after first walking into his build-shop, with my new guitar firmly in it’s brand new case. It’s done. Finished. I am beyond excited to share it with you.
Session Twenty-Three
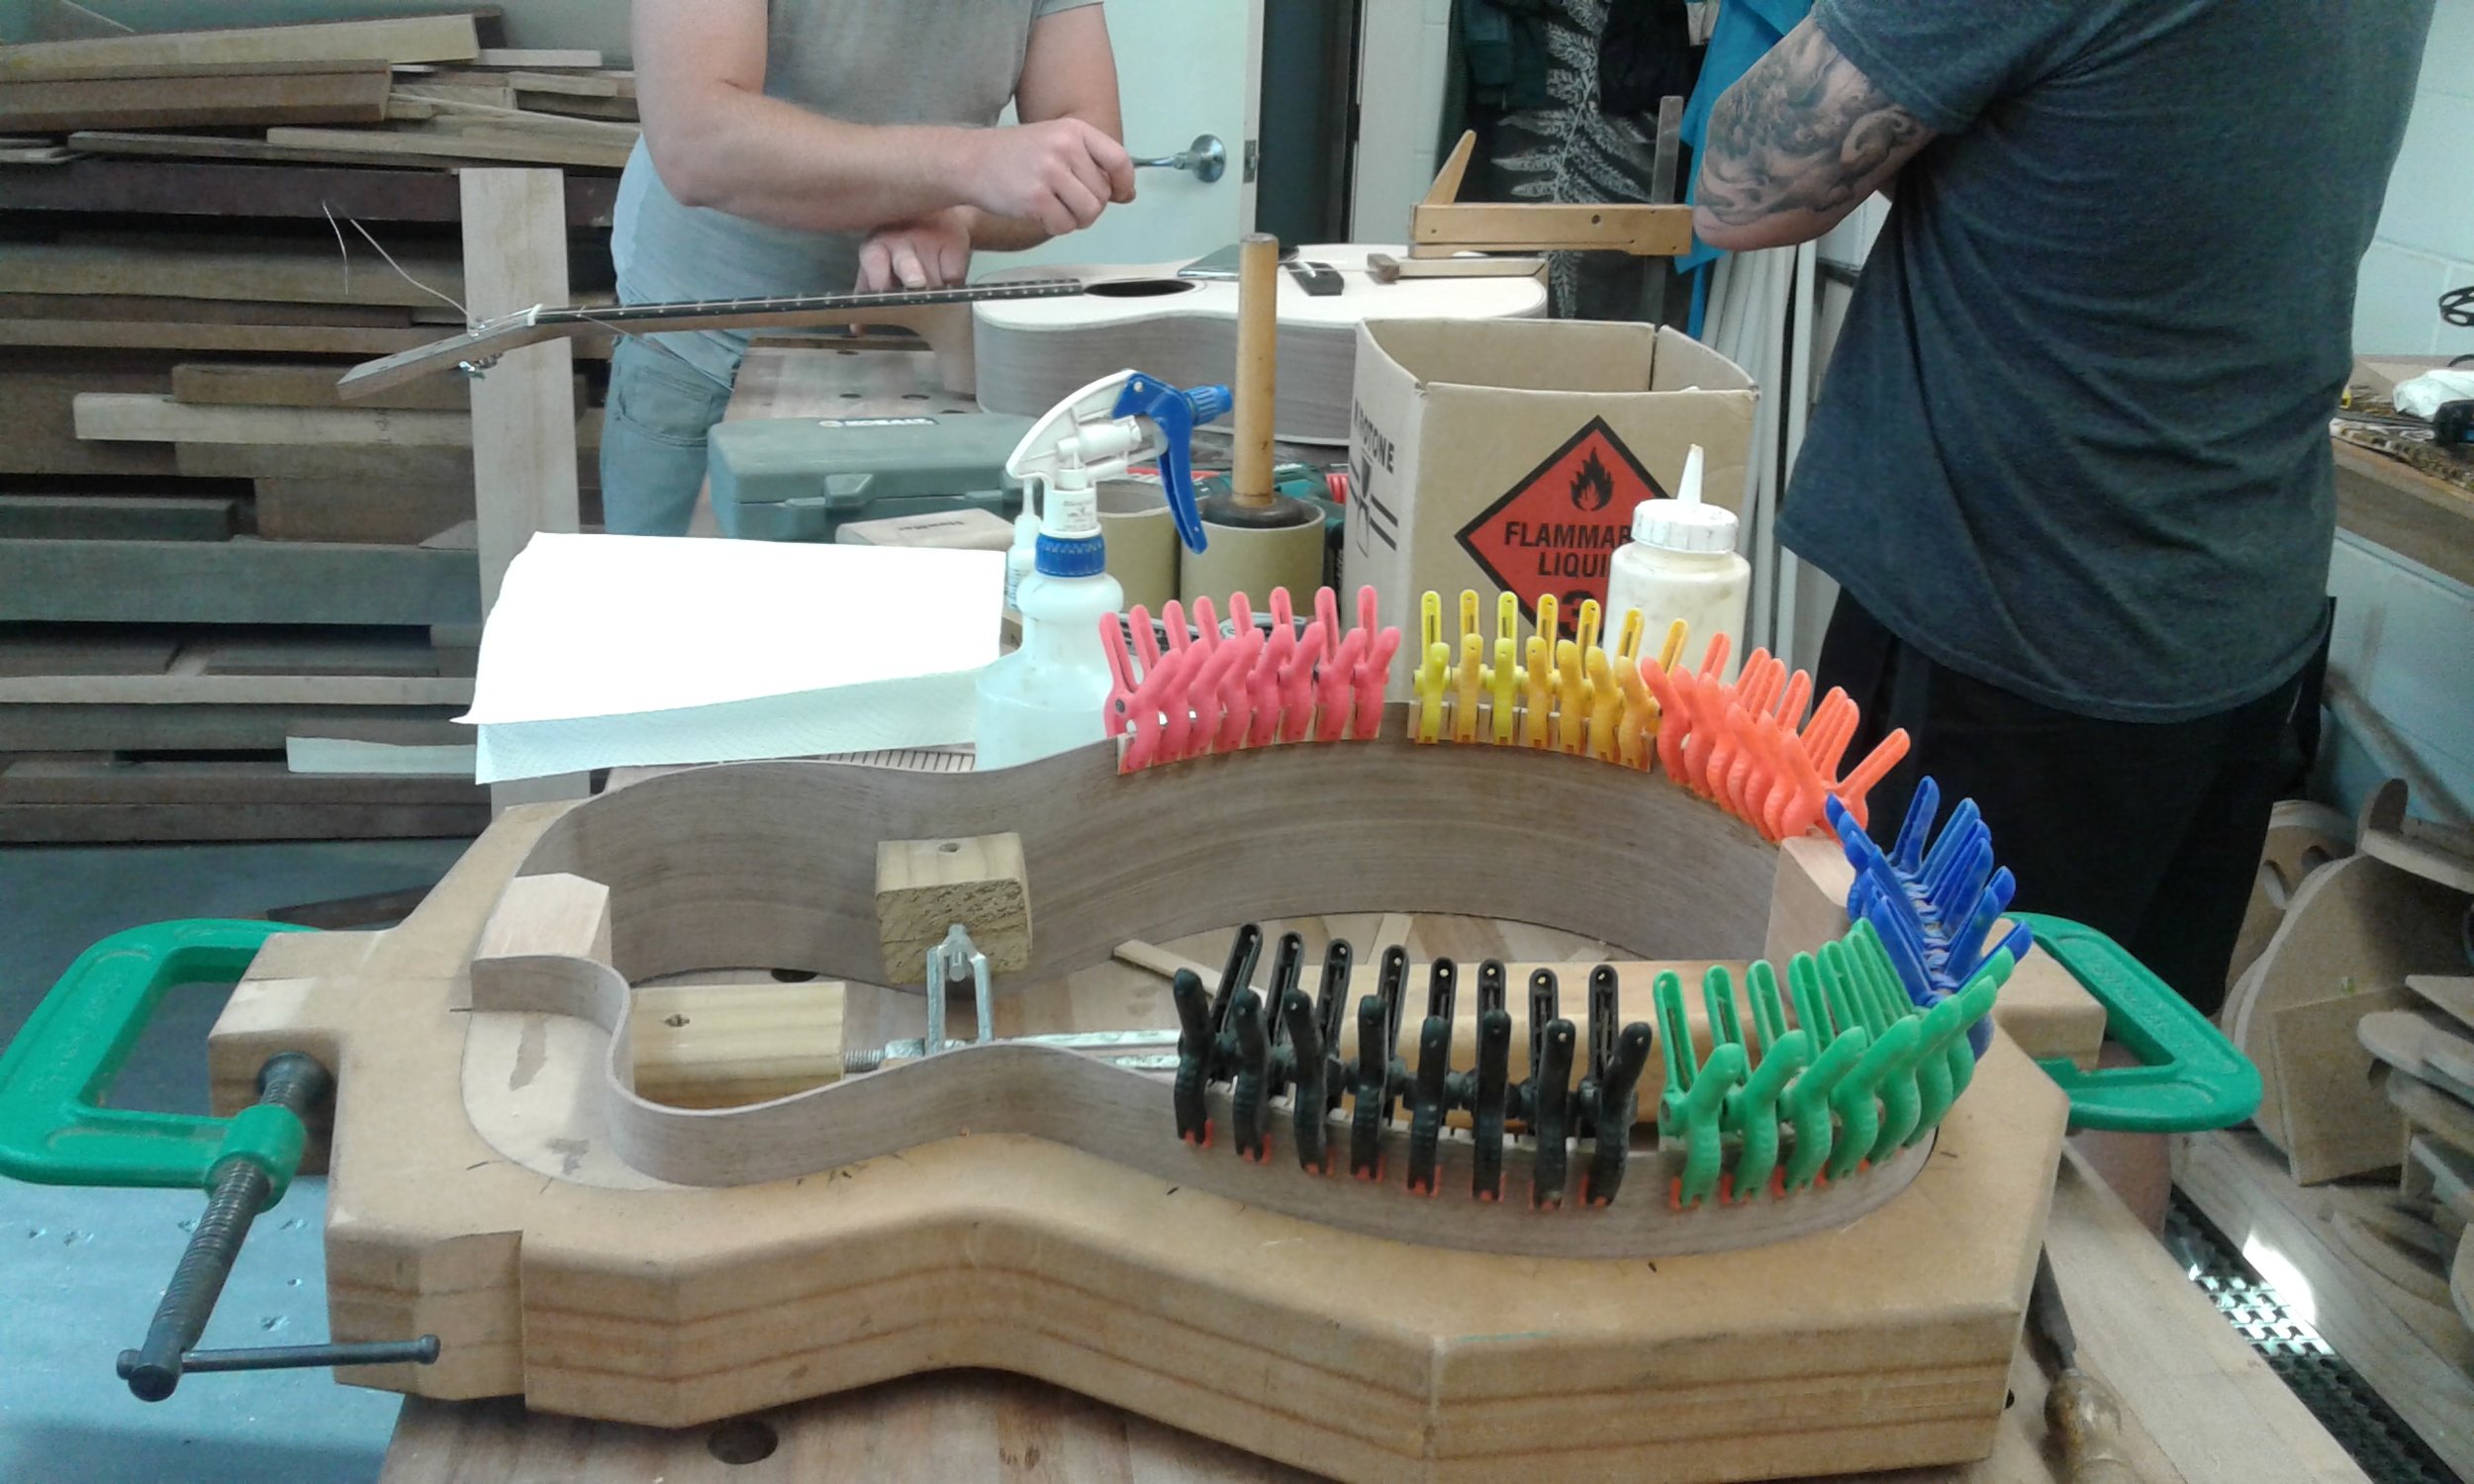
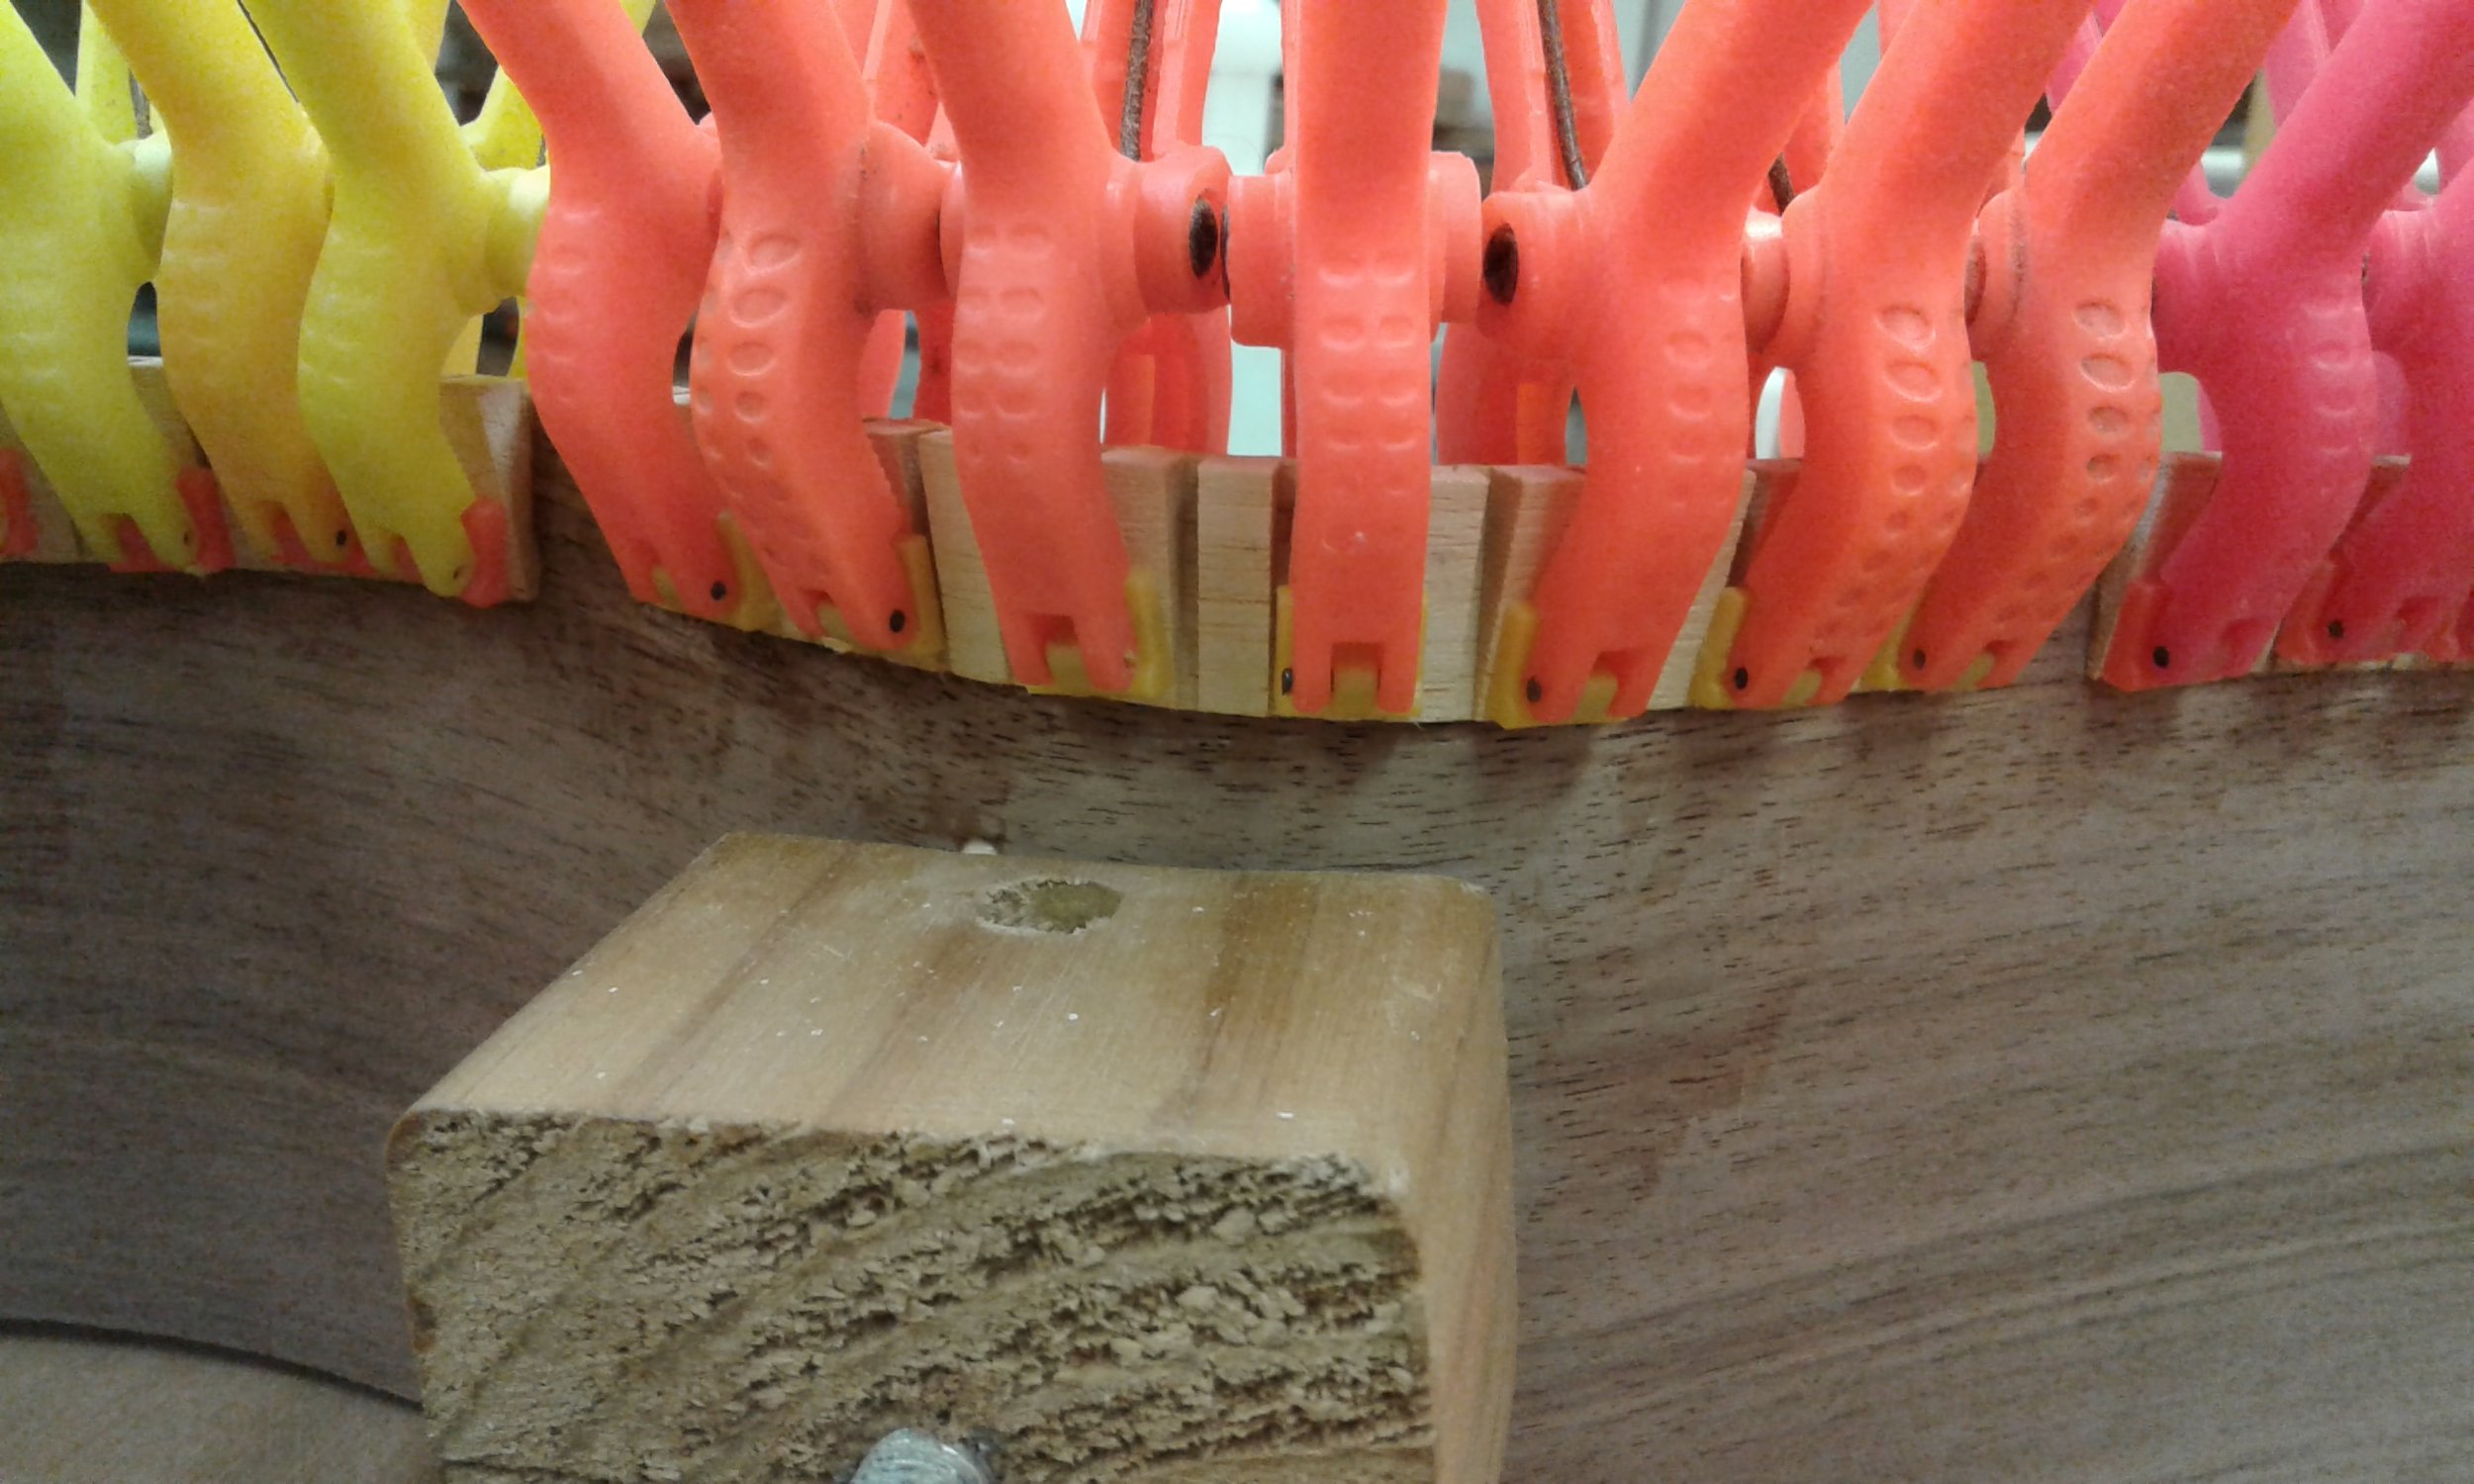
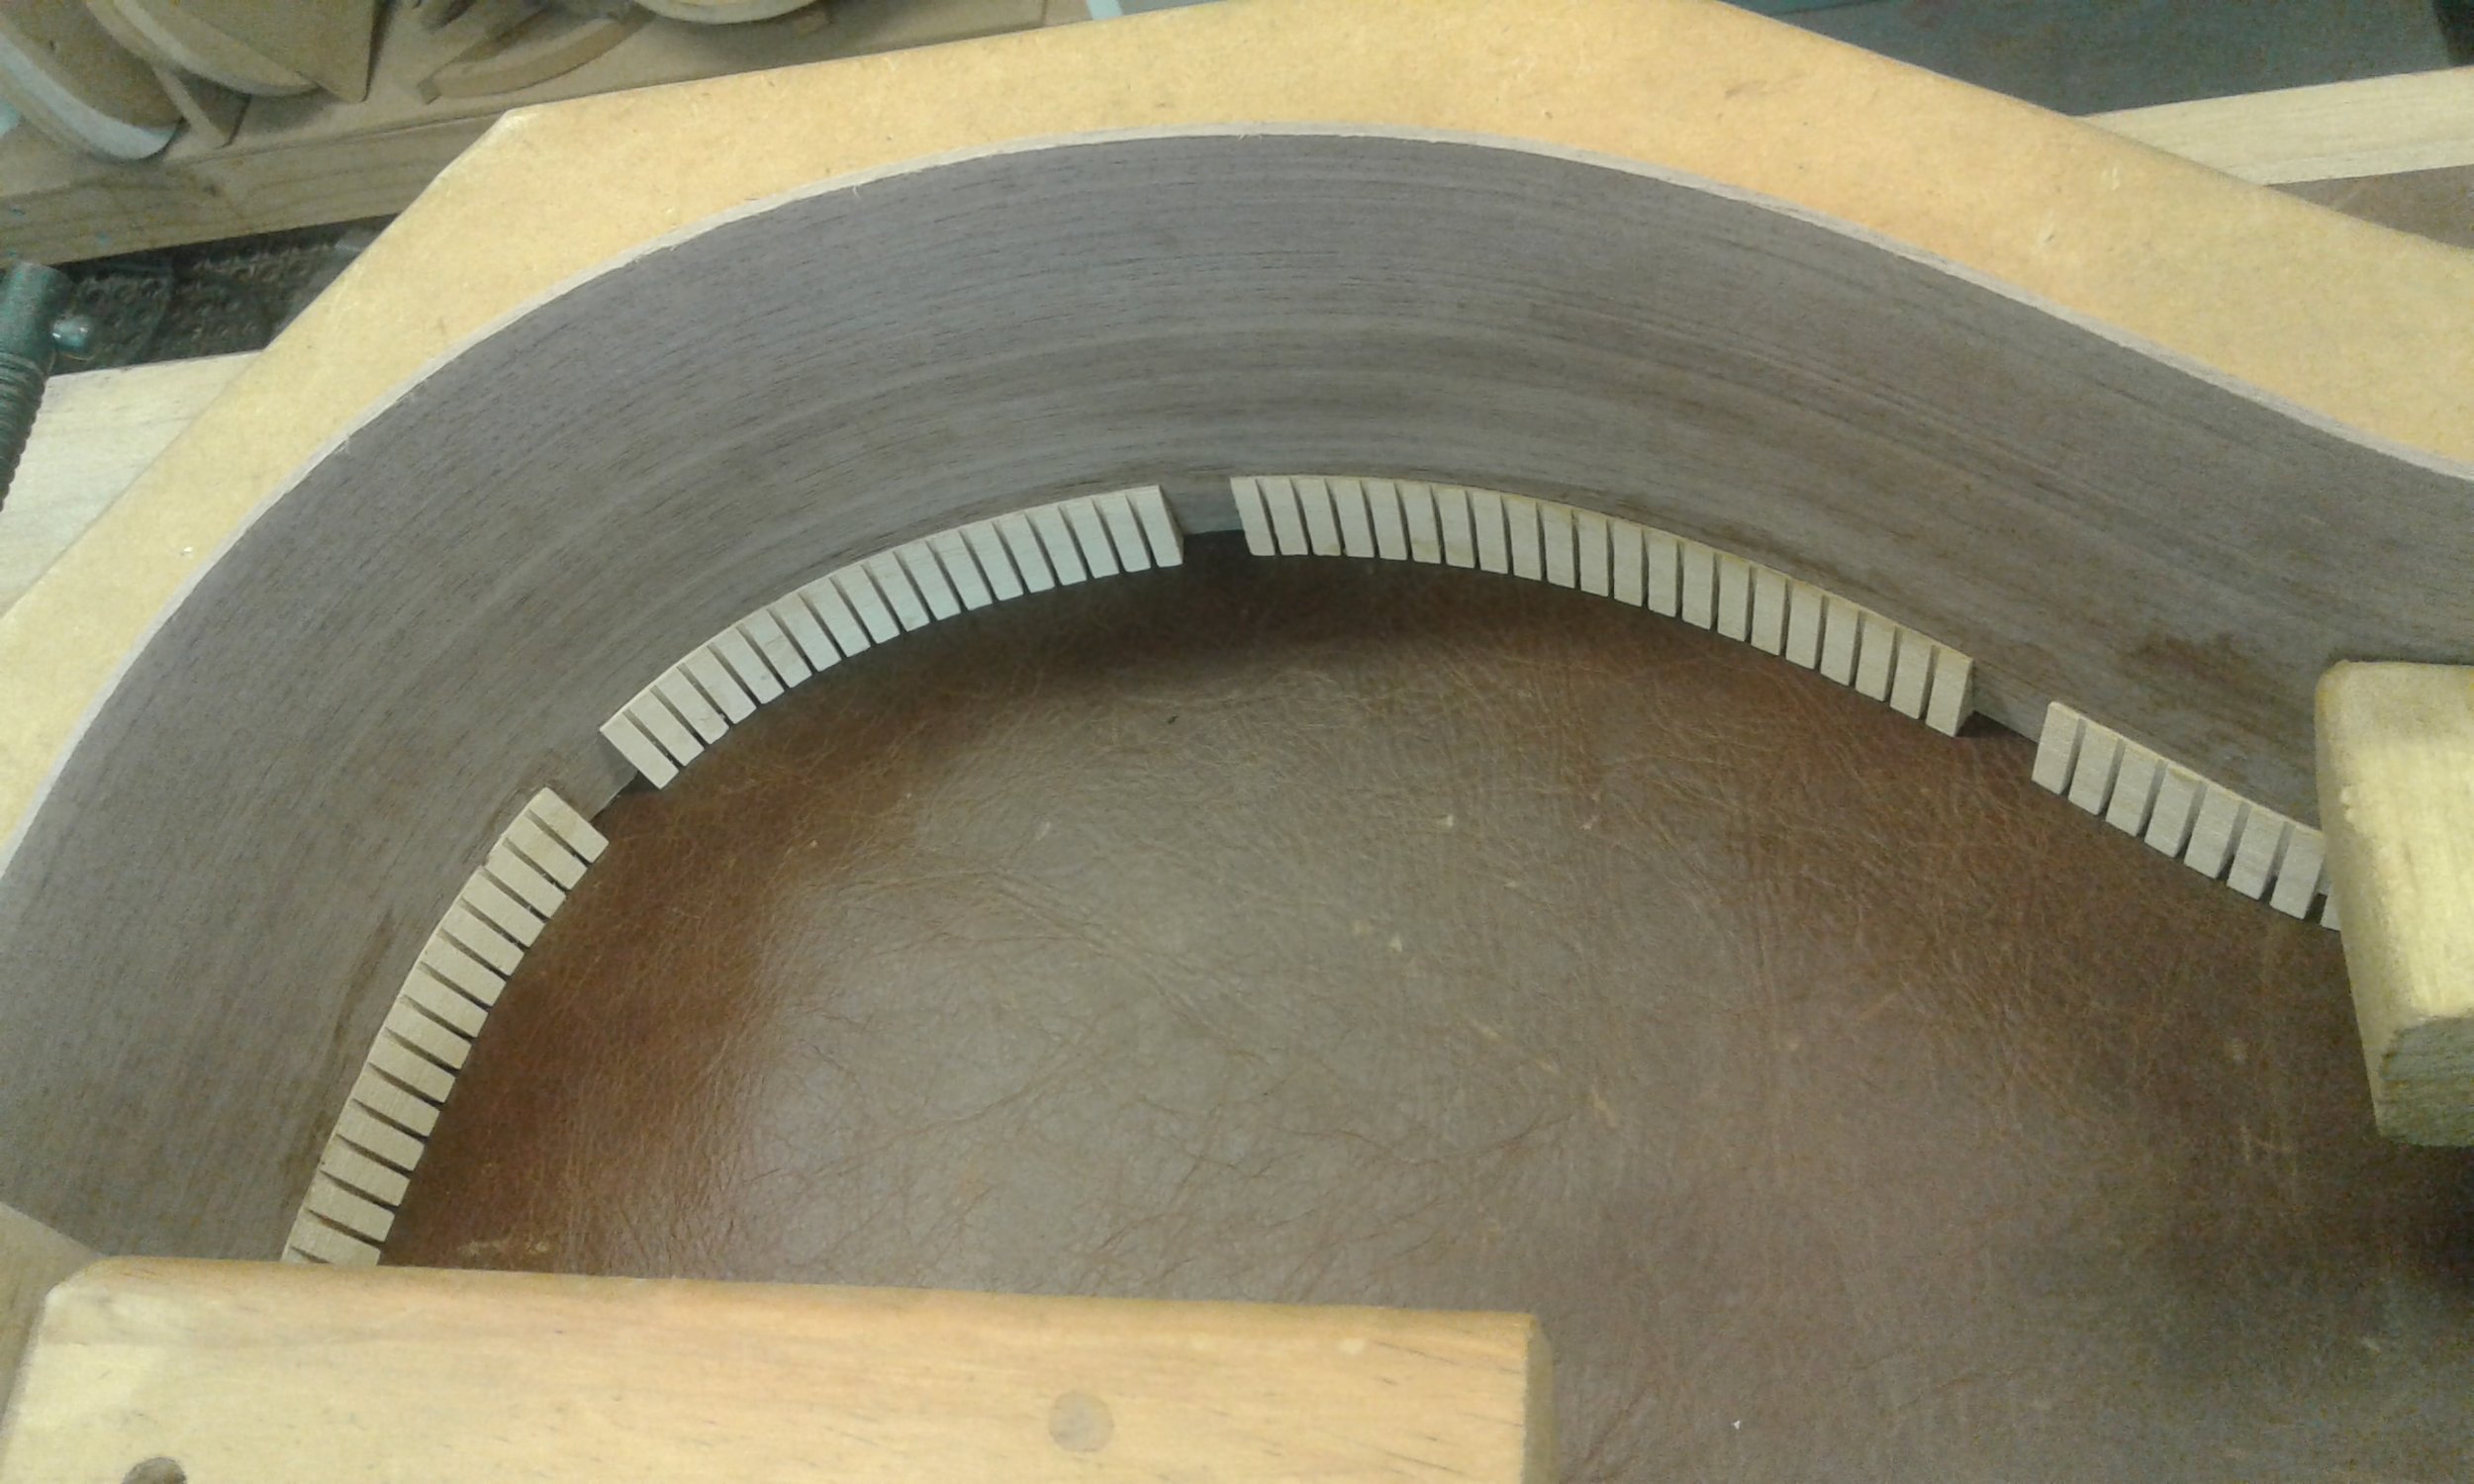
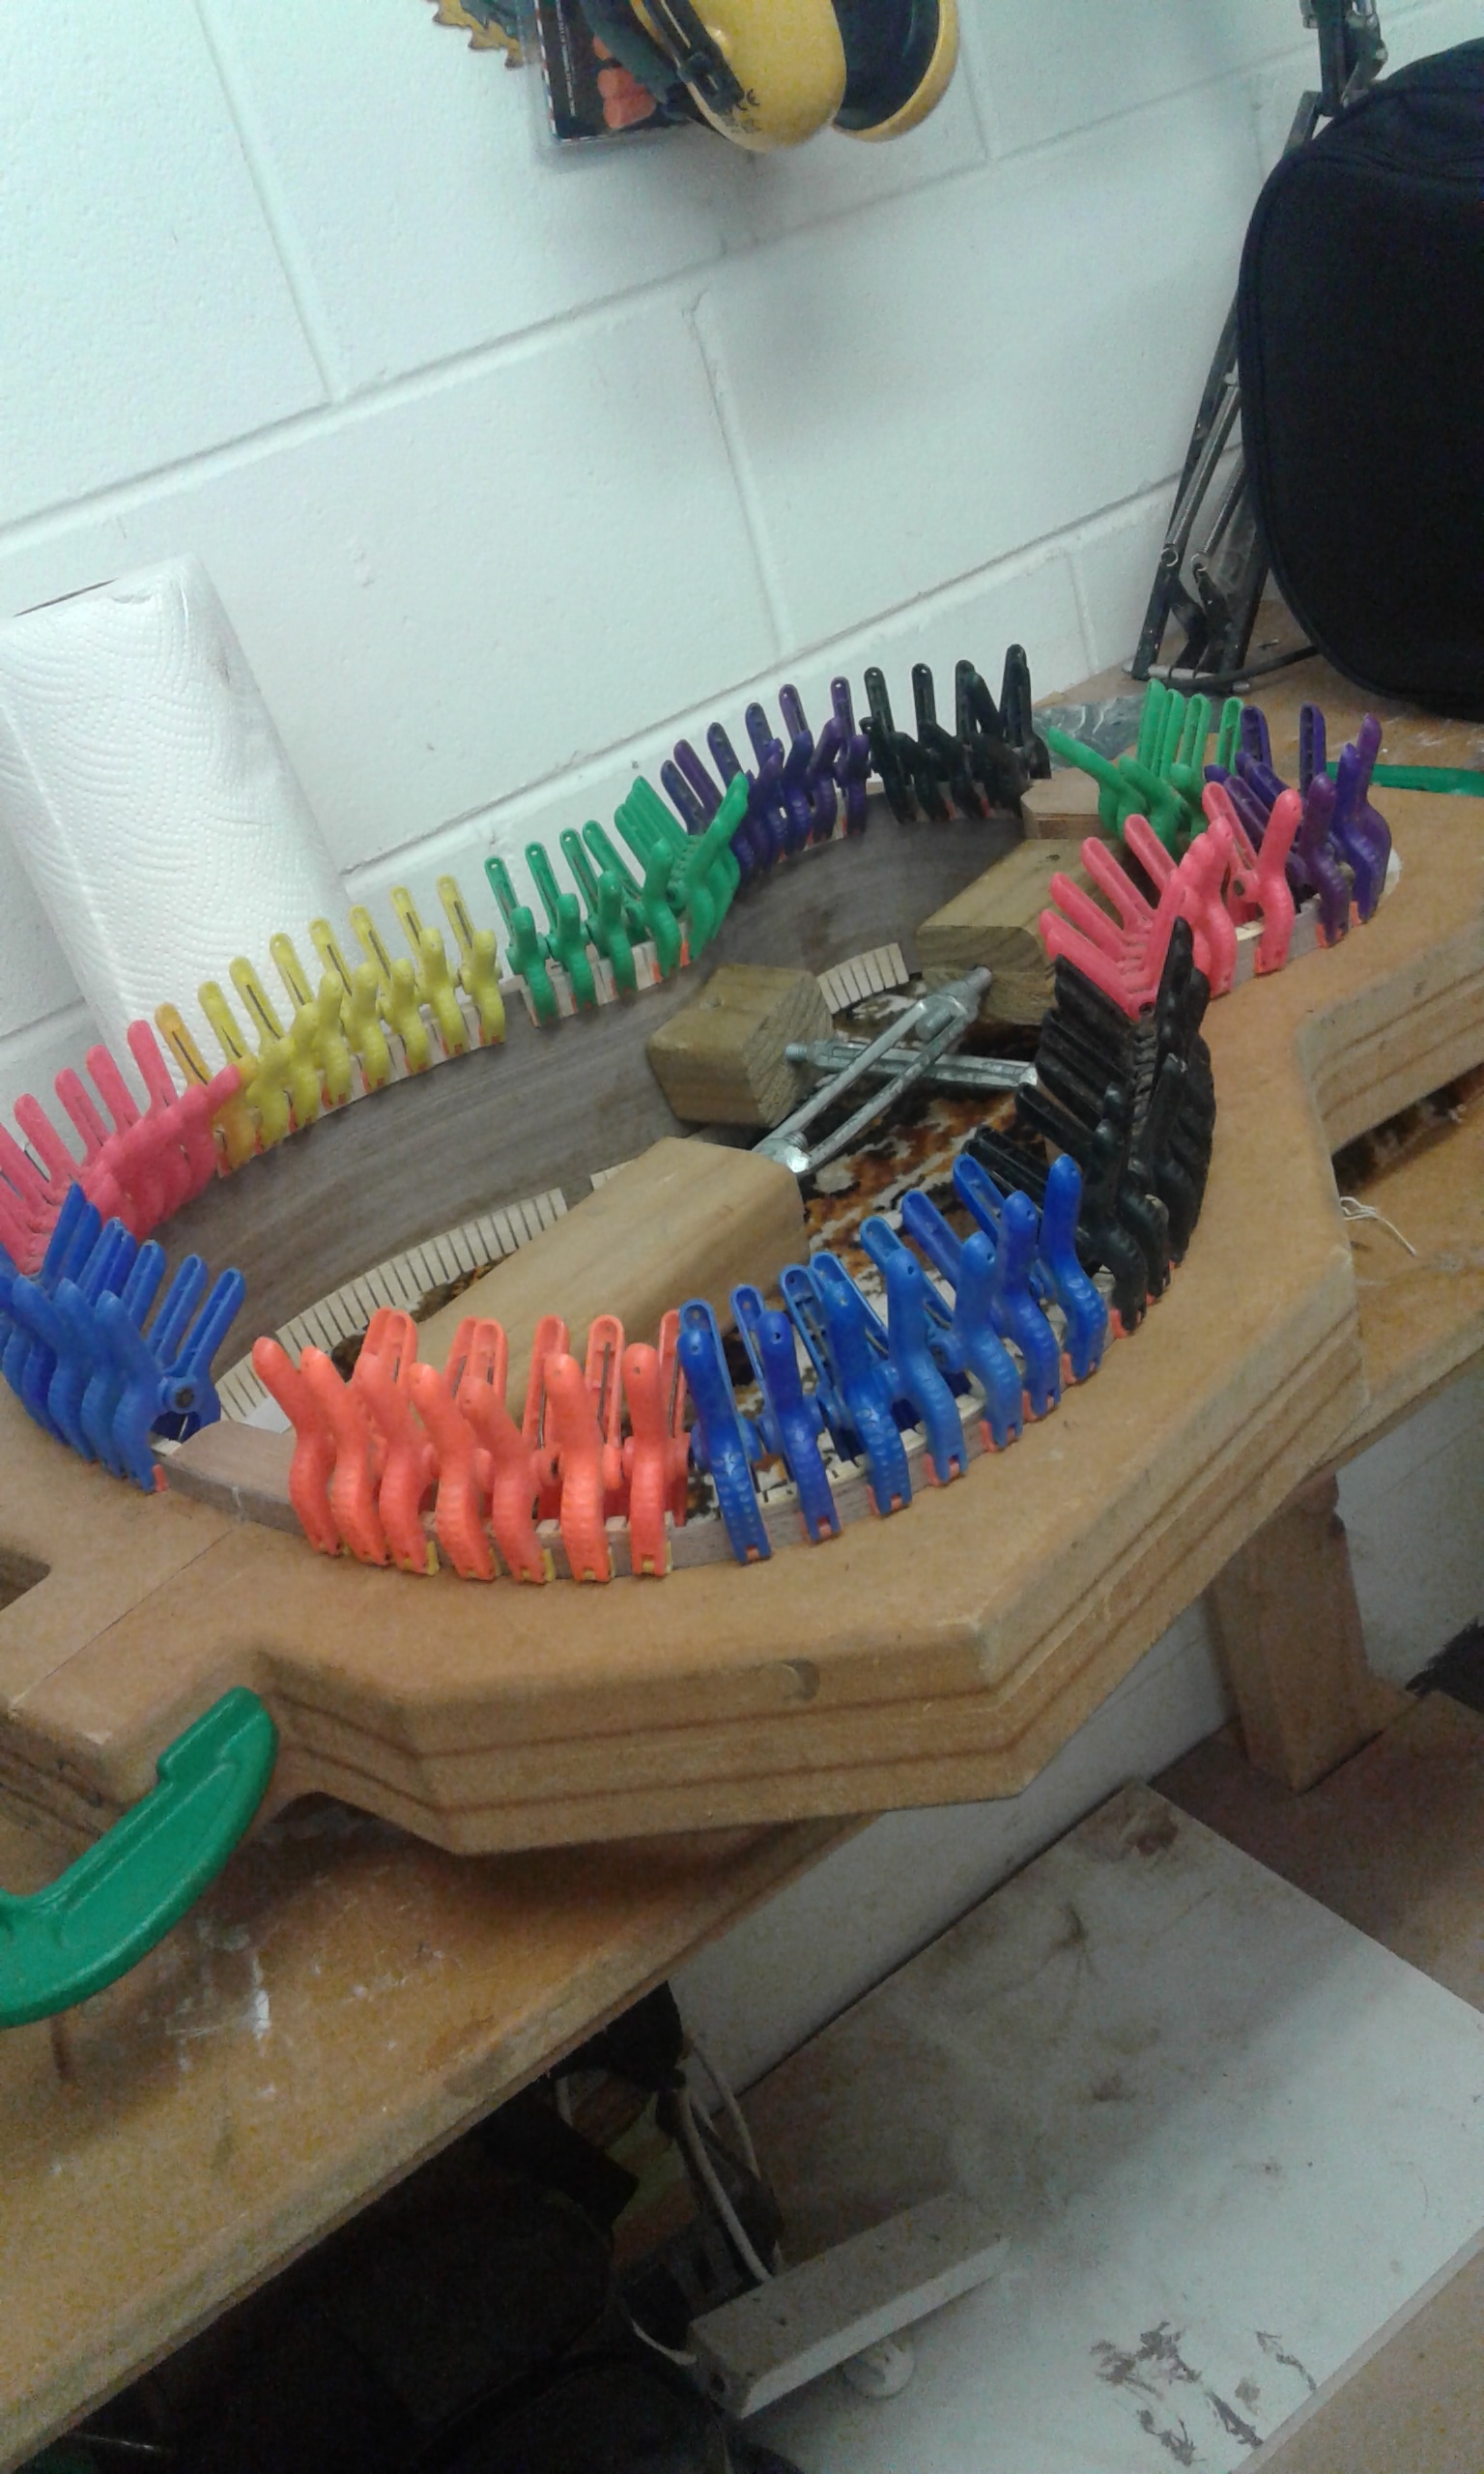
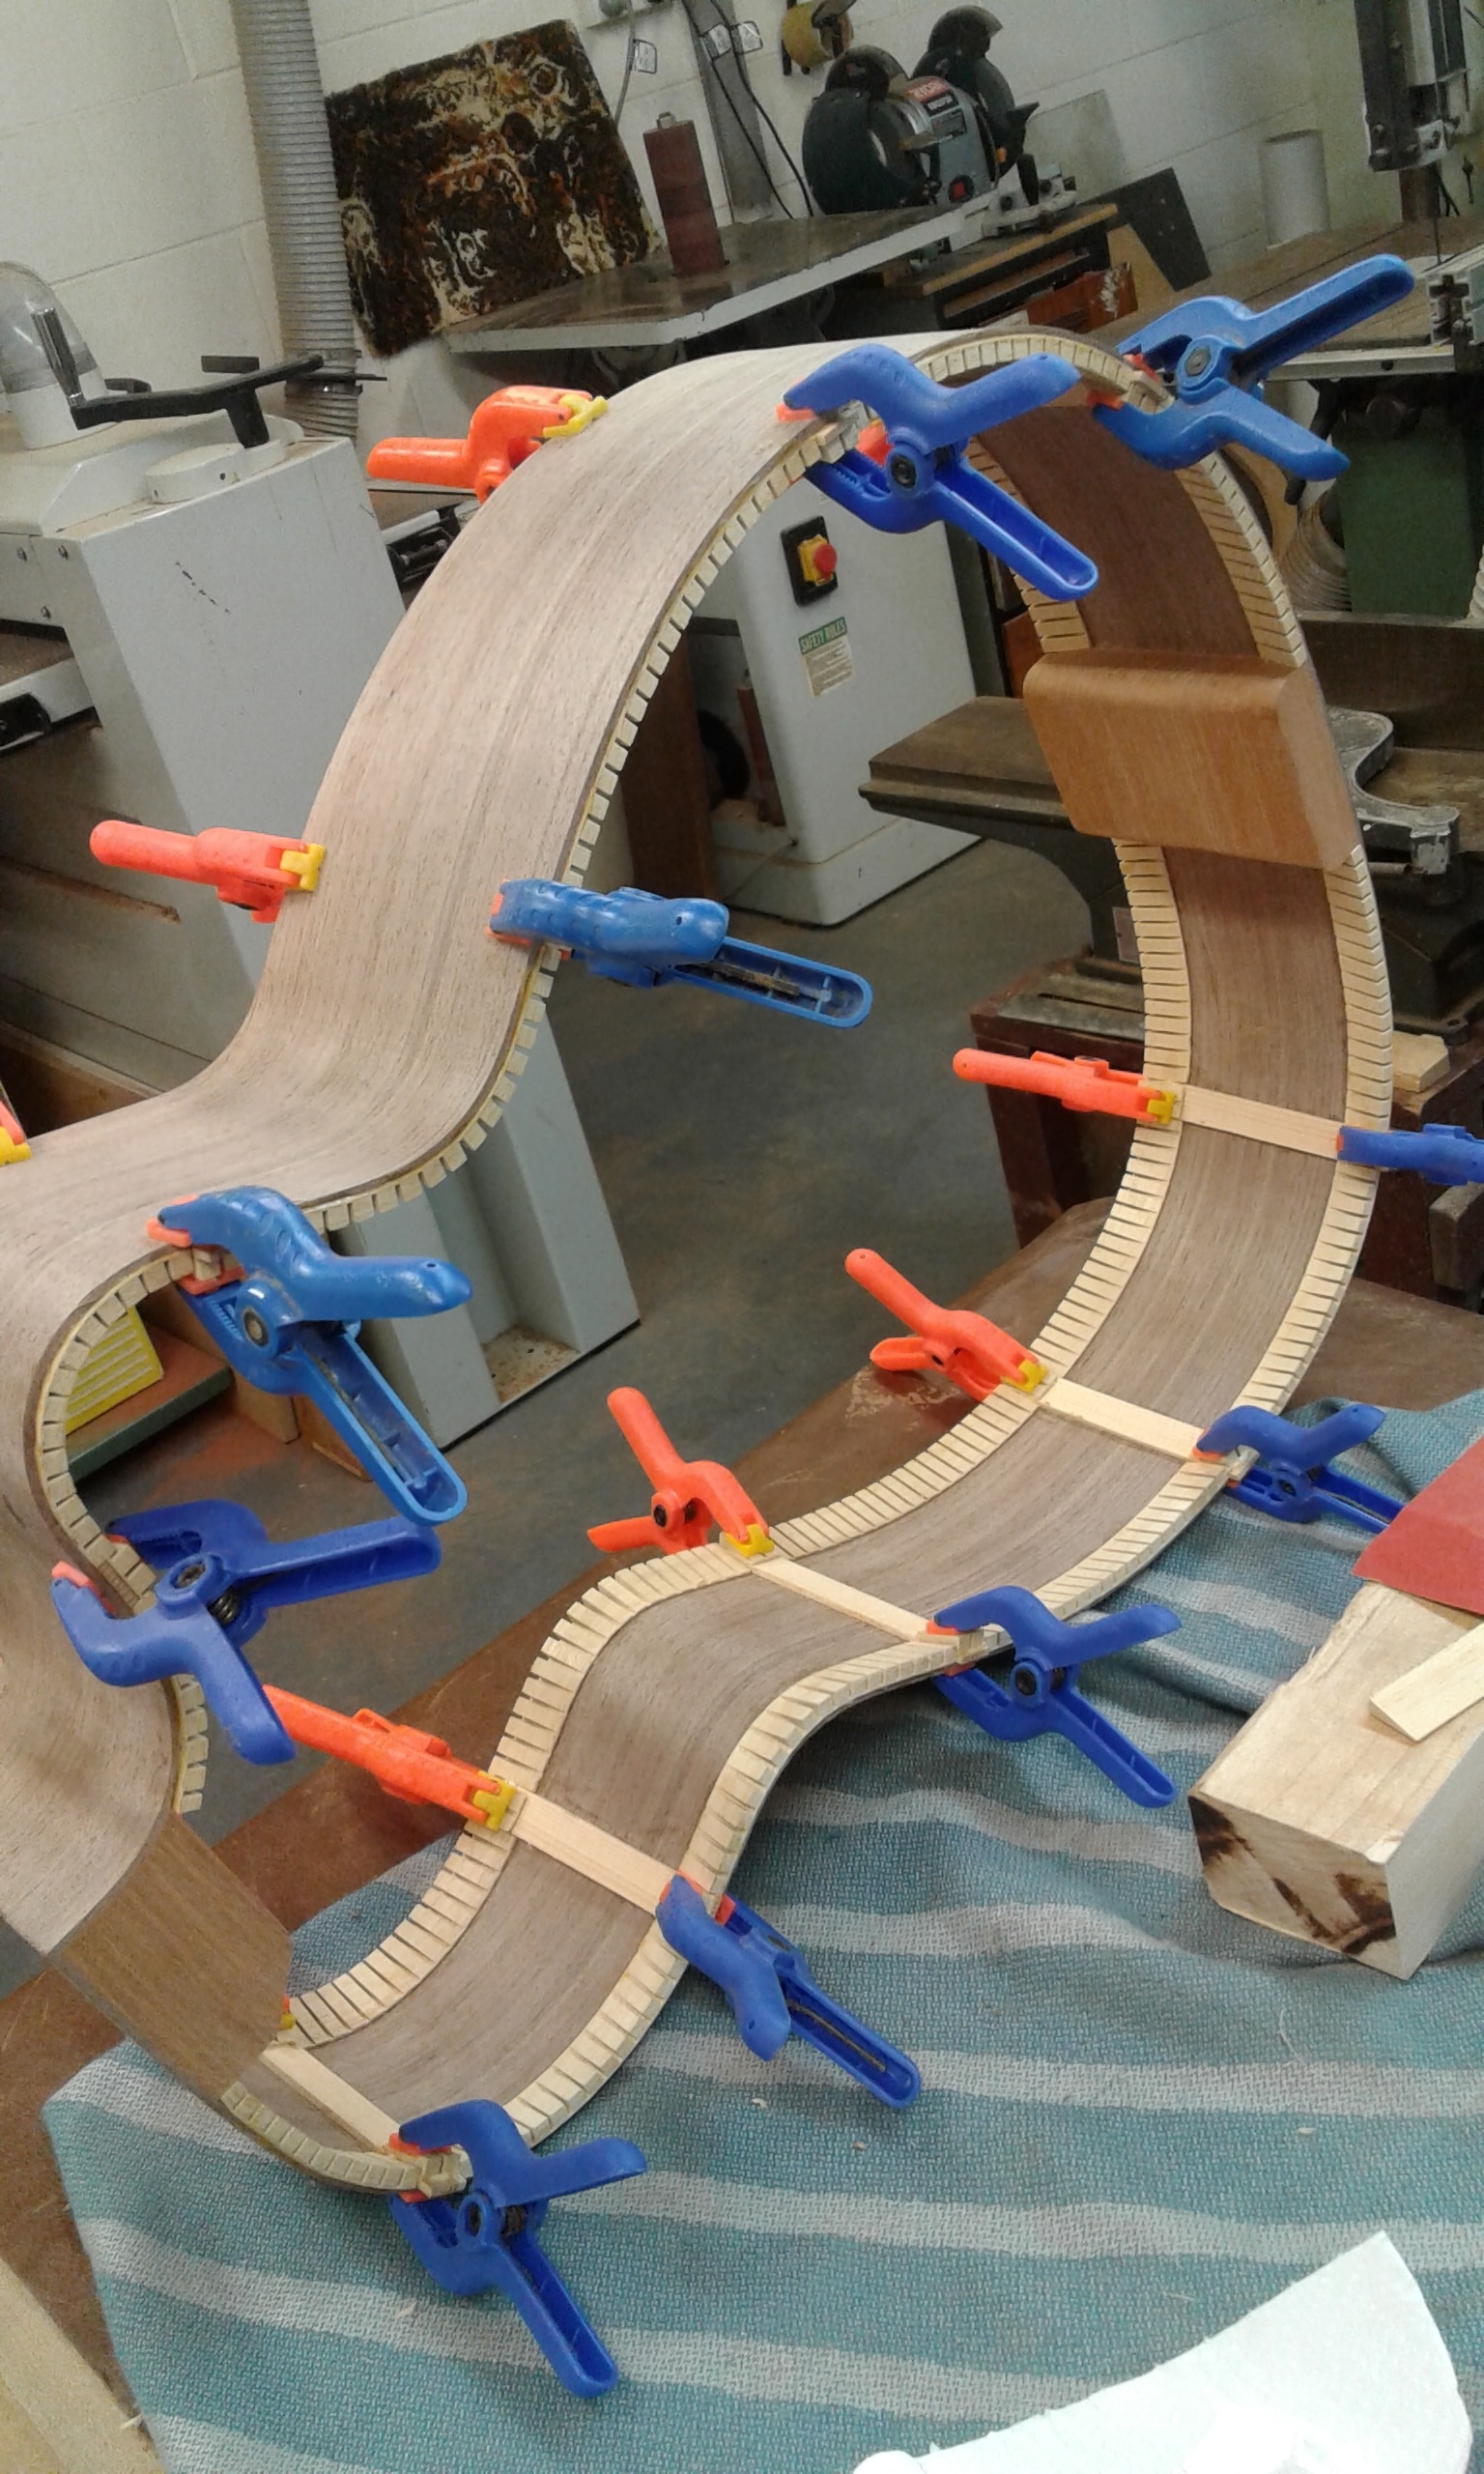
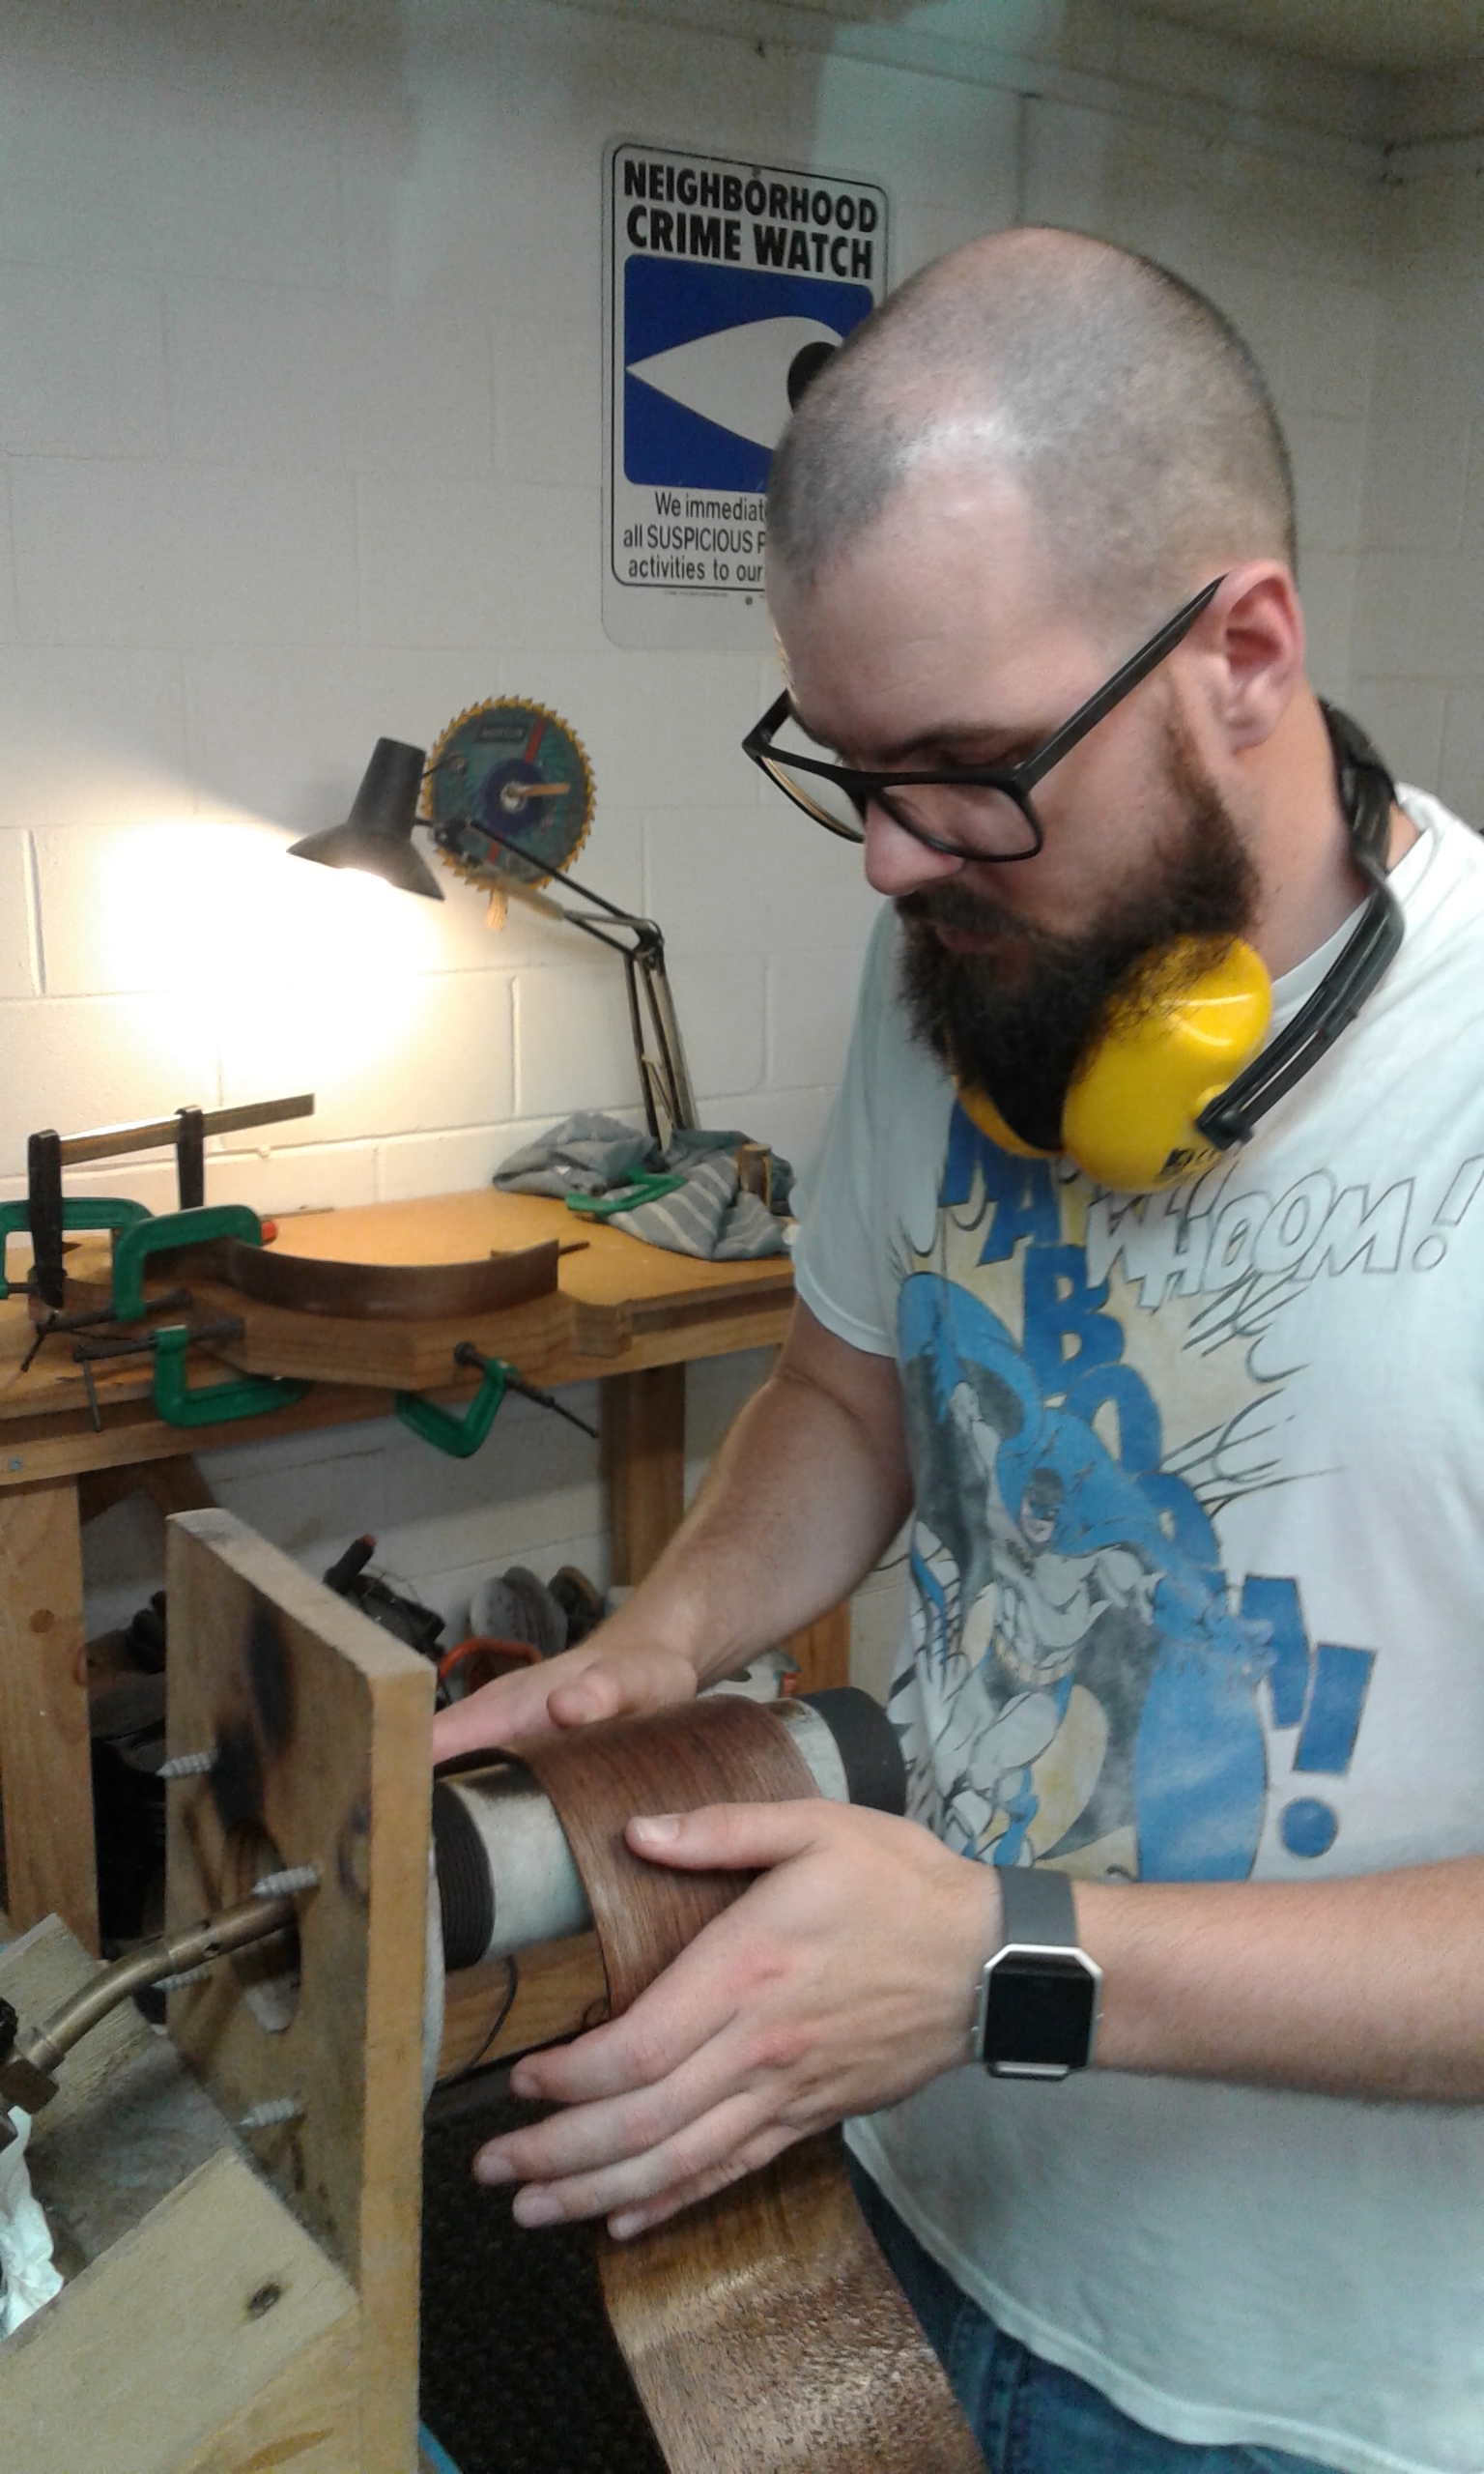
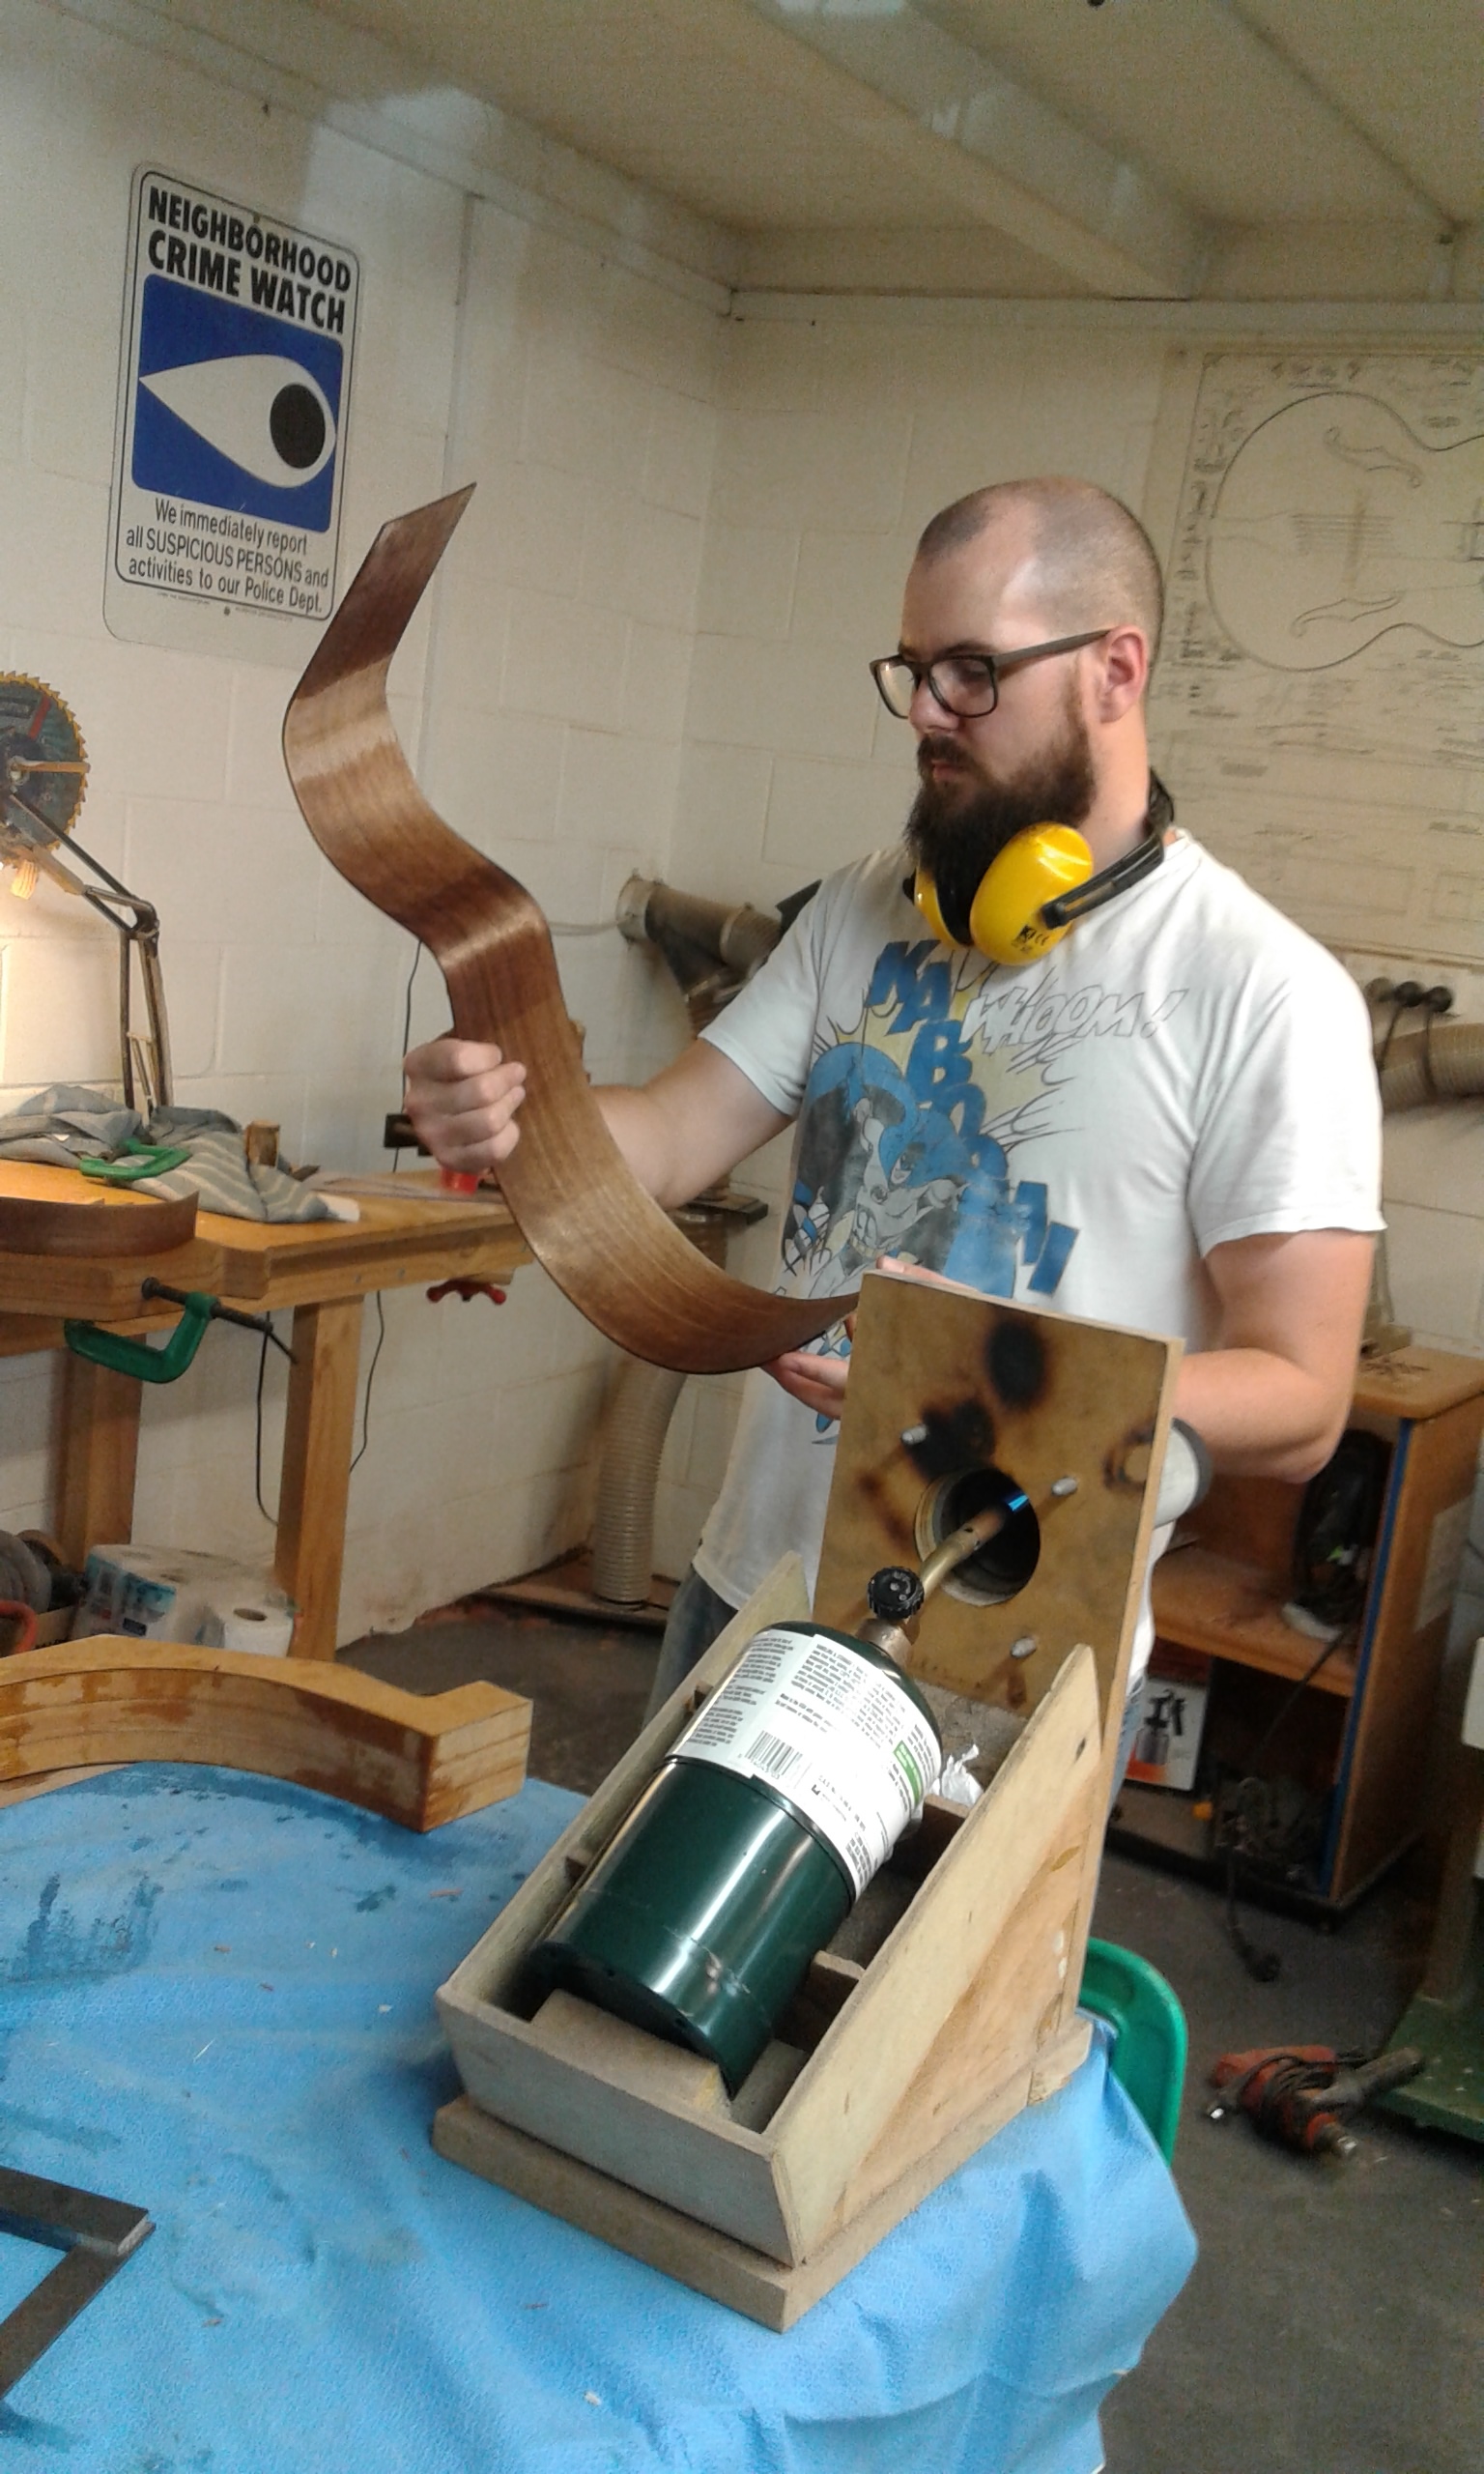
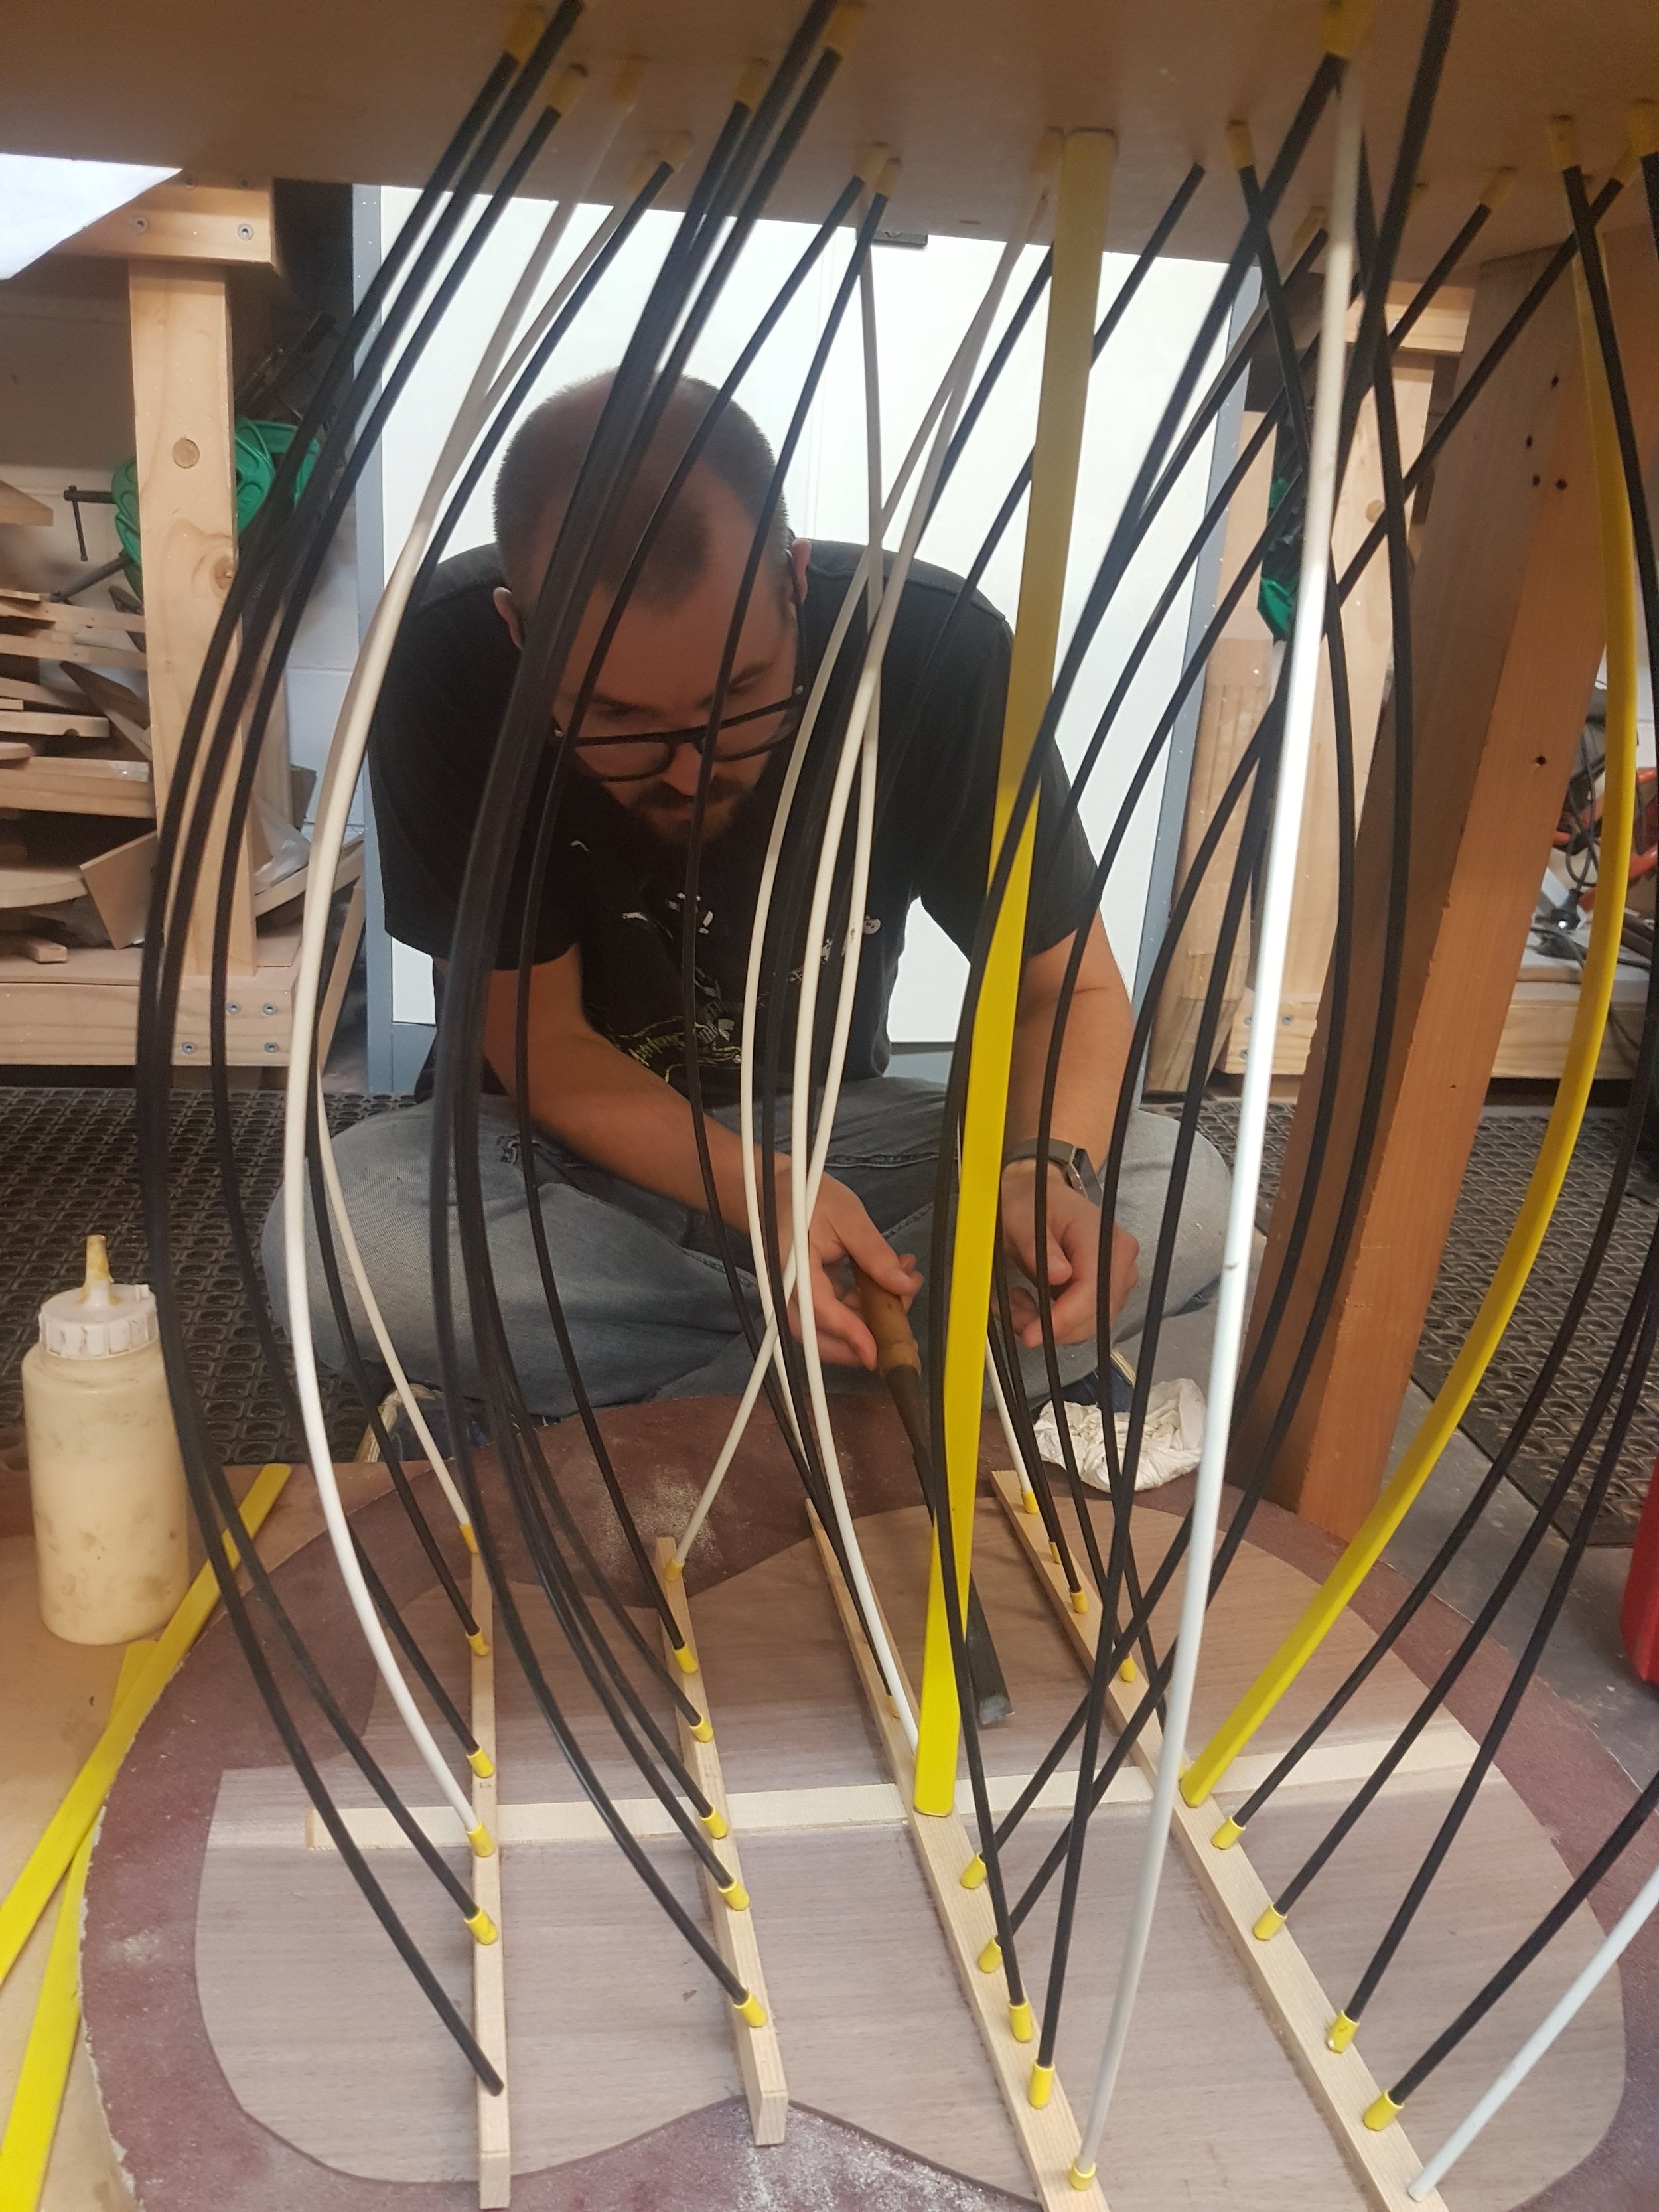
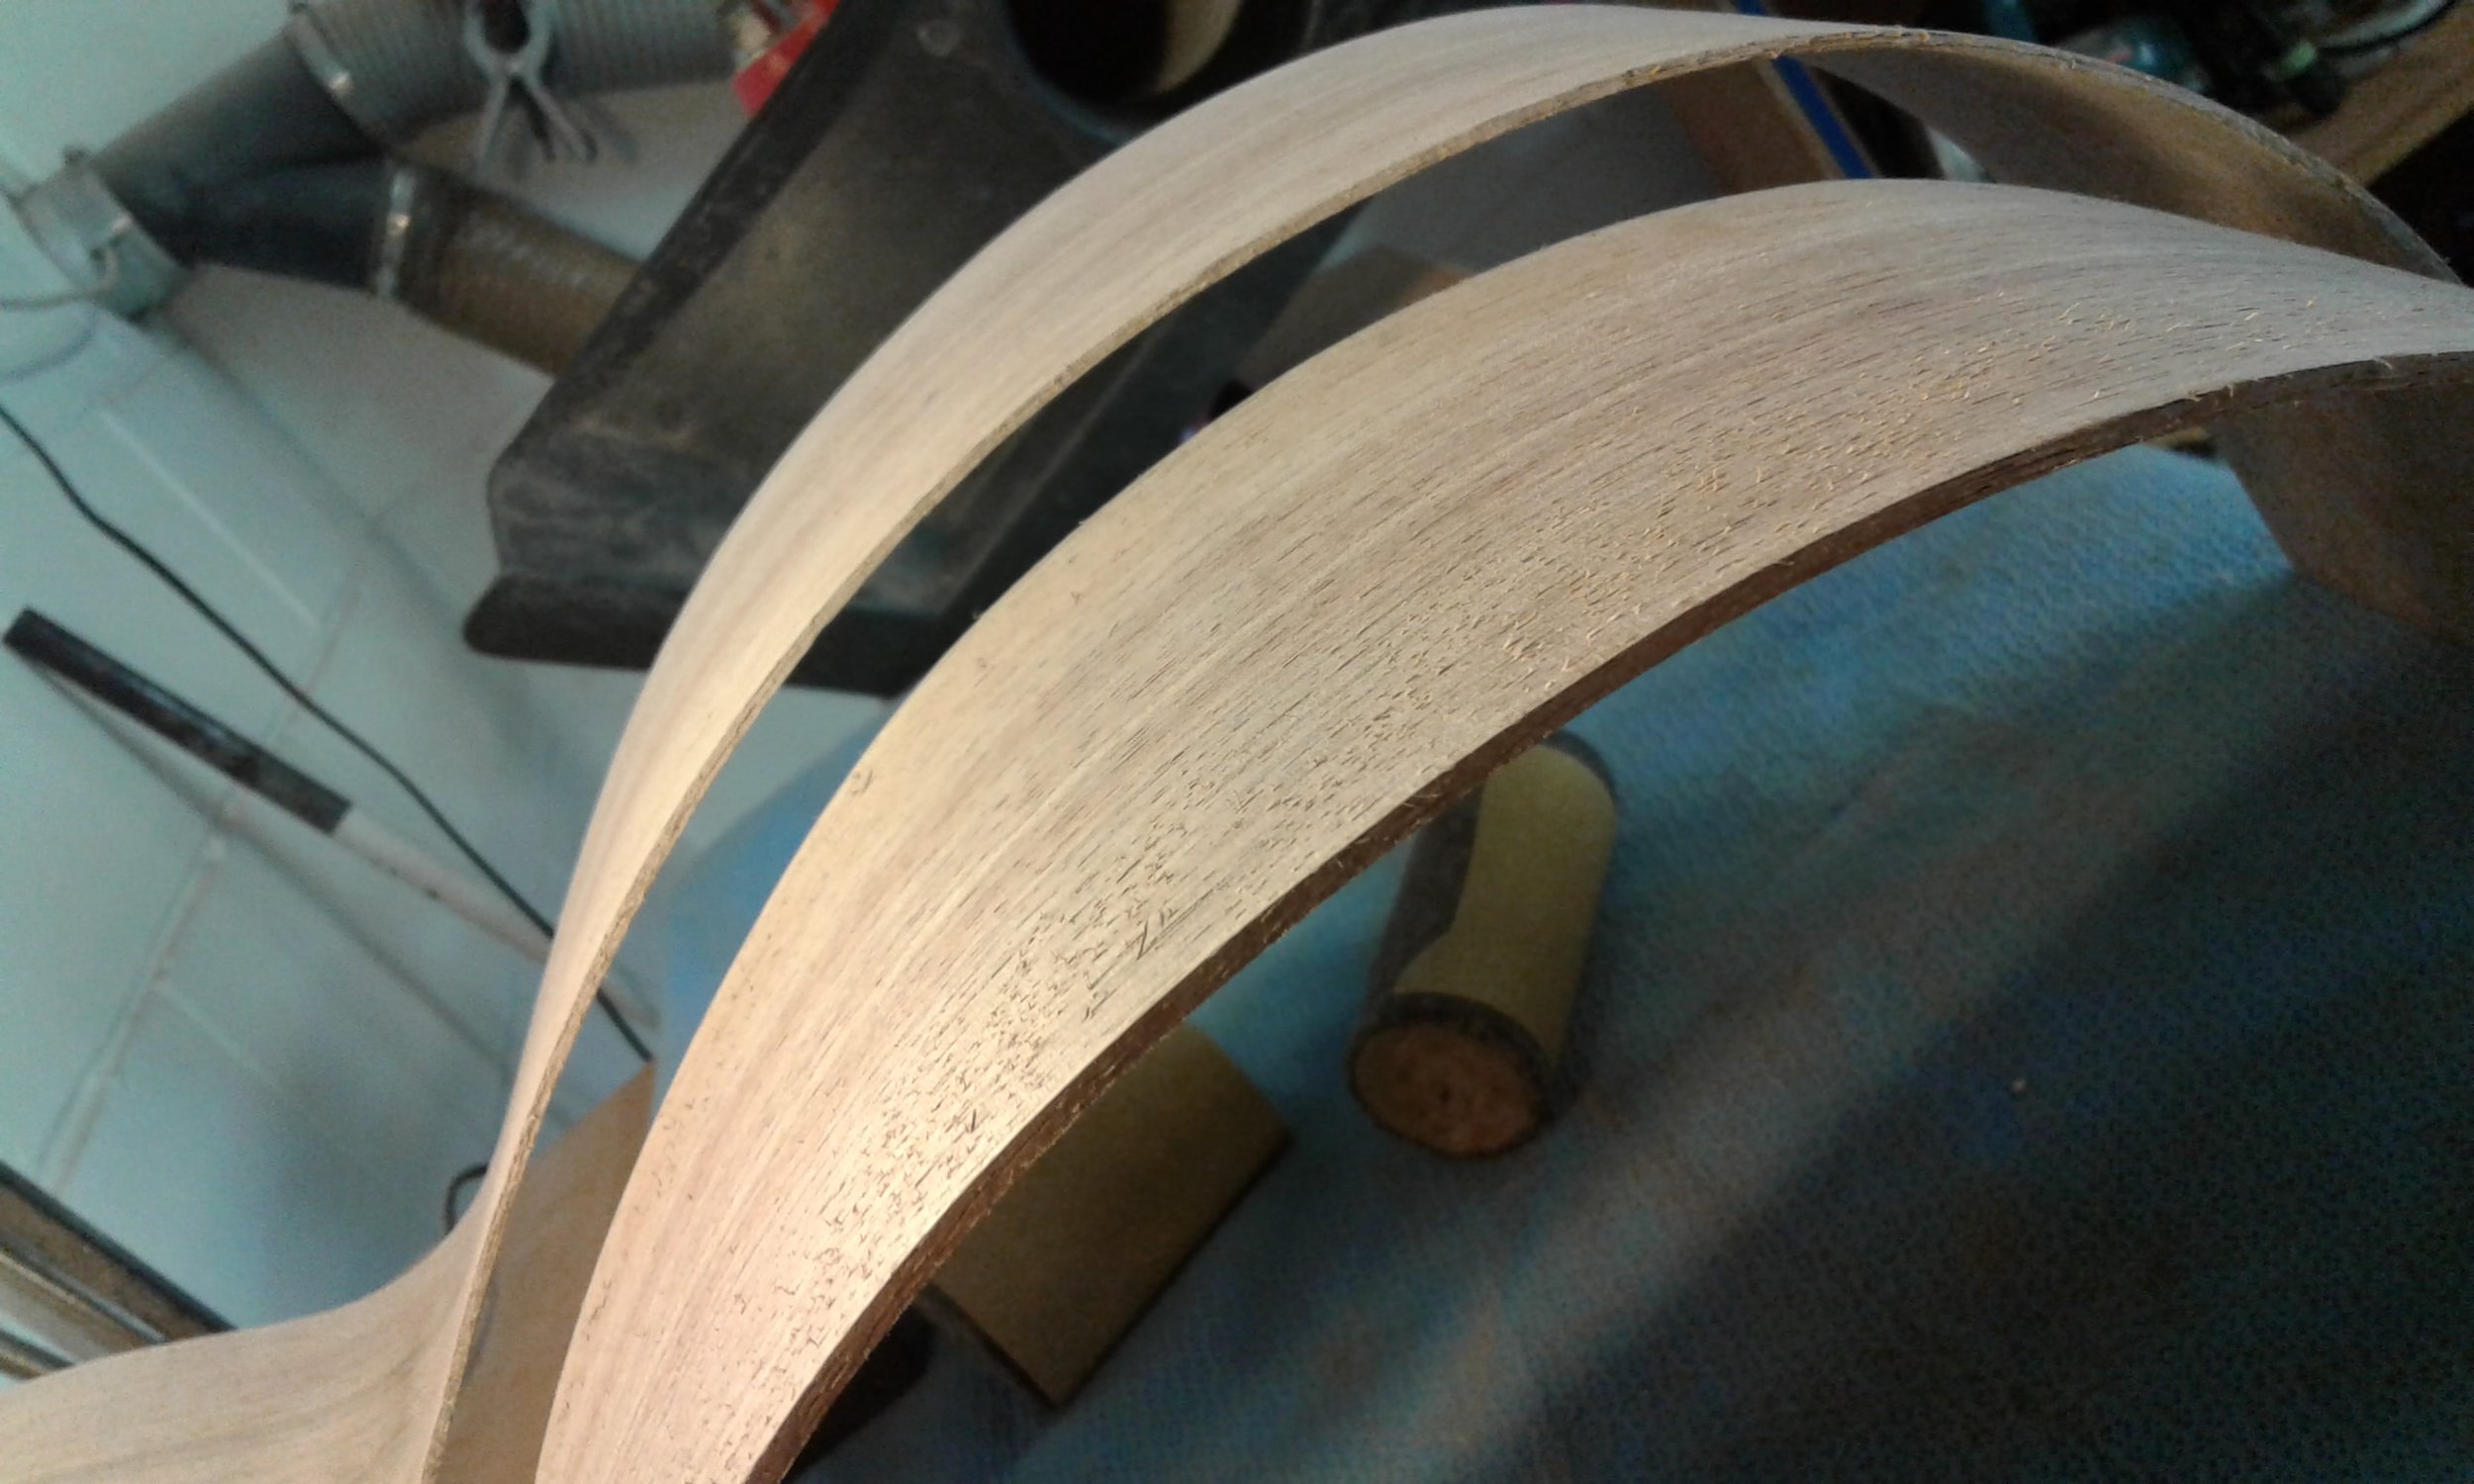
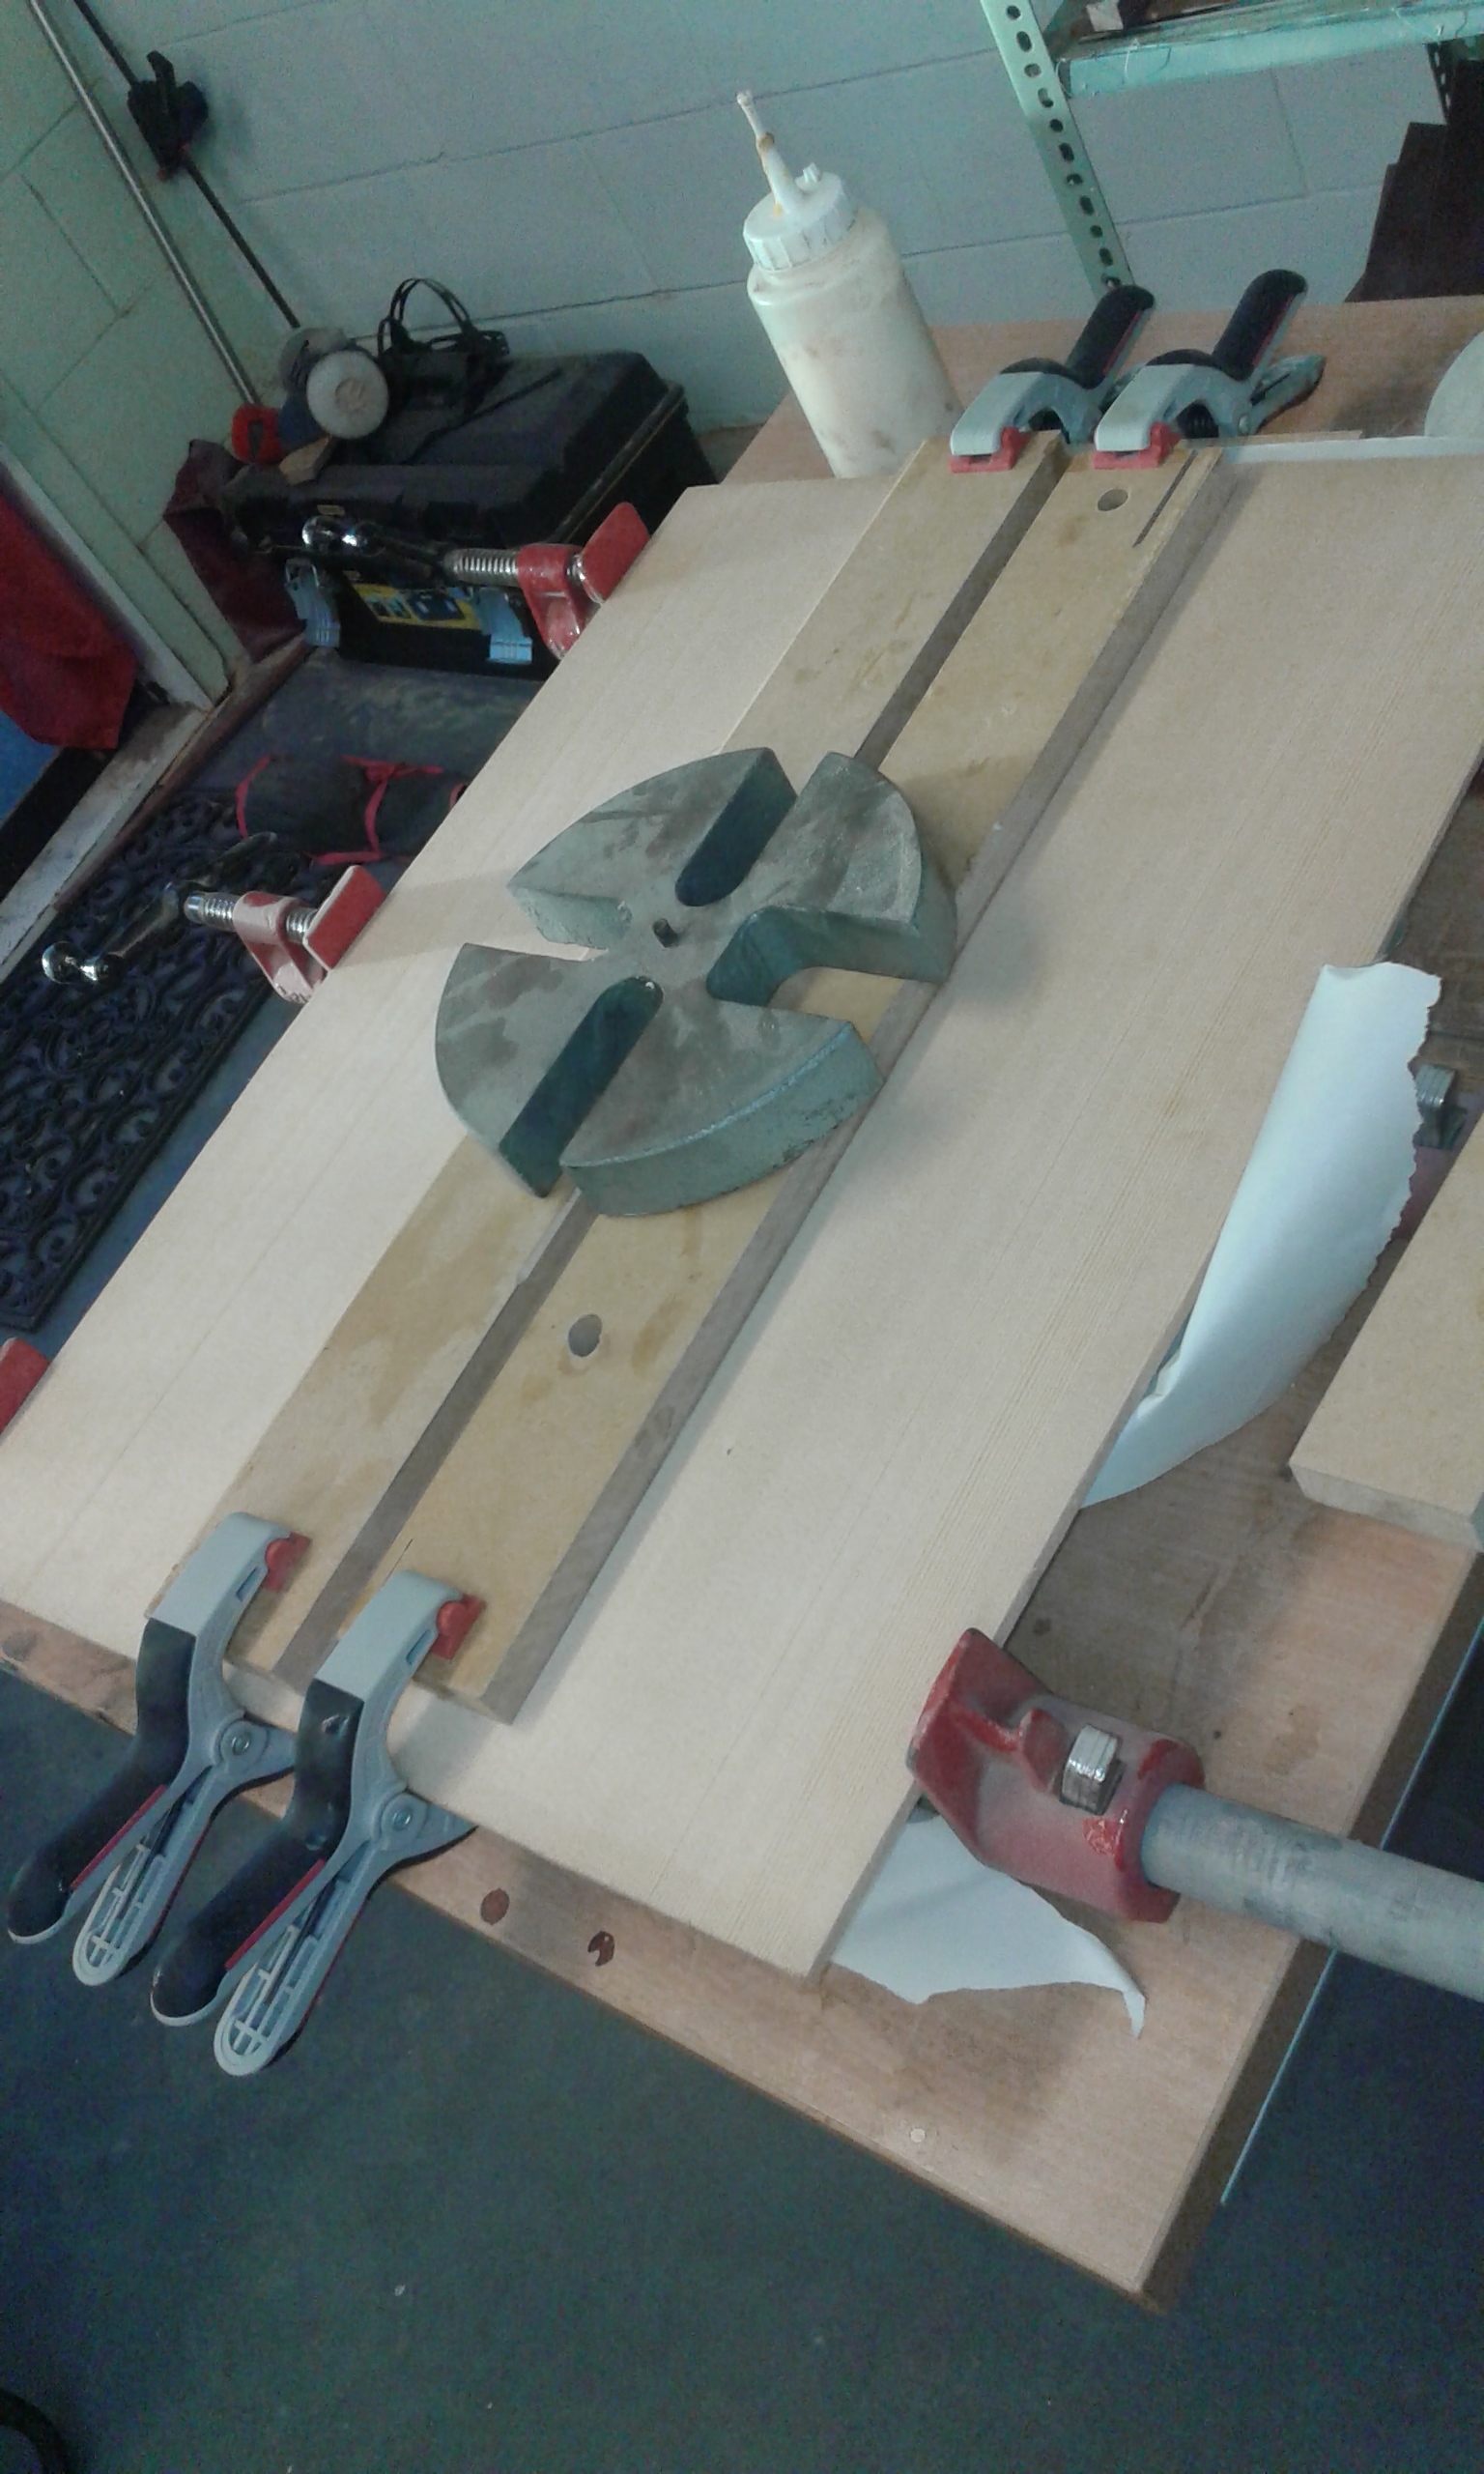
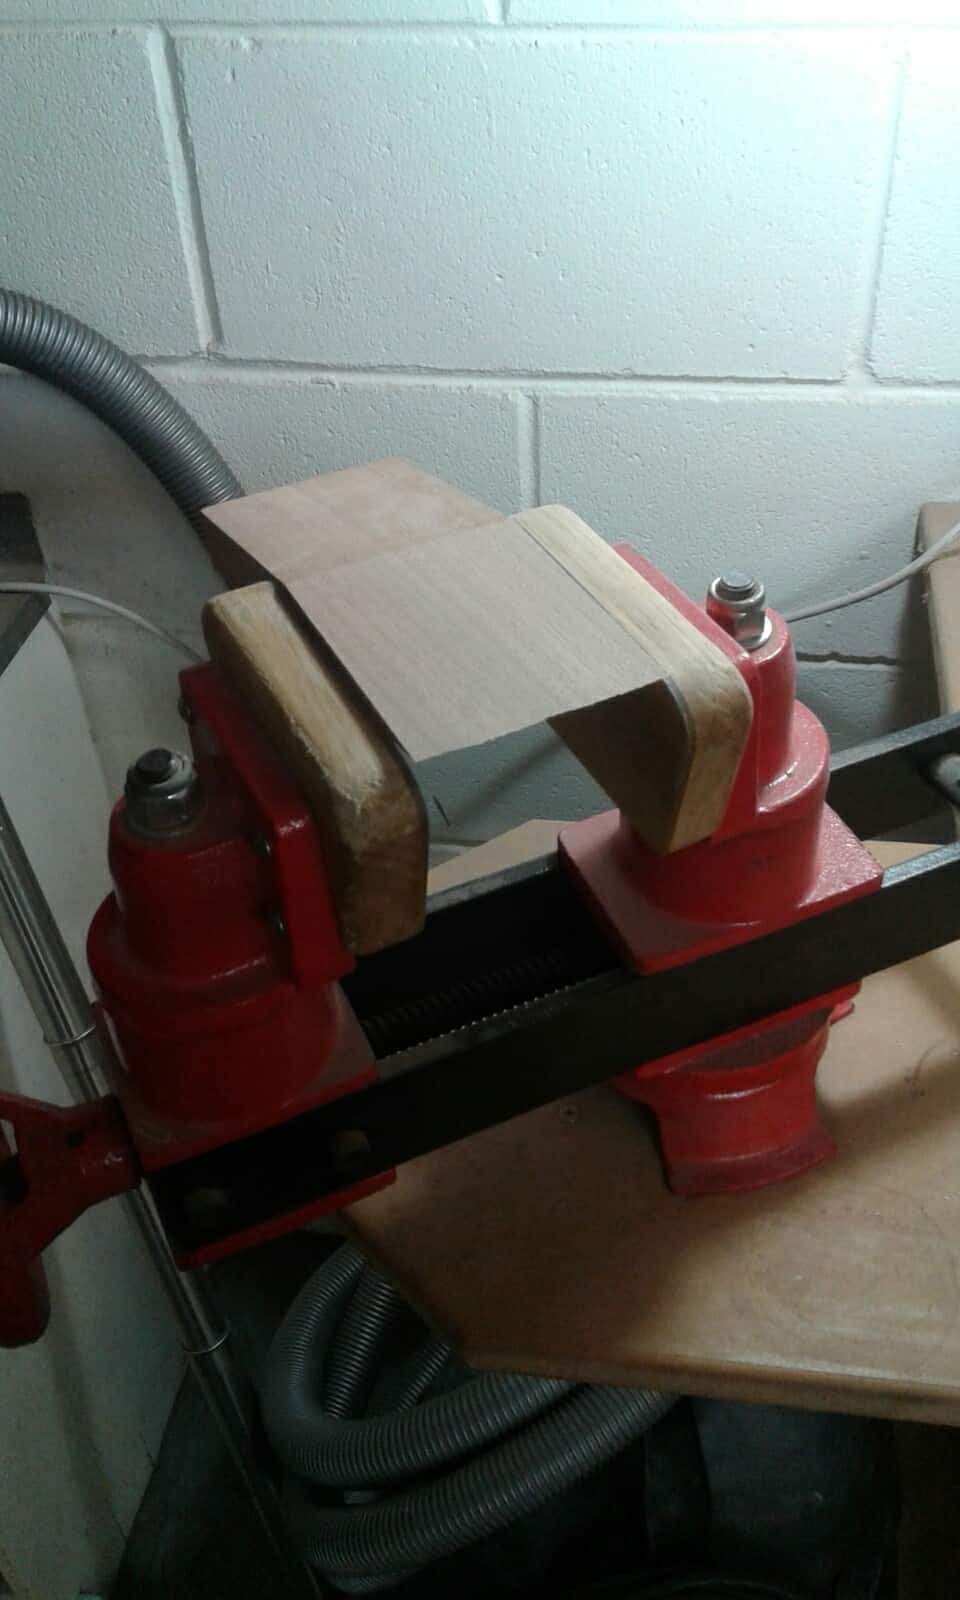
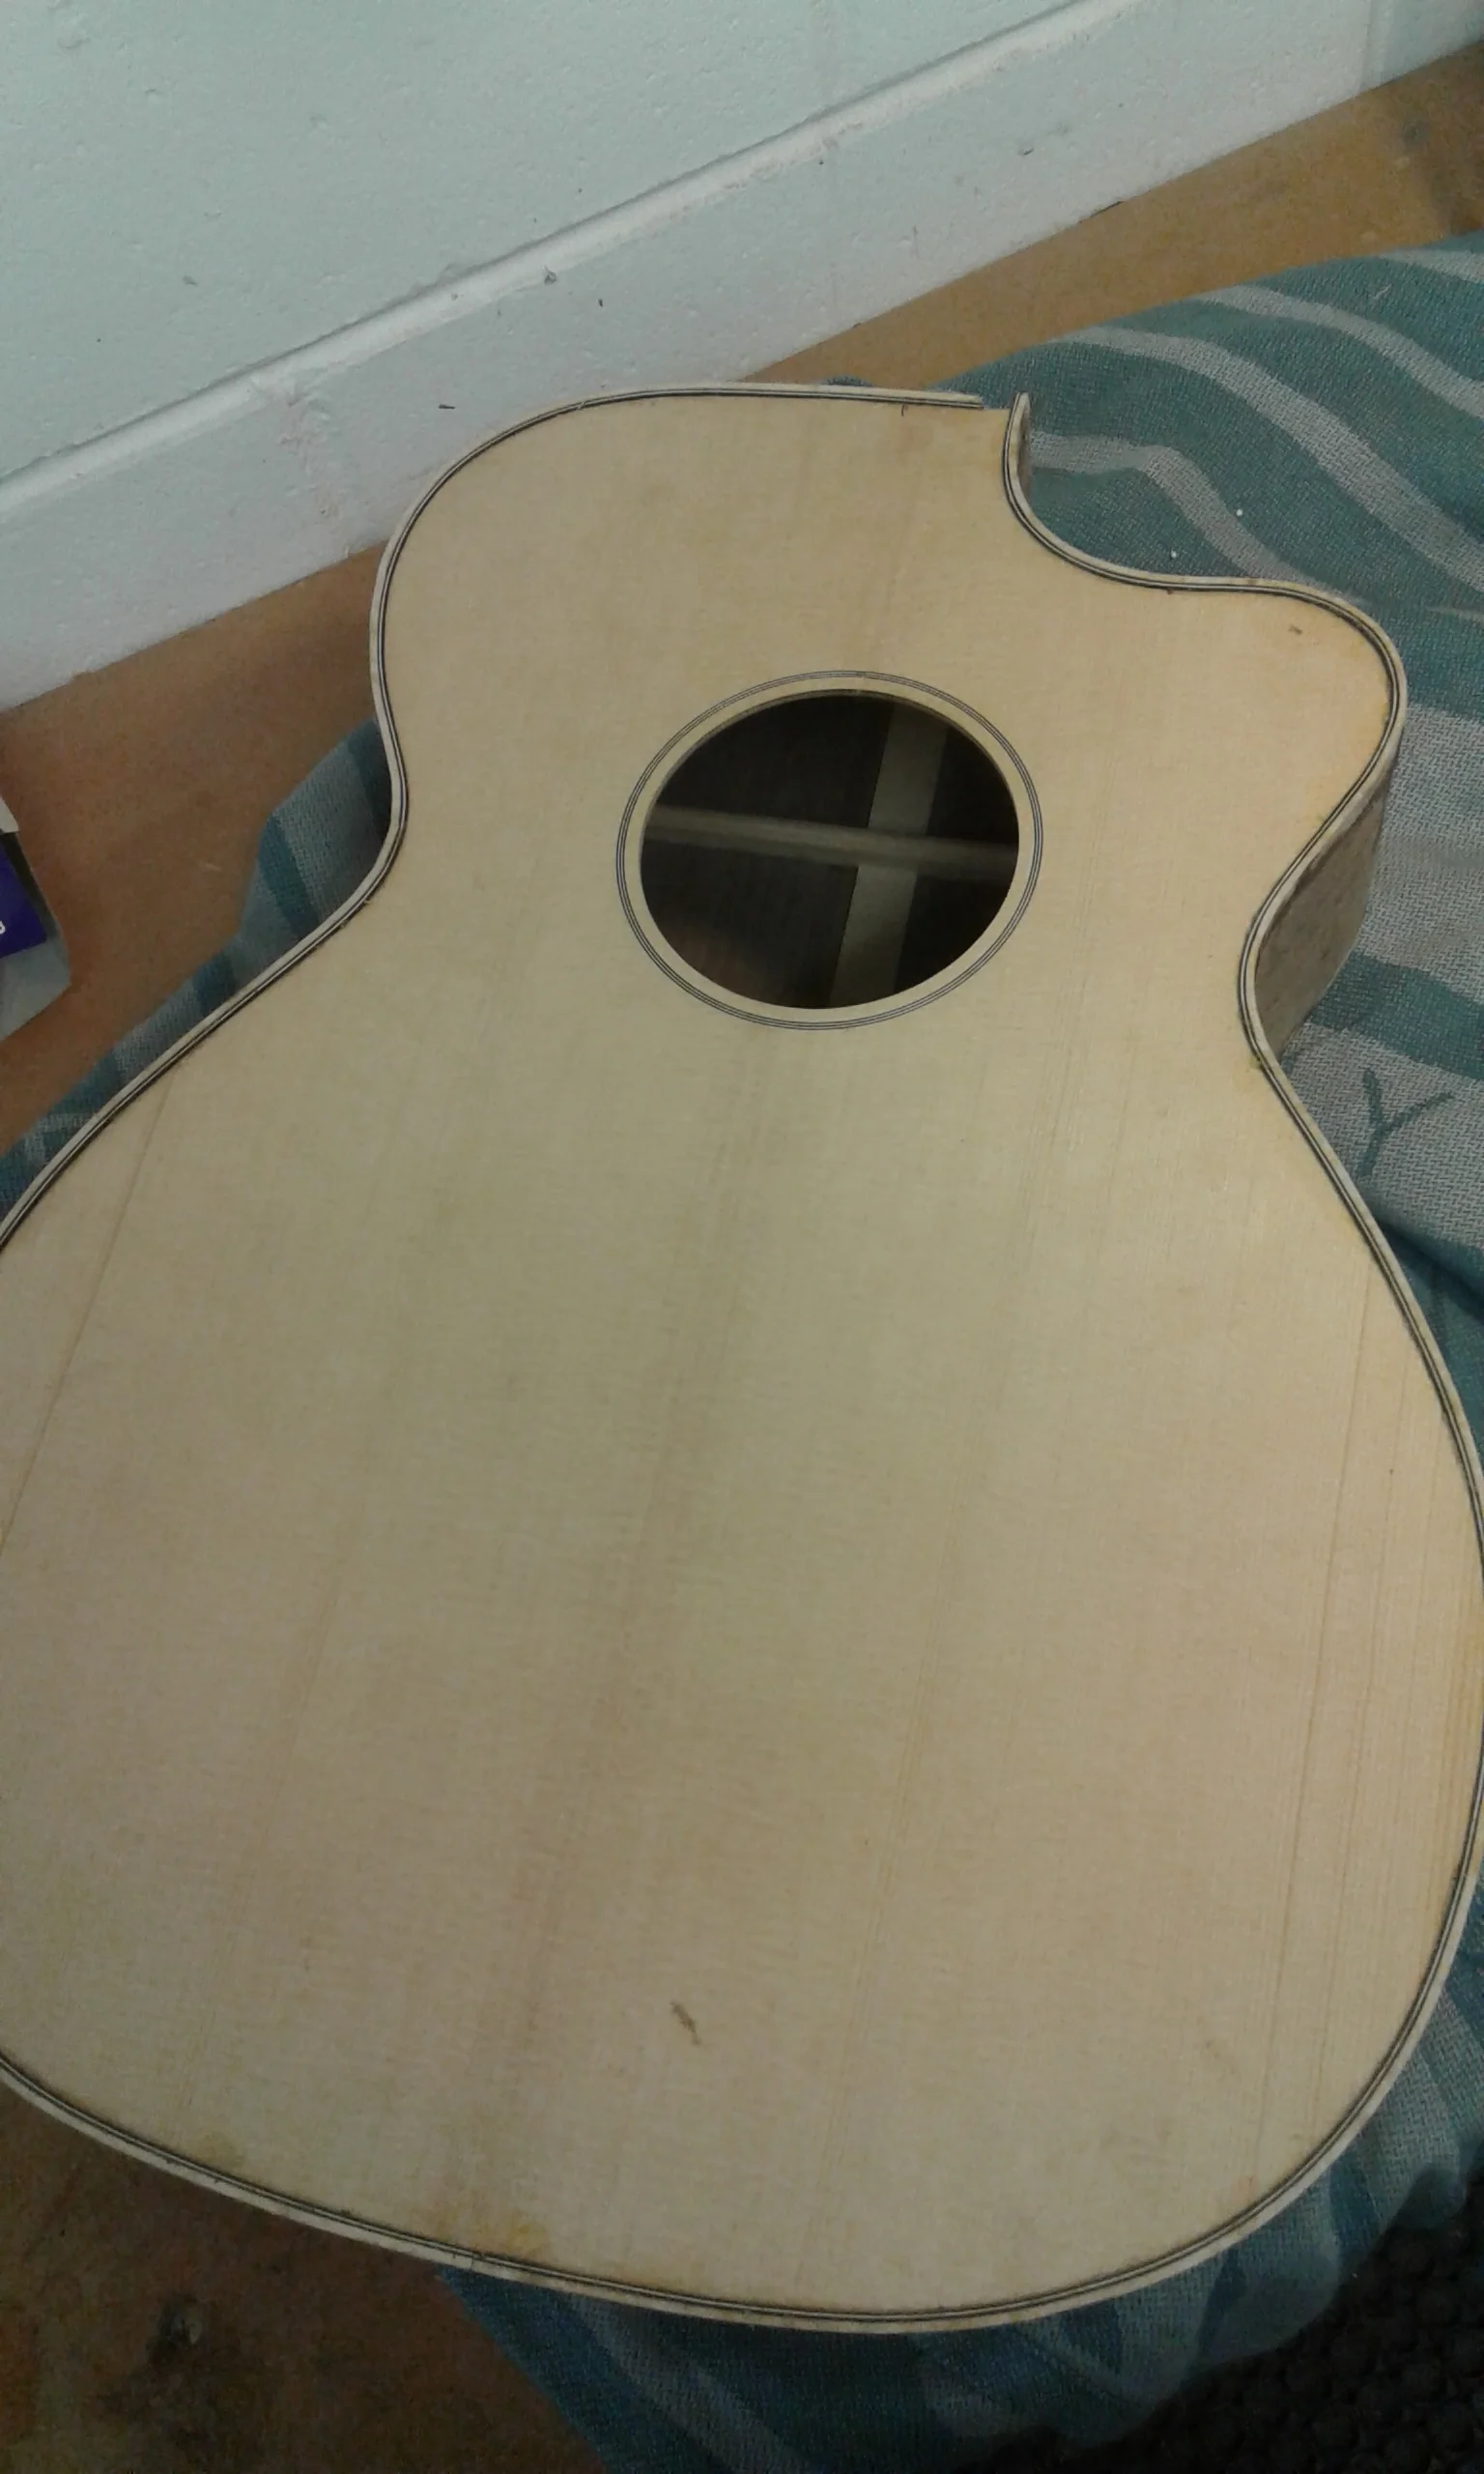
Having routed a path for it last time, today was all about securing on the Edging to the Body. This meant the return of the side-bending apparatus so that I could roughly match the contour of the sides again. It was a little more particular this time around, having a small amount of material to bend and a very hot pipe to bend on. Once all the sides were bent, we ran glue along the edge and taped the edging into place. This took the whole night.
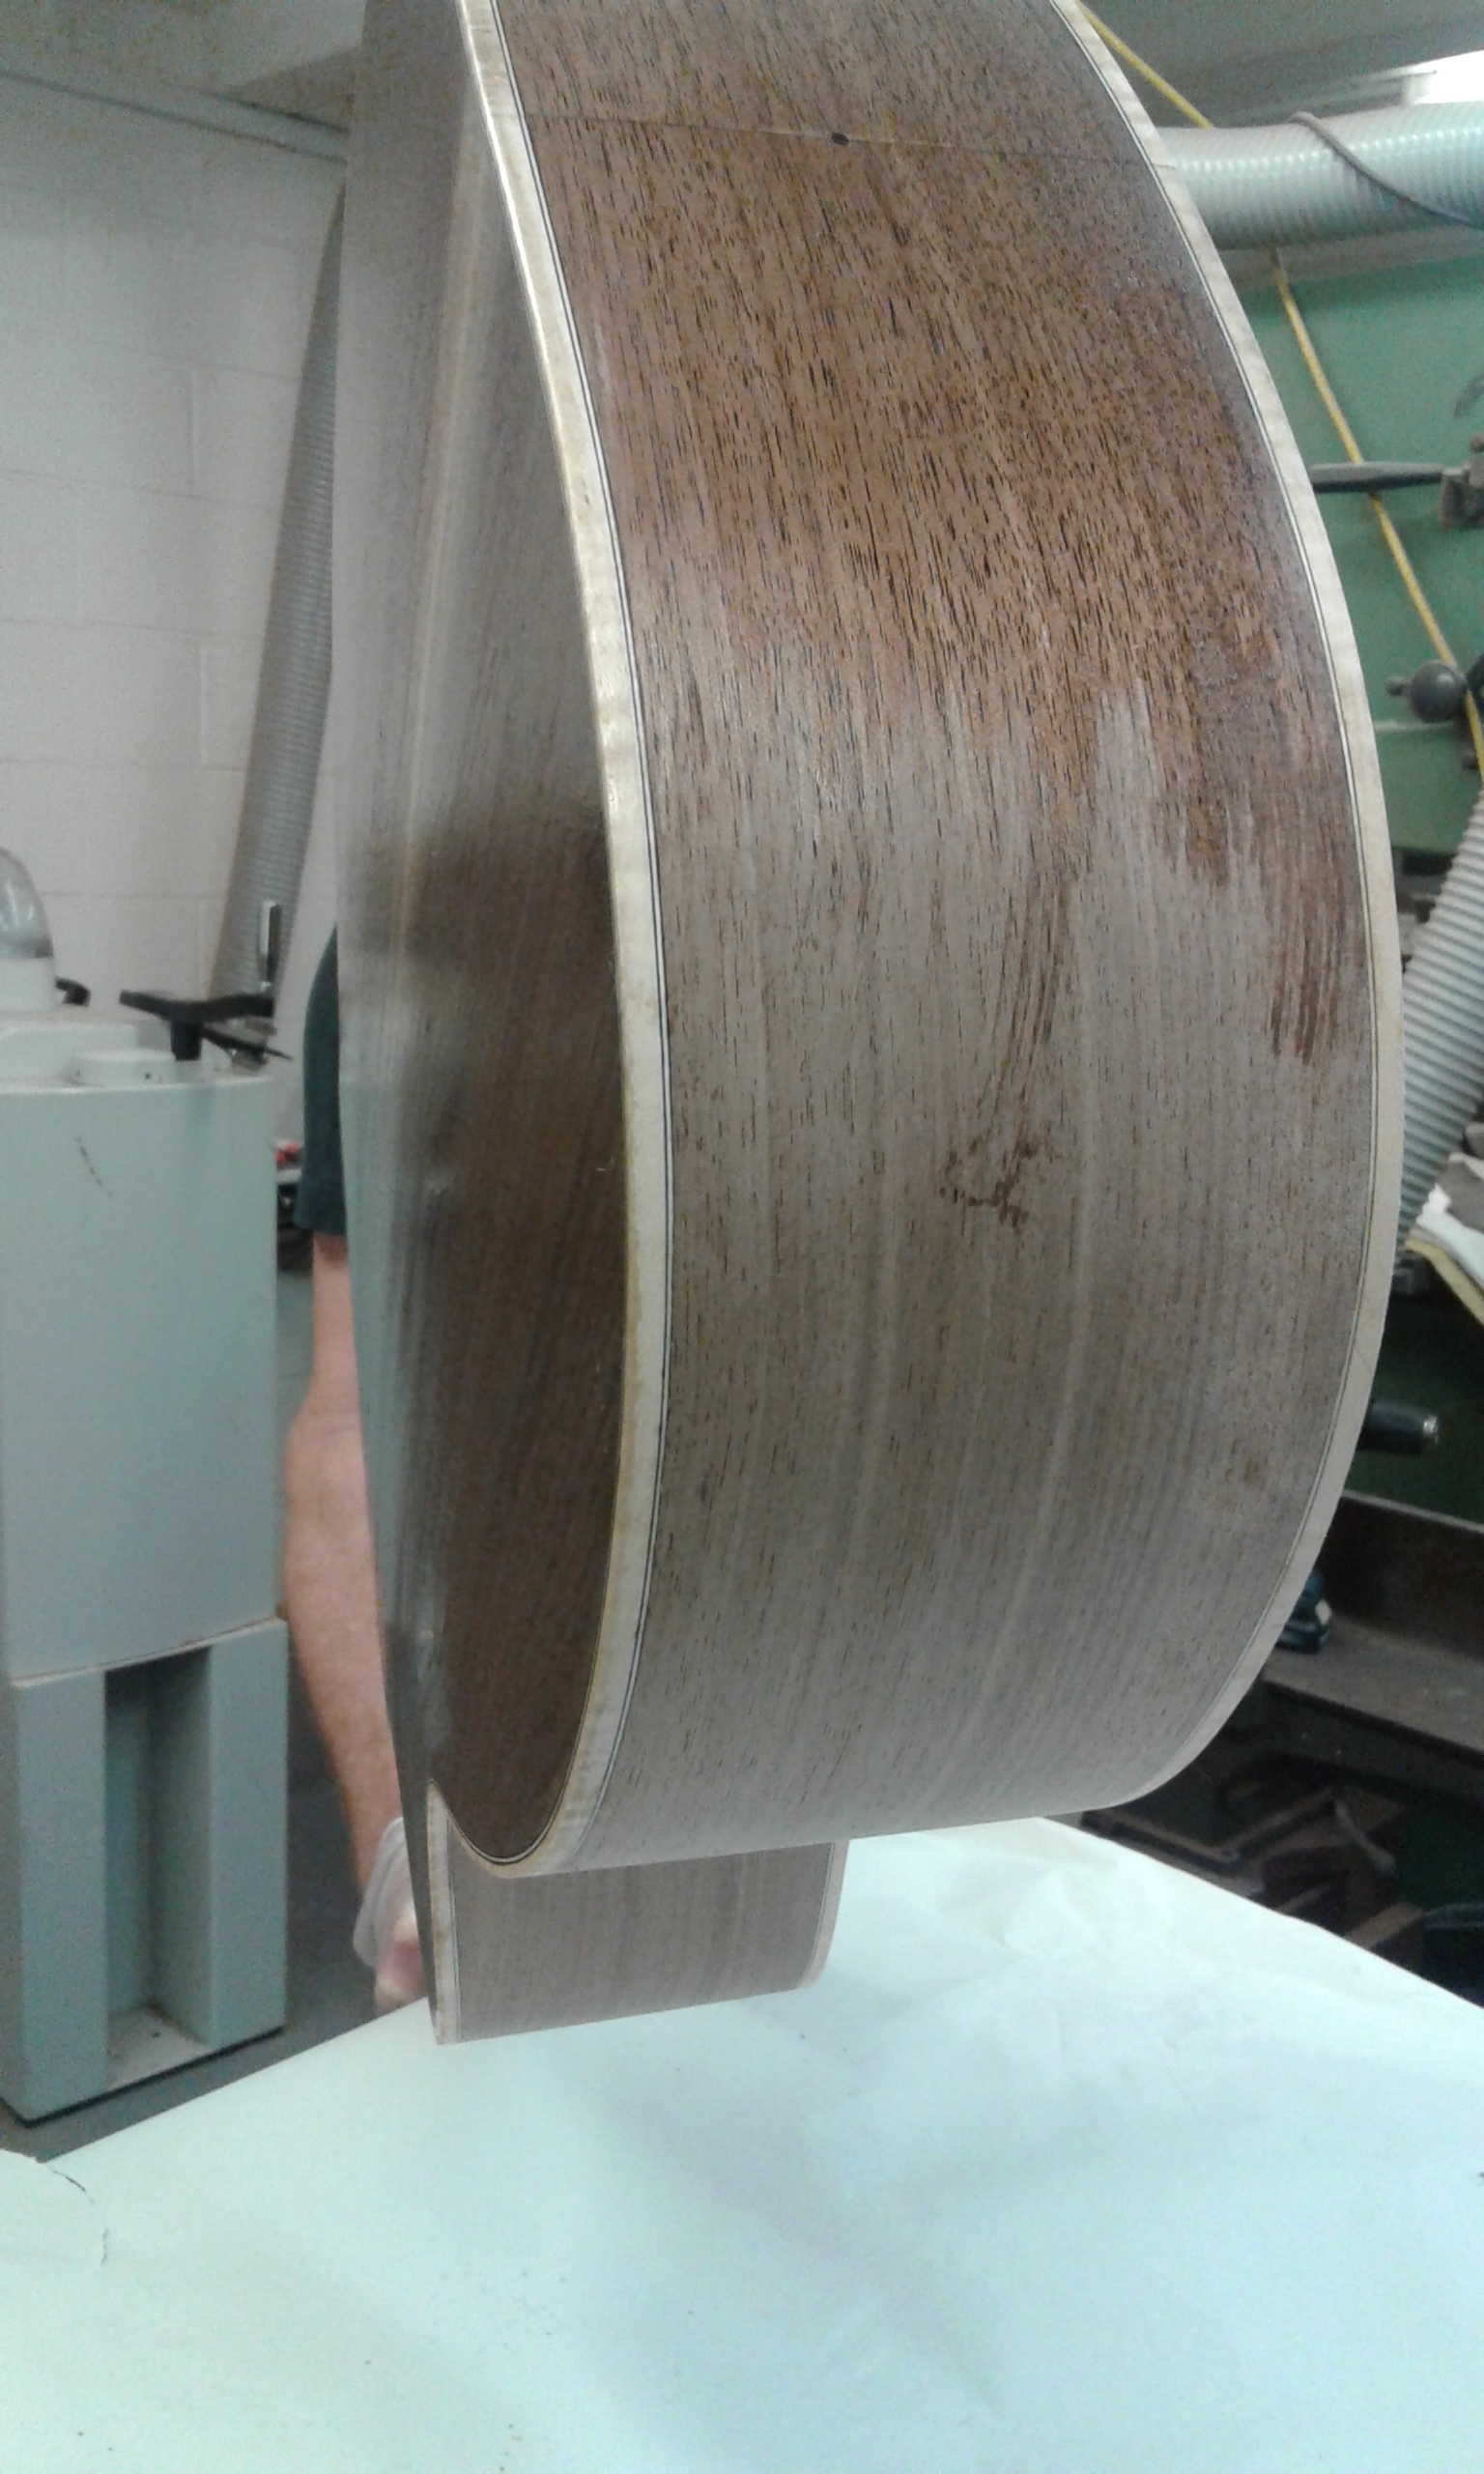
Session Twenty-Four
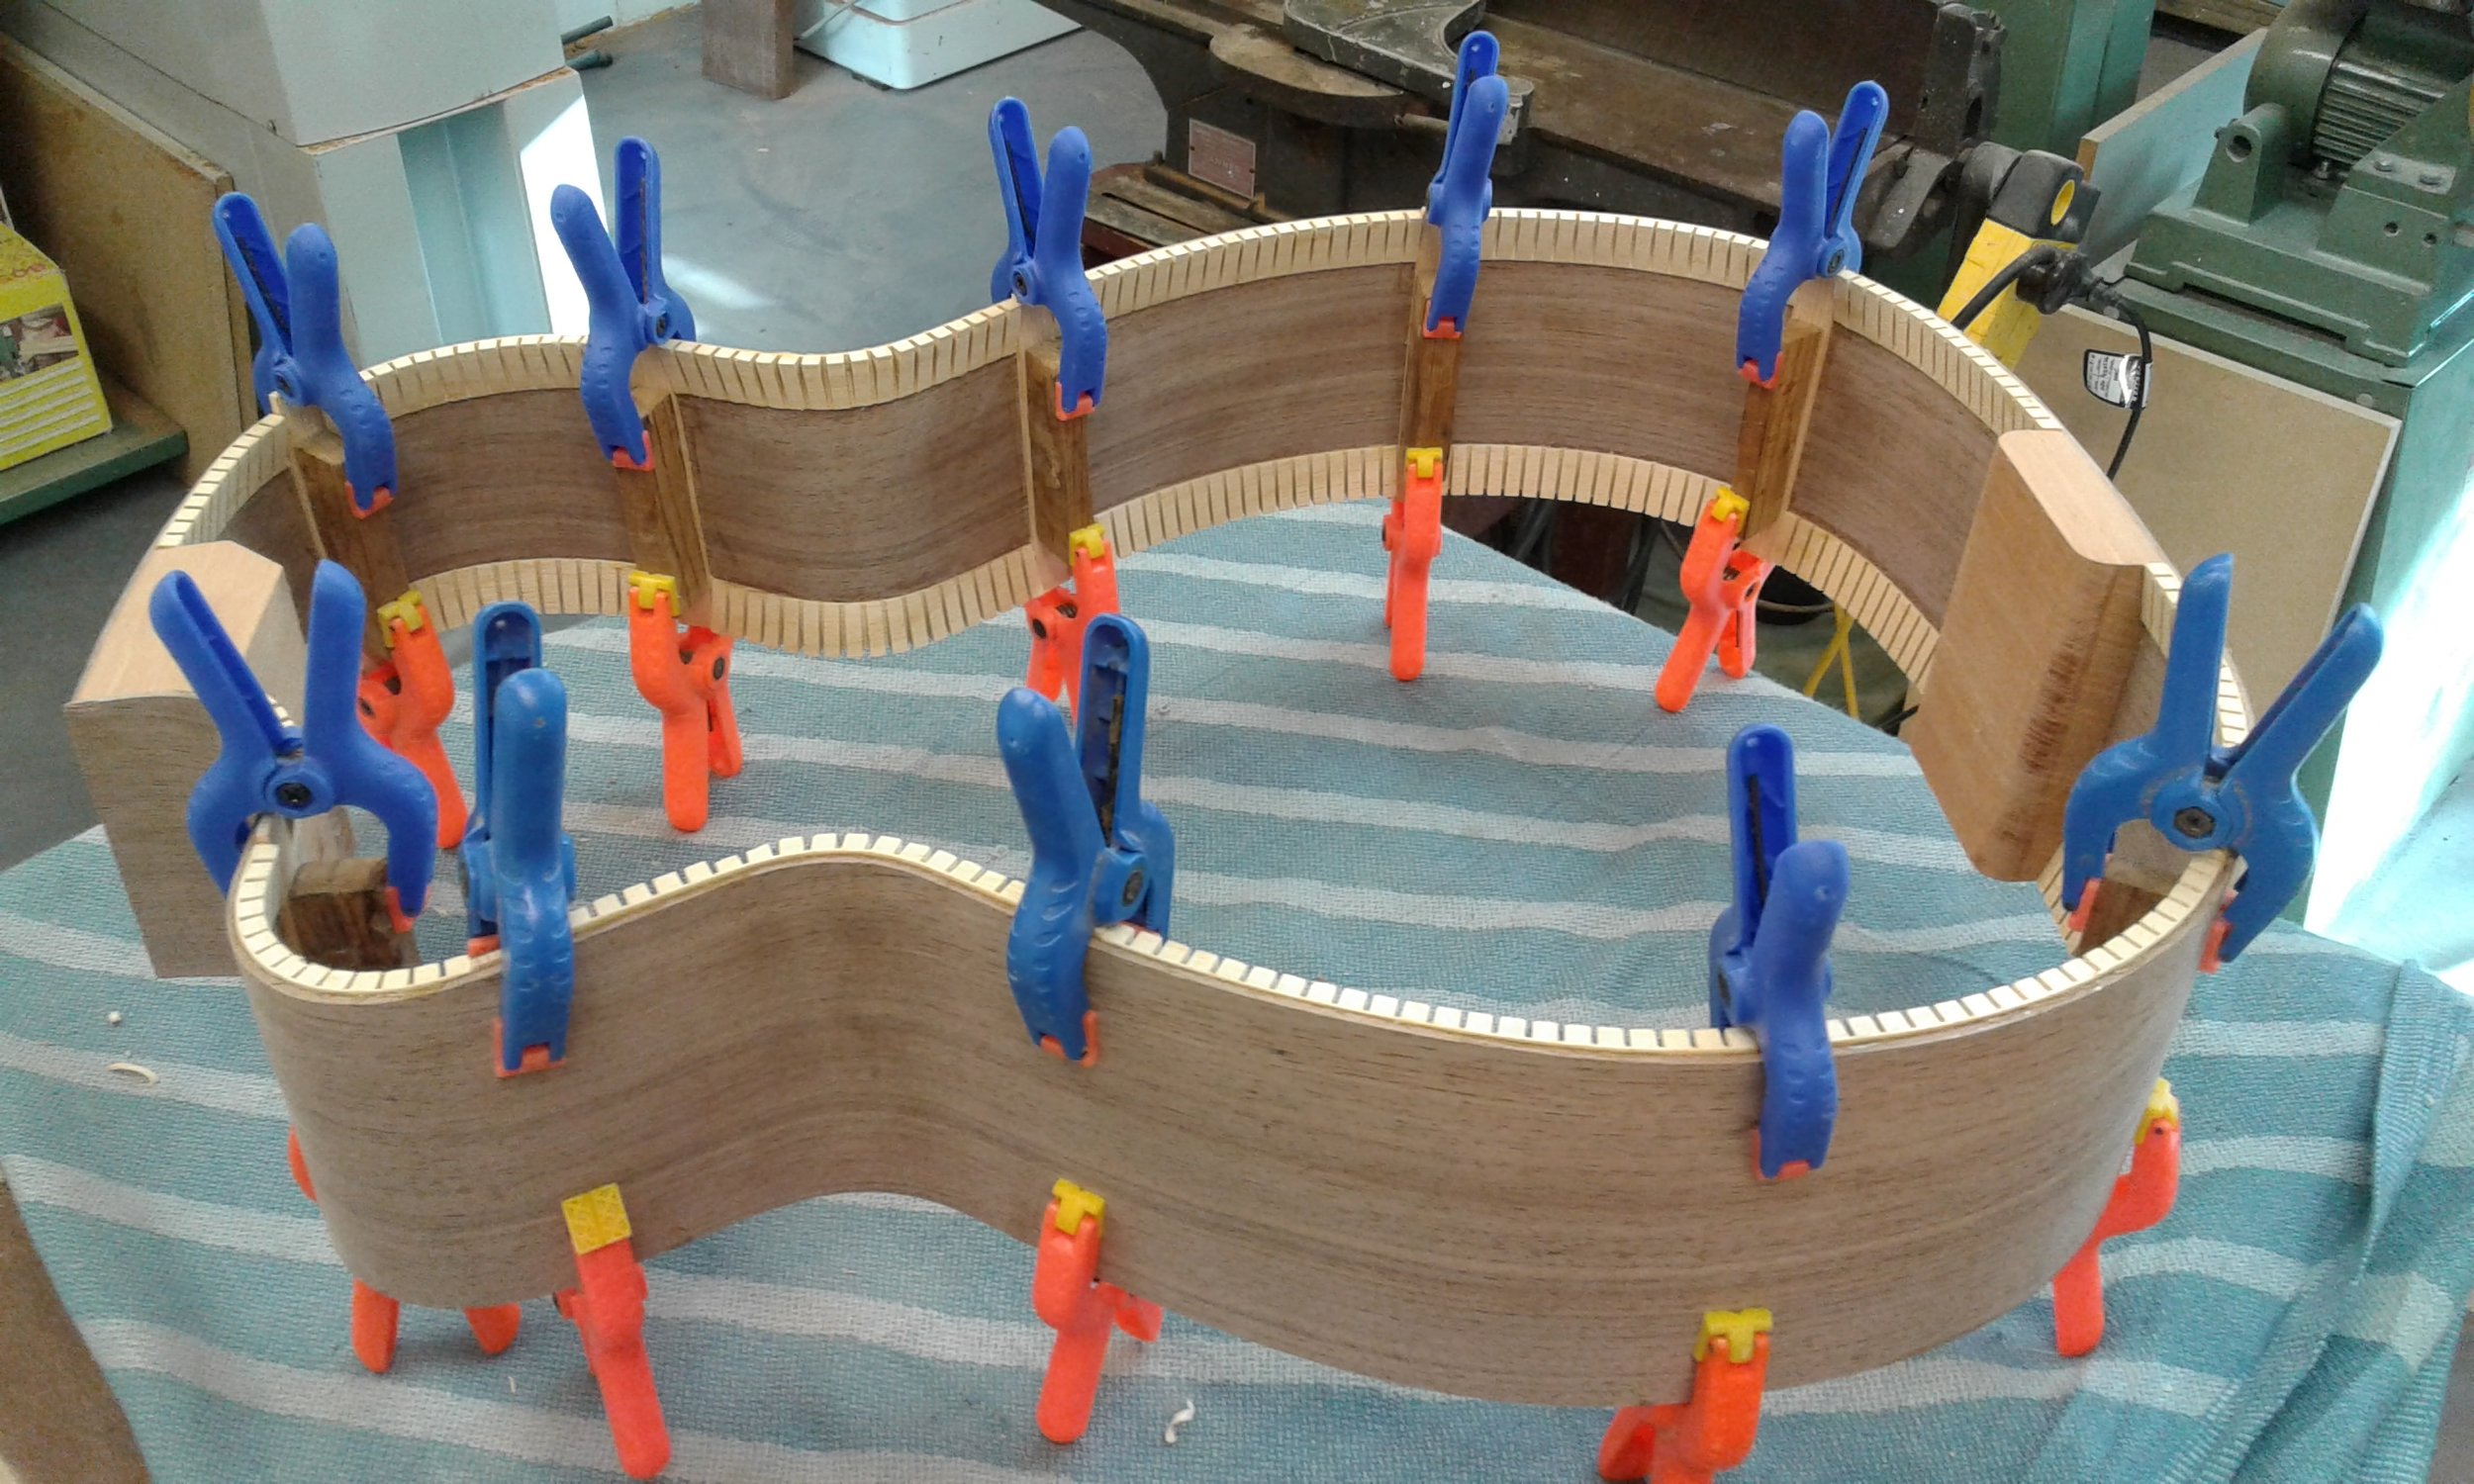
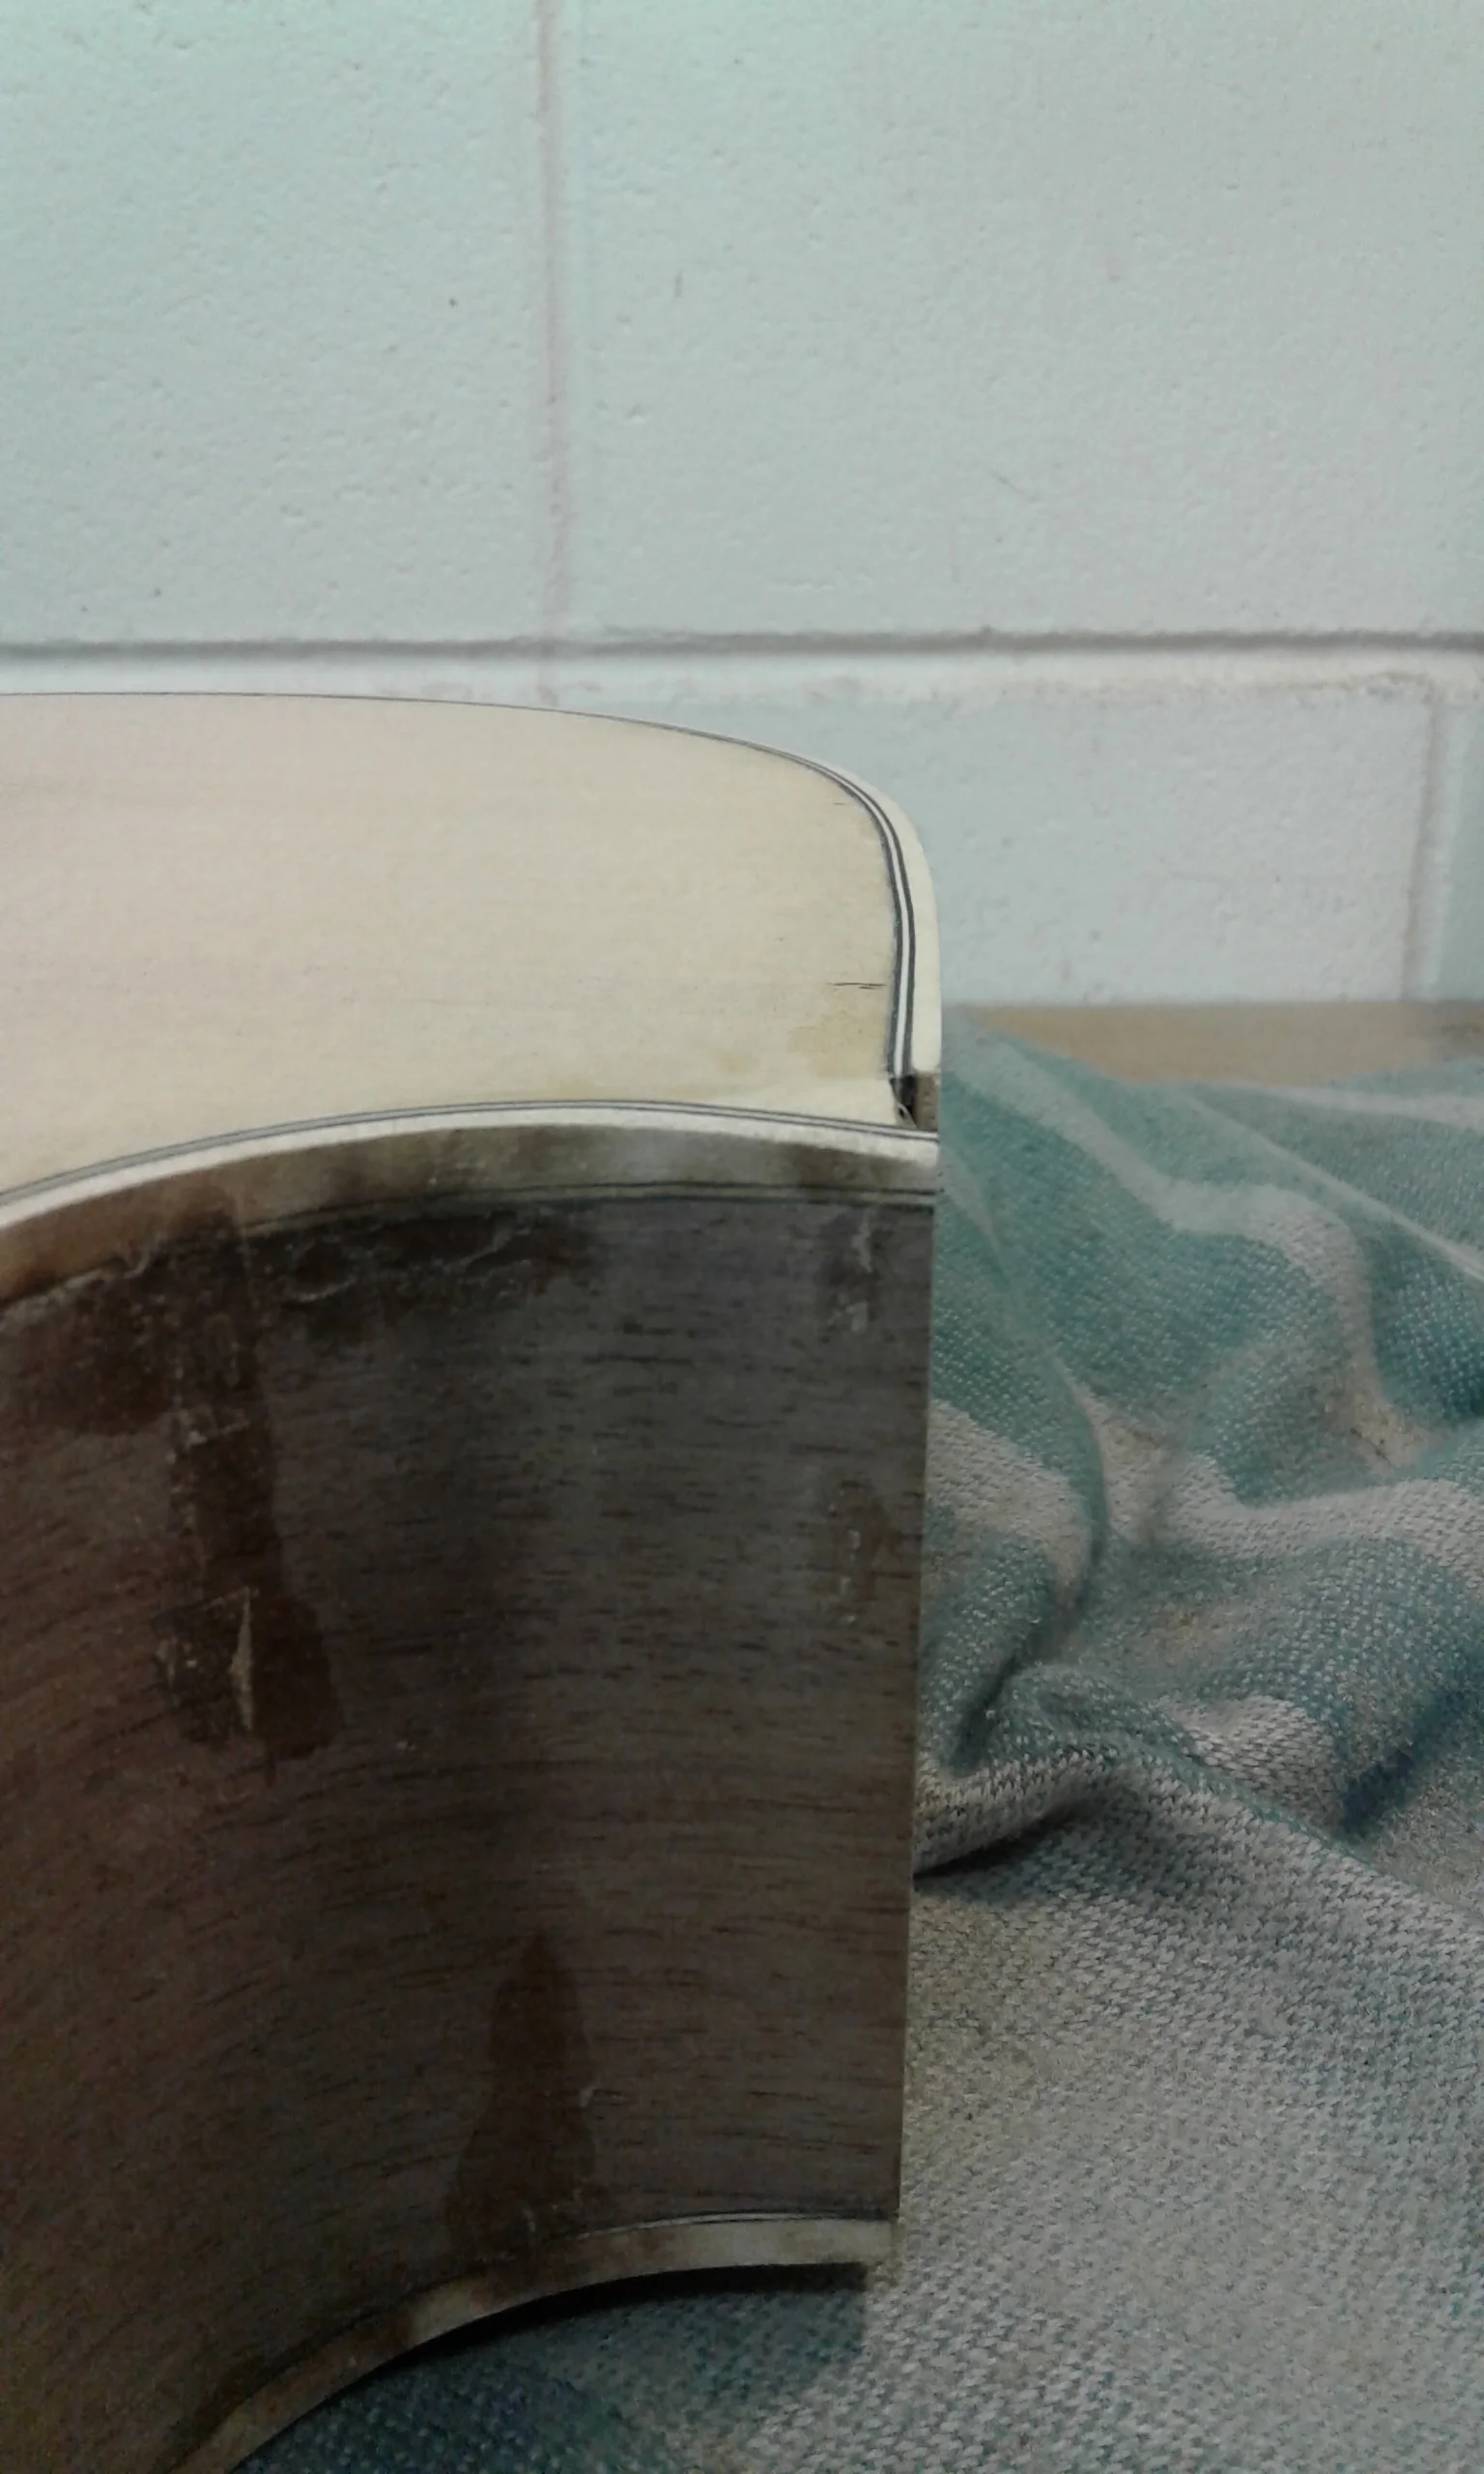
After removing the tape, the edges were grubby with glue and burns from the bending. So this session was all about removing those marks and sanding the edging flush with the body. I was late from work, so I was rushing to get things done tonight. I did manage to grab some before and after shots below. Again it goes to show not to rush. I was using an orbital sander (which i’d never used before) and in not trying to hit the body, I took too much off of the edging where the Neck will meet the body. you can see that it’s the light diagonal bit in the last picture.


Session Twenty-Five
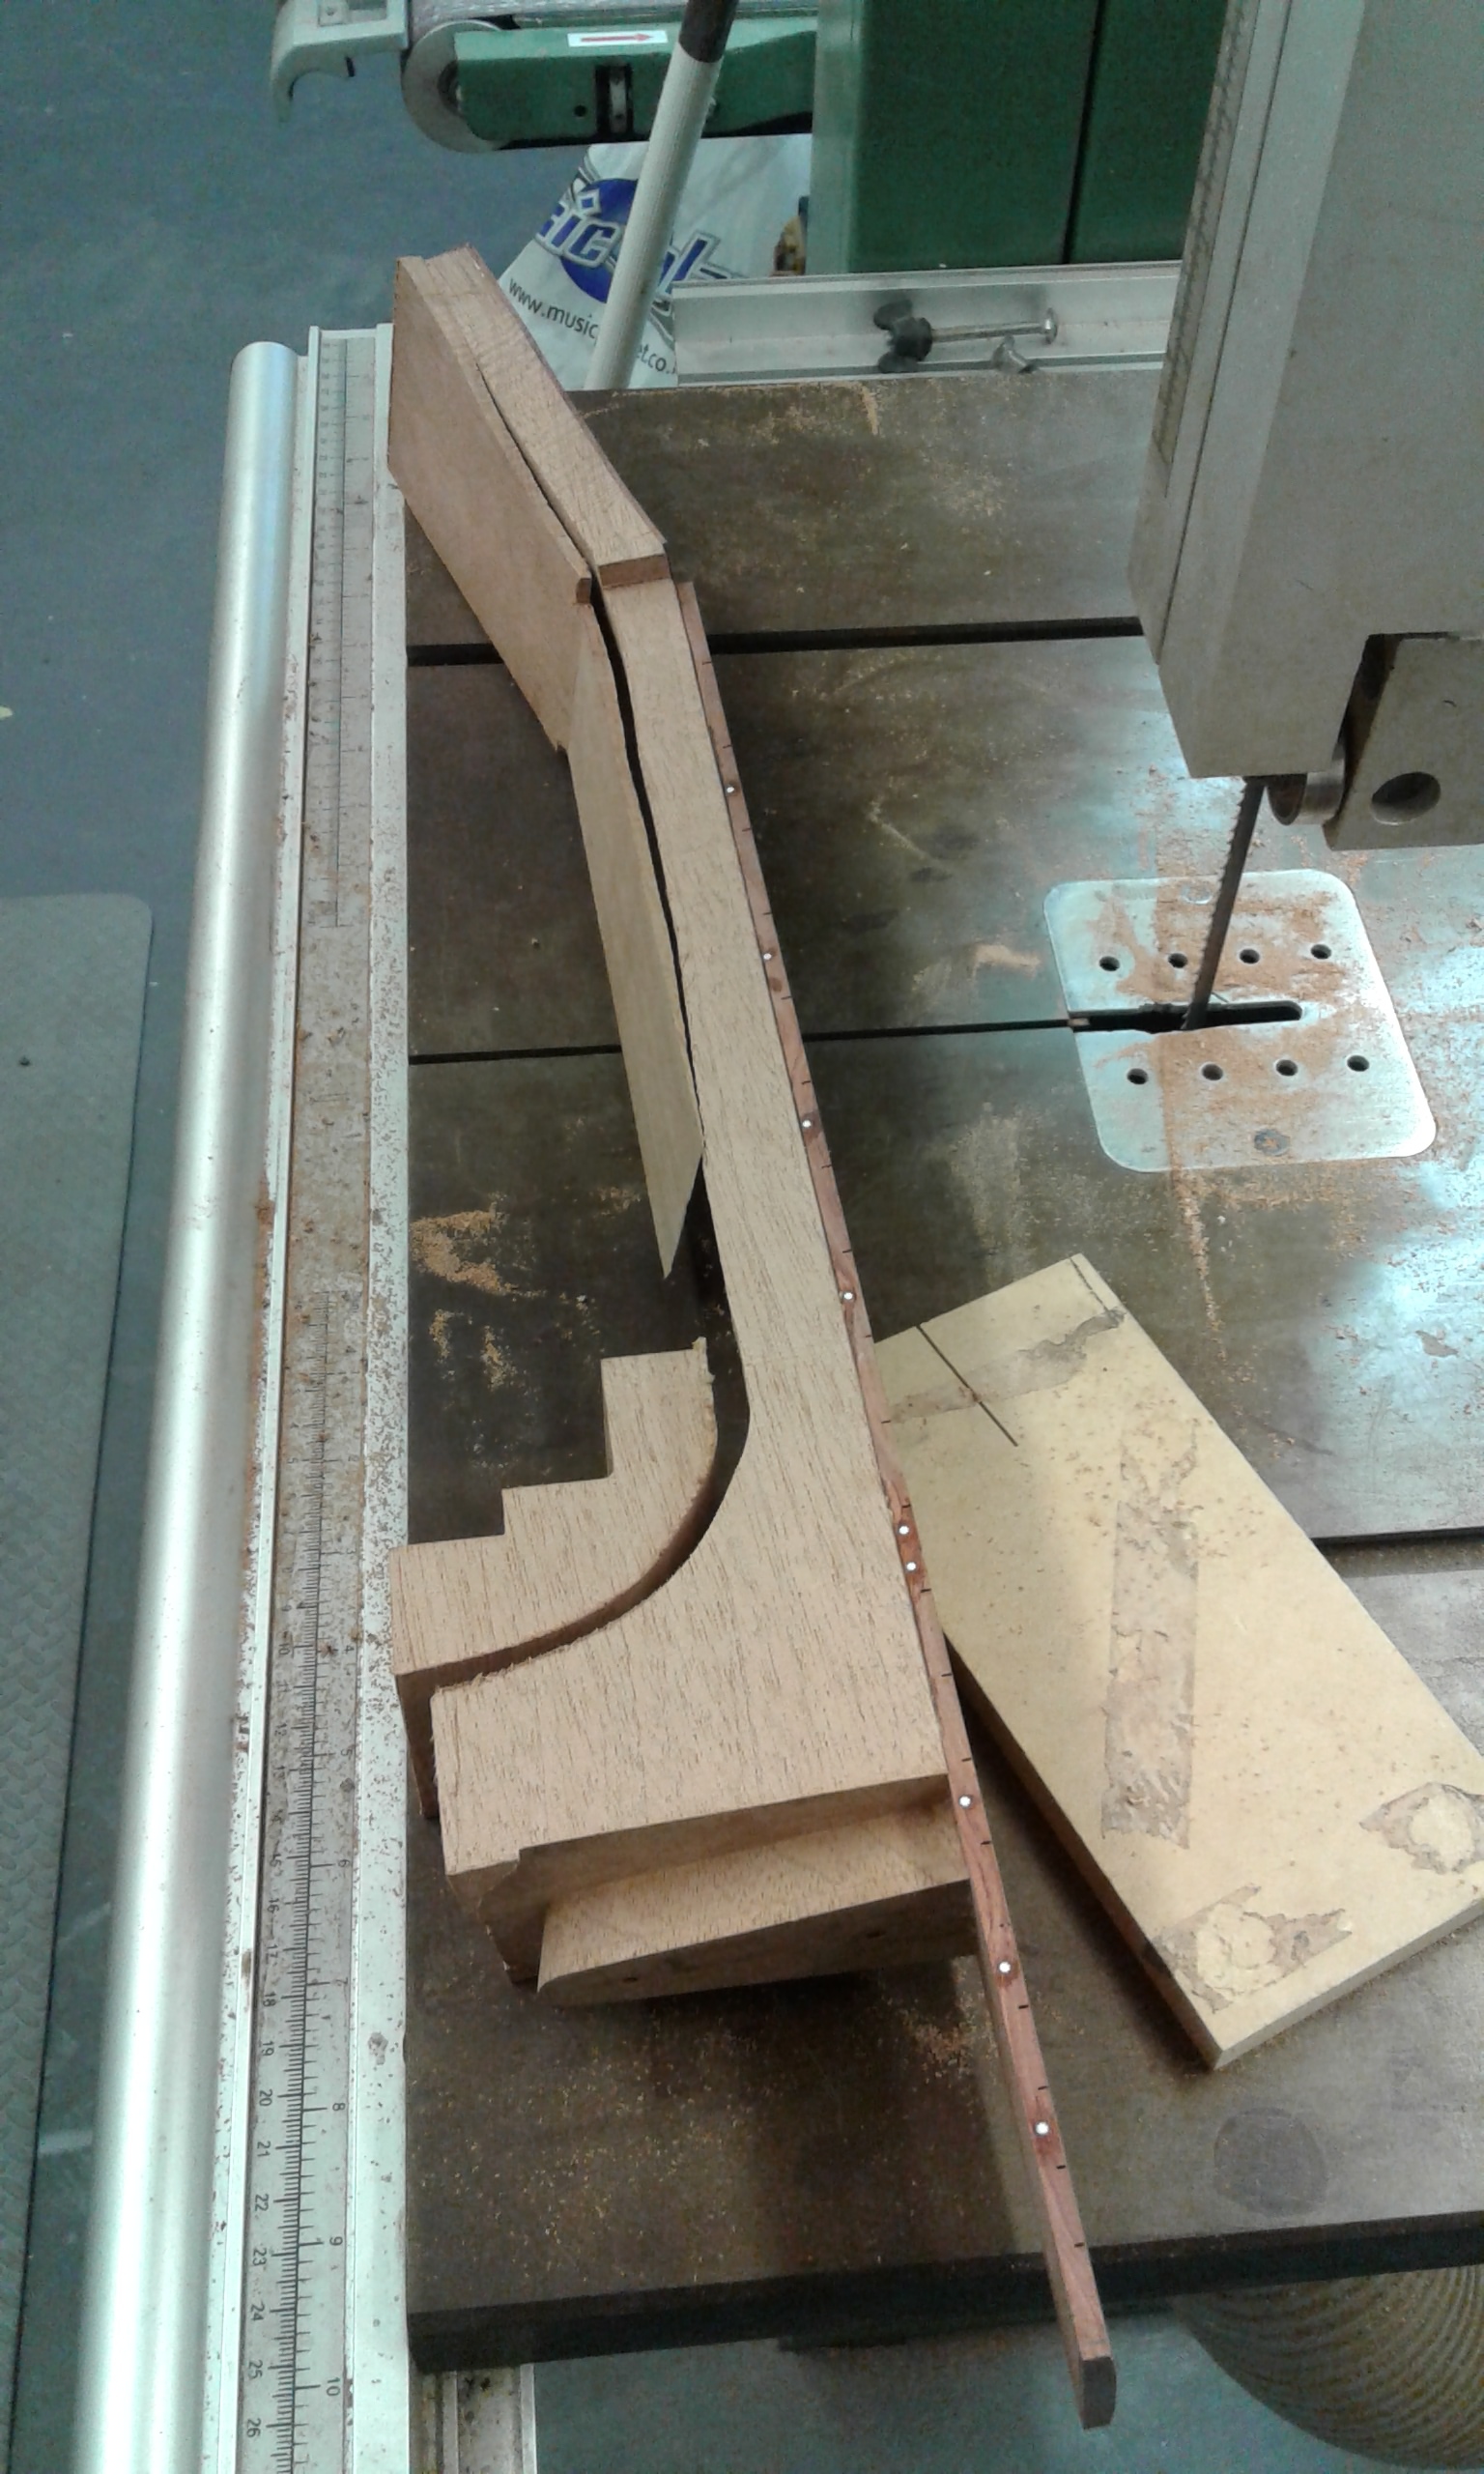
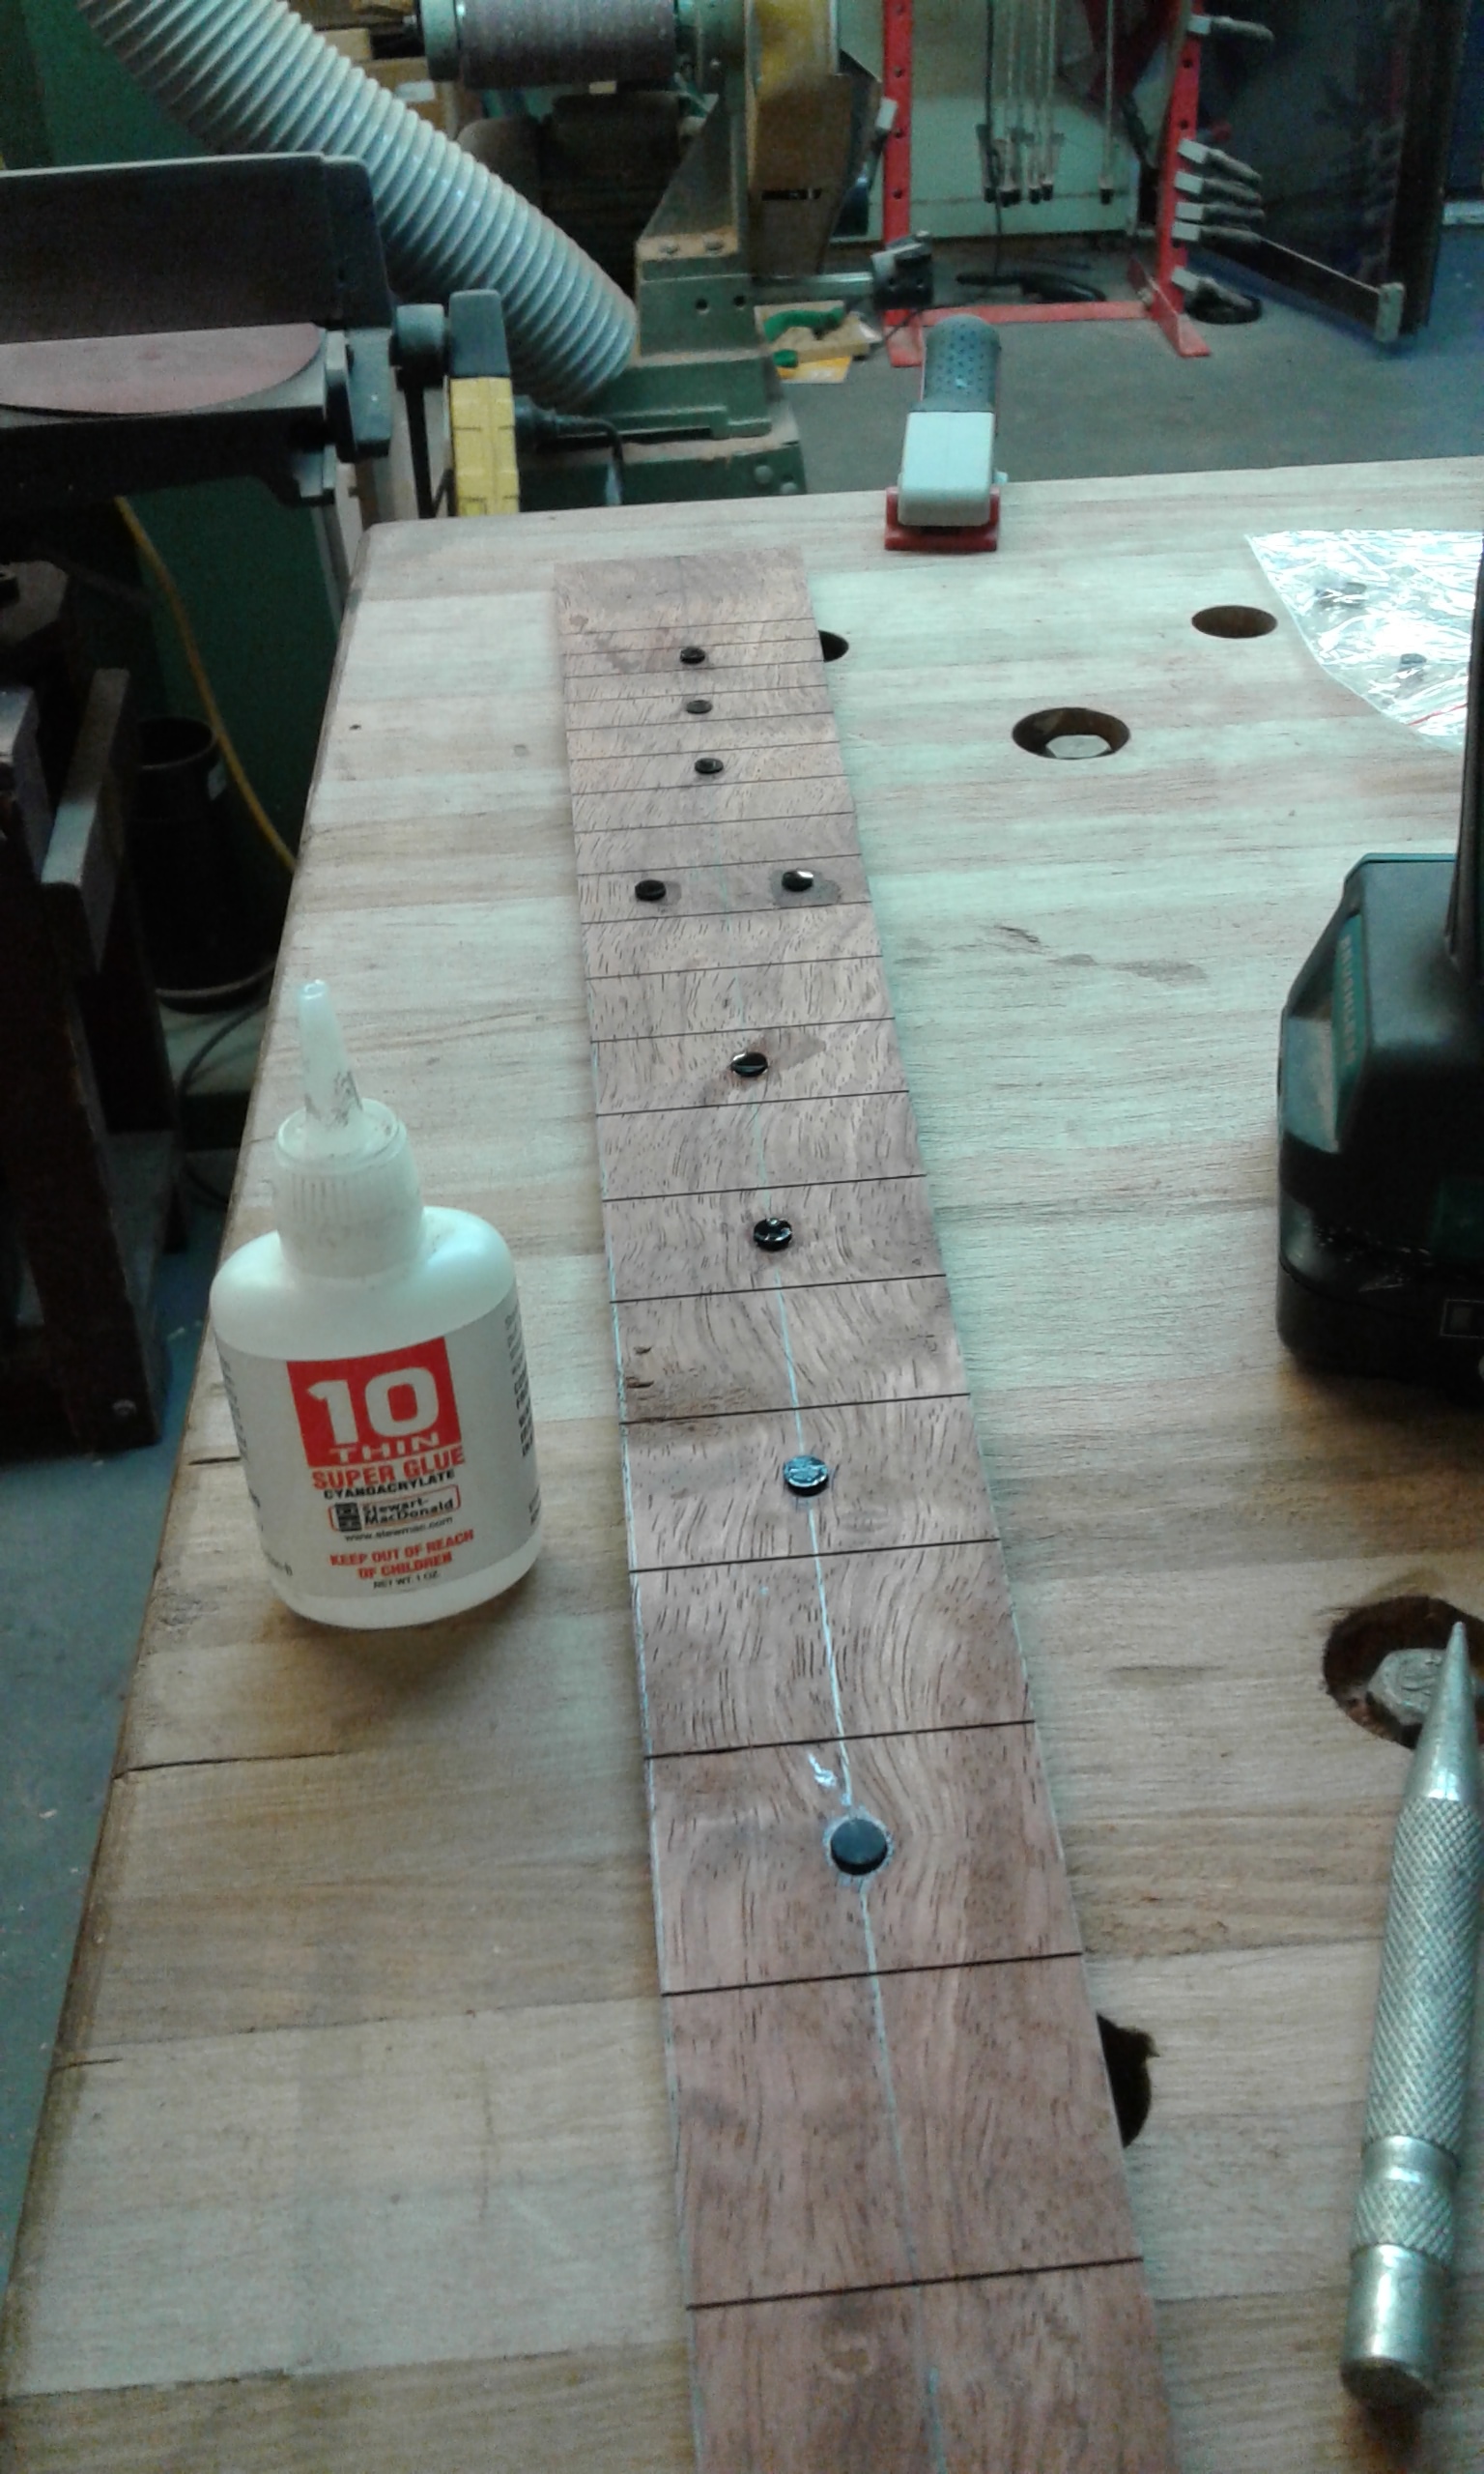
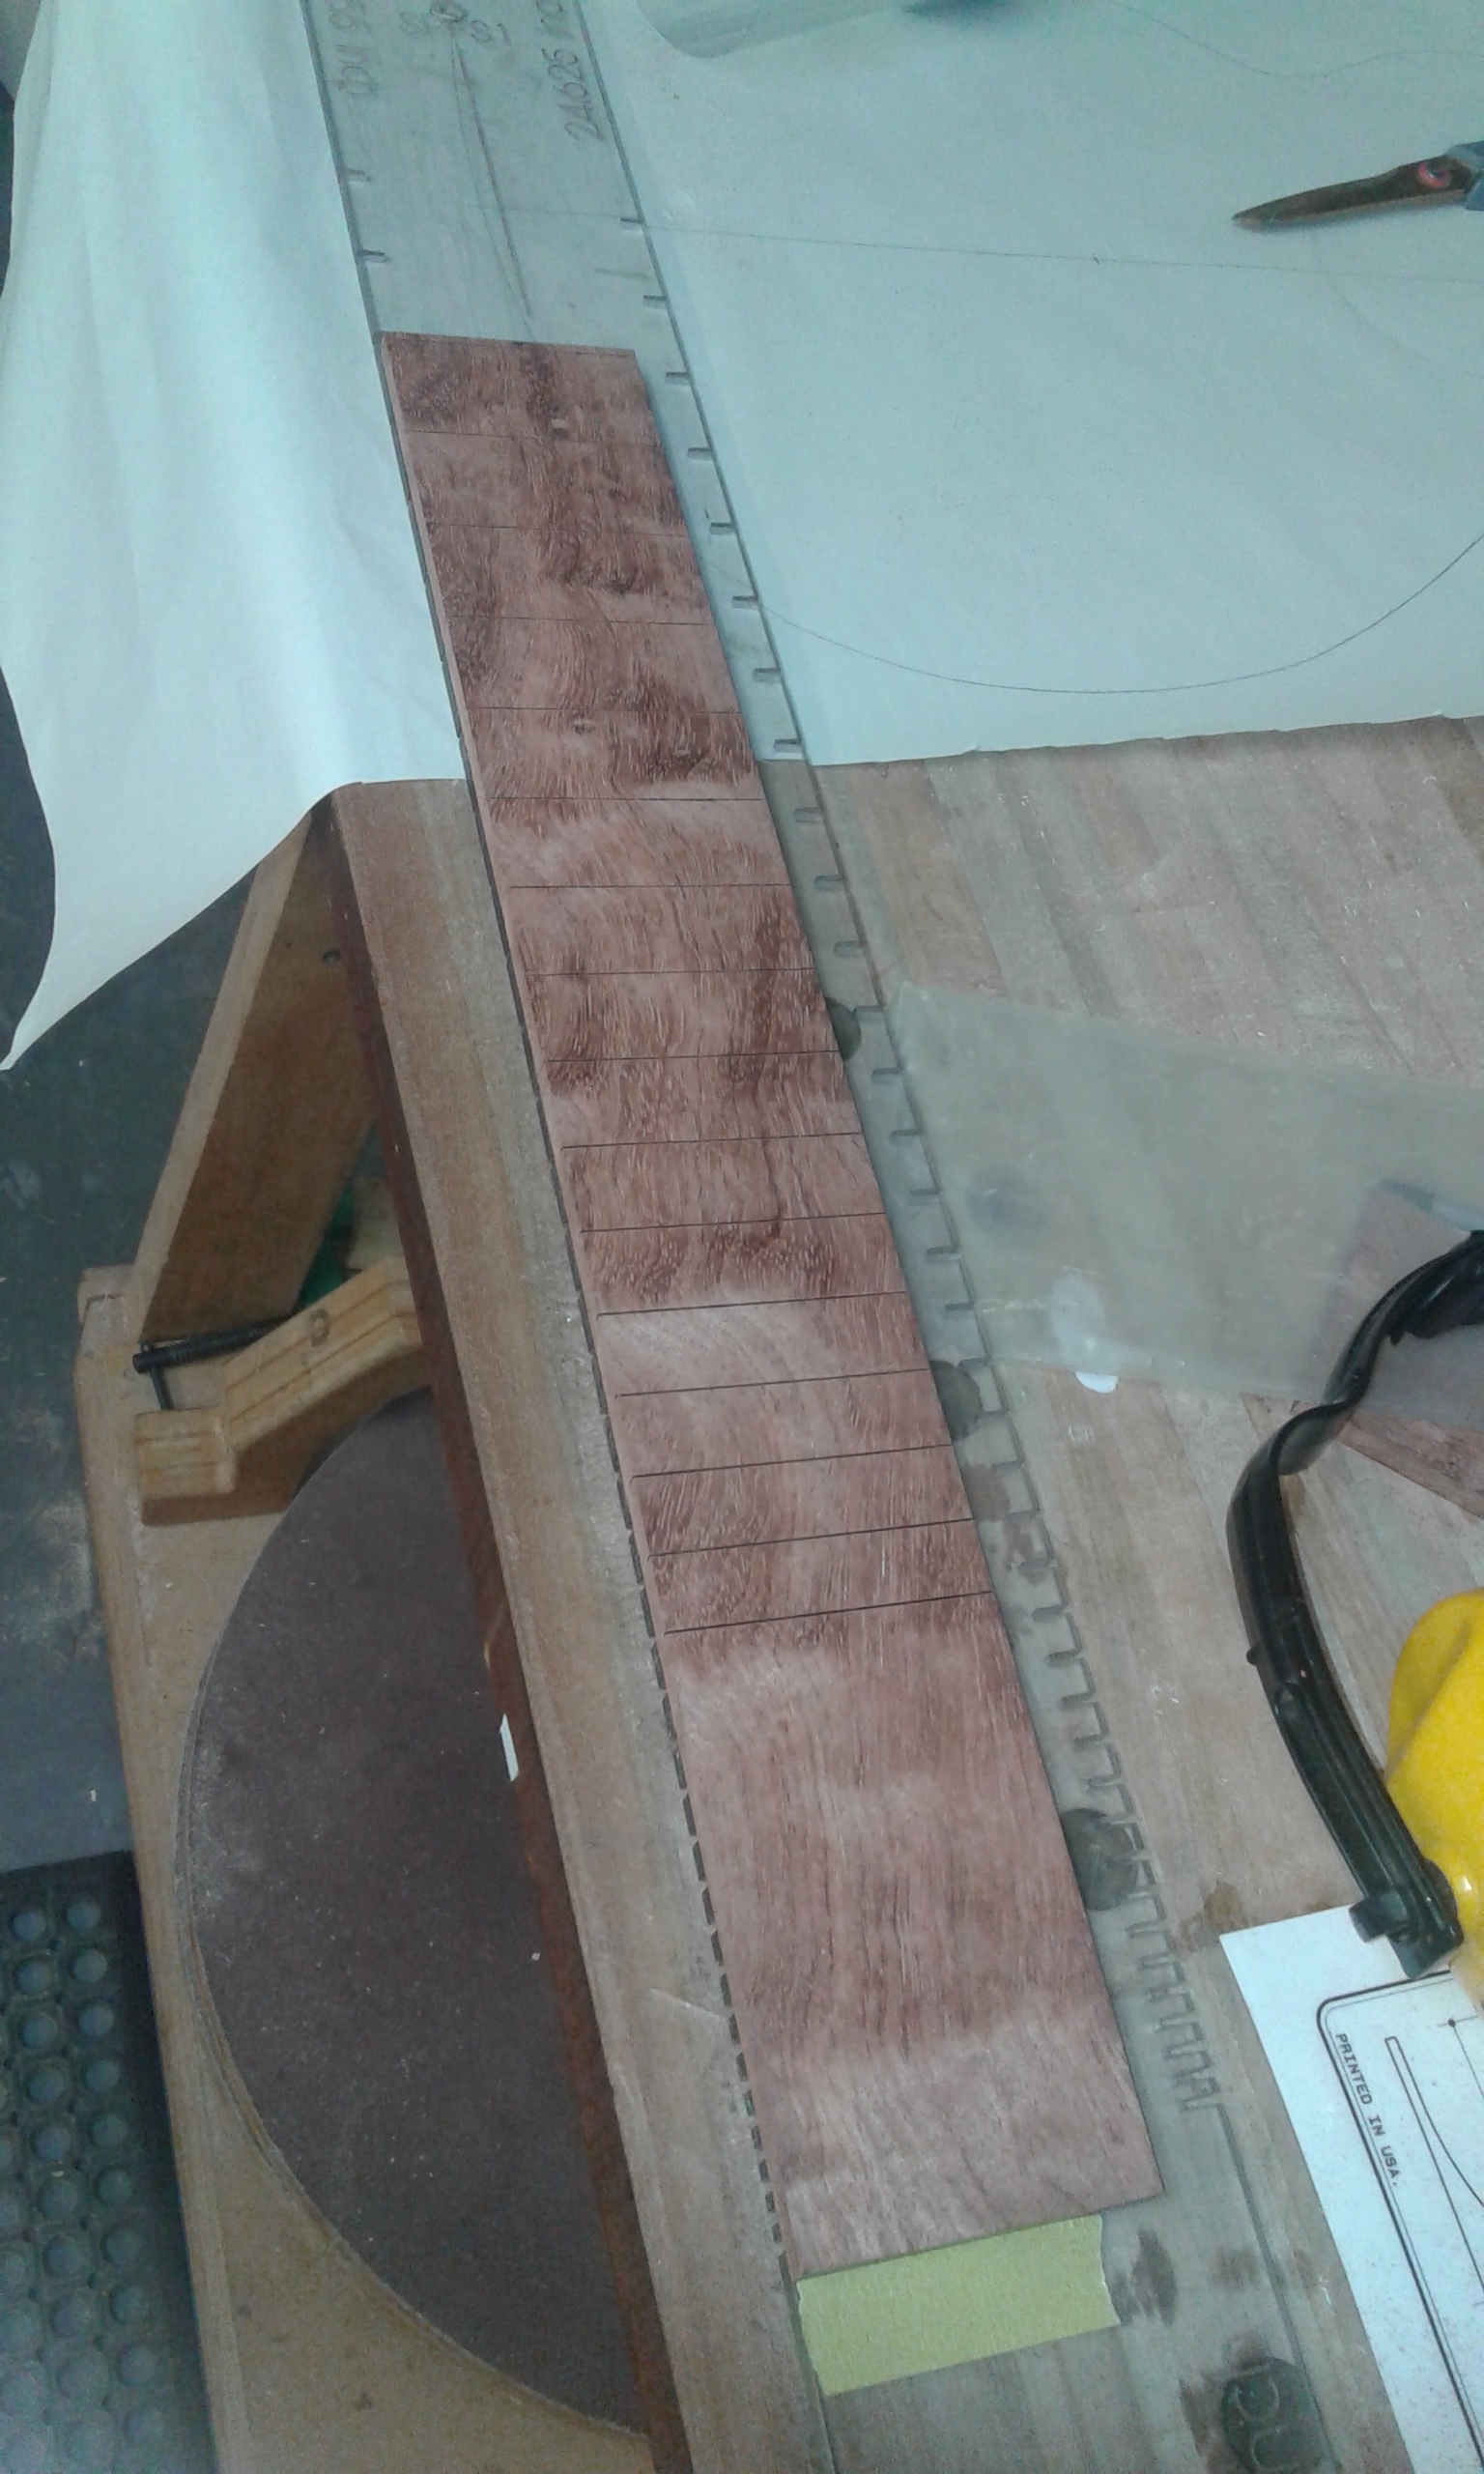
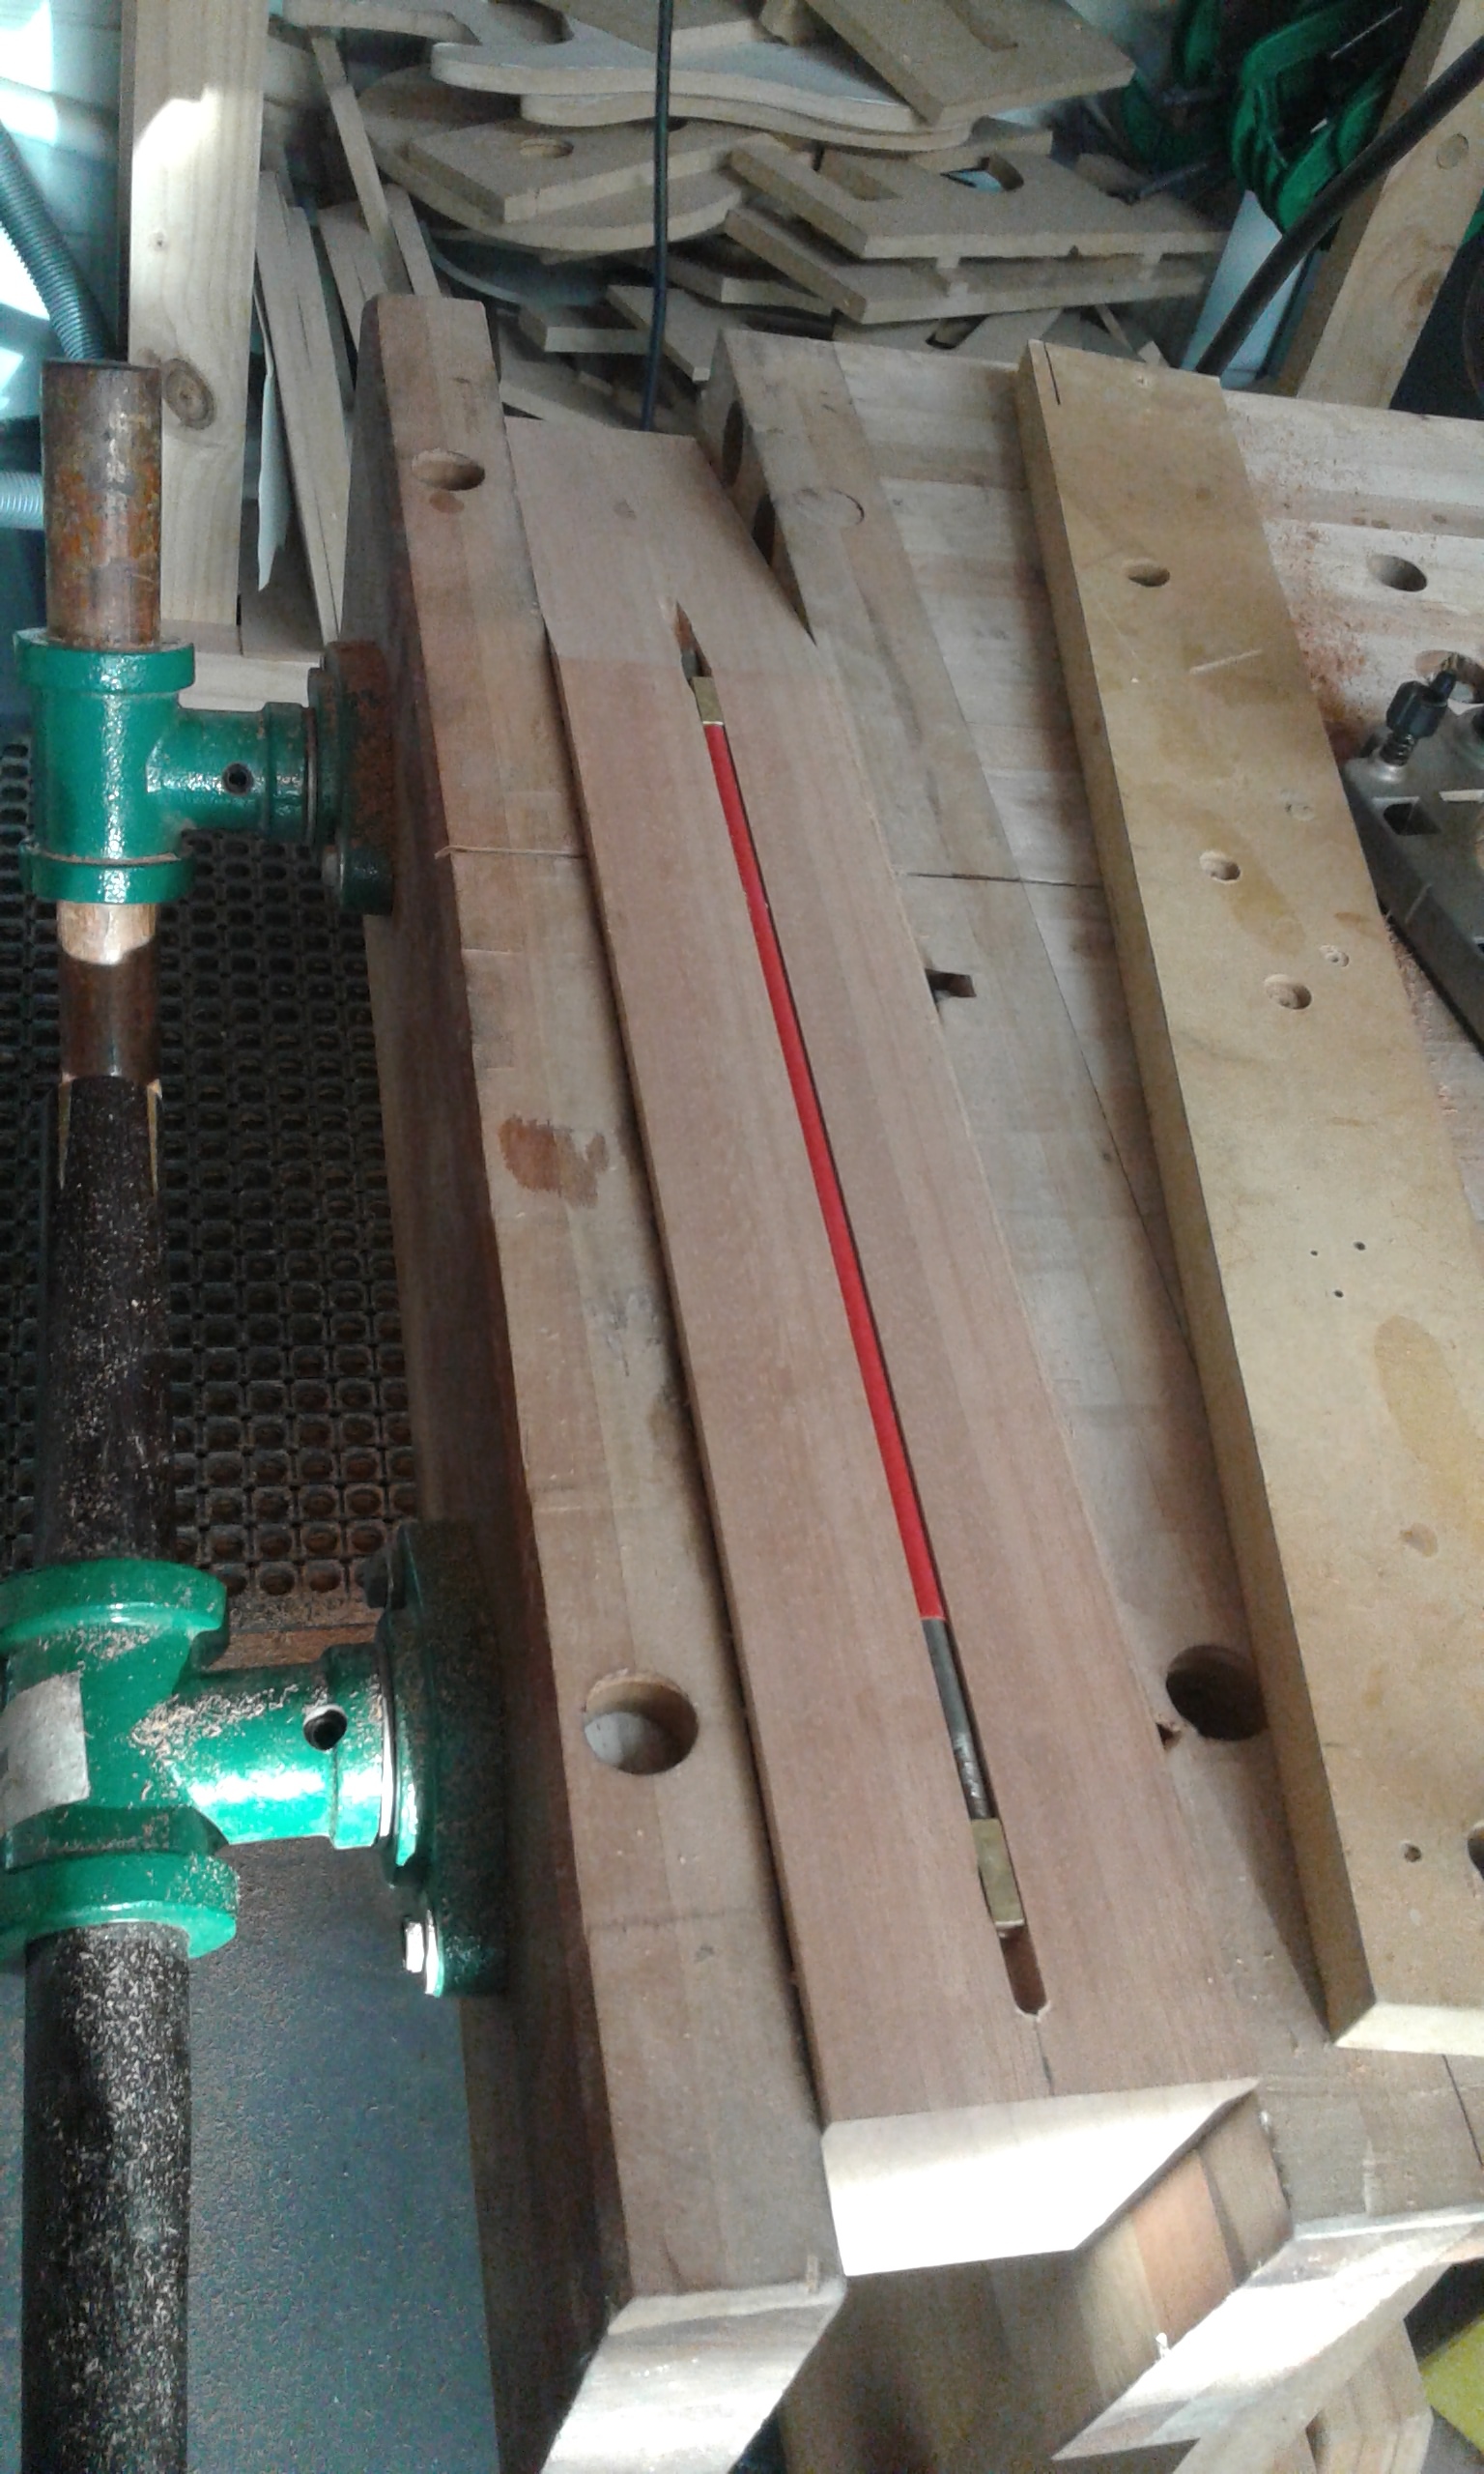
Back in session Eight, we routed a dovetail in the Neck. Today we routed the gap for it to fit into. The gap is a littel deeper than the joint on the Neck, so that if future maintenance is needed a Luthier can drill through the 15th Fret and use steam to soften the glue around the joint. The rest of the session was spent fining up the headstock again after my mathematical mistake. In the picture below you can see the mahogany dowels we used to plug the holes, you can’t see them from the front. Trevor was unsure which terrible film would be selected tonight for his regular movie night: I recommended ‘Black Dynamite’.
Session Twenty-Six
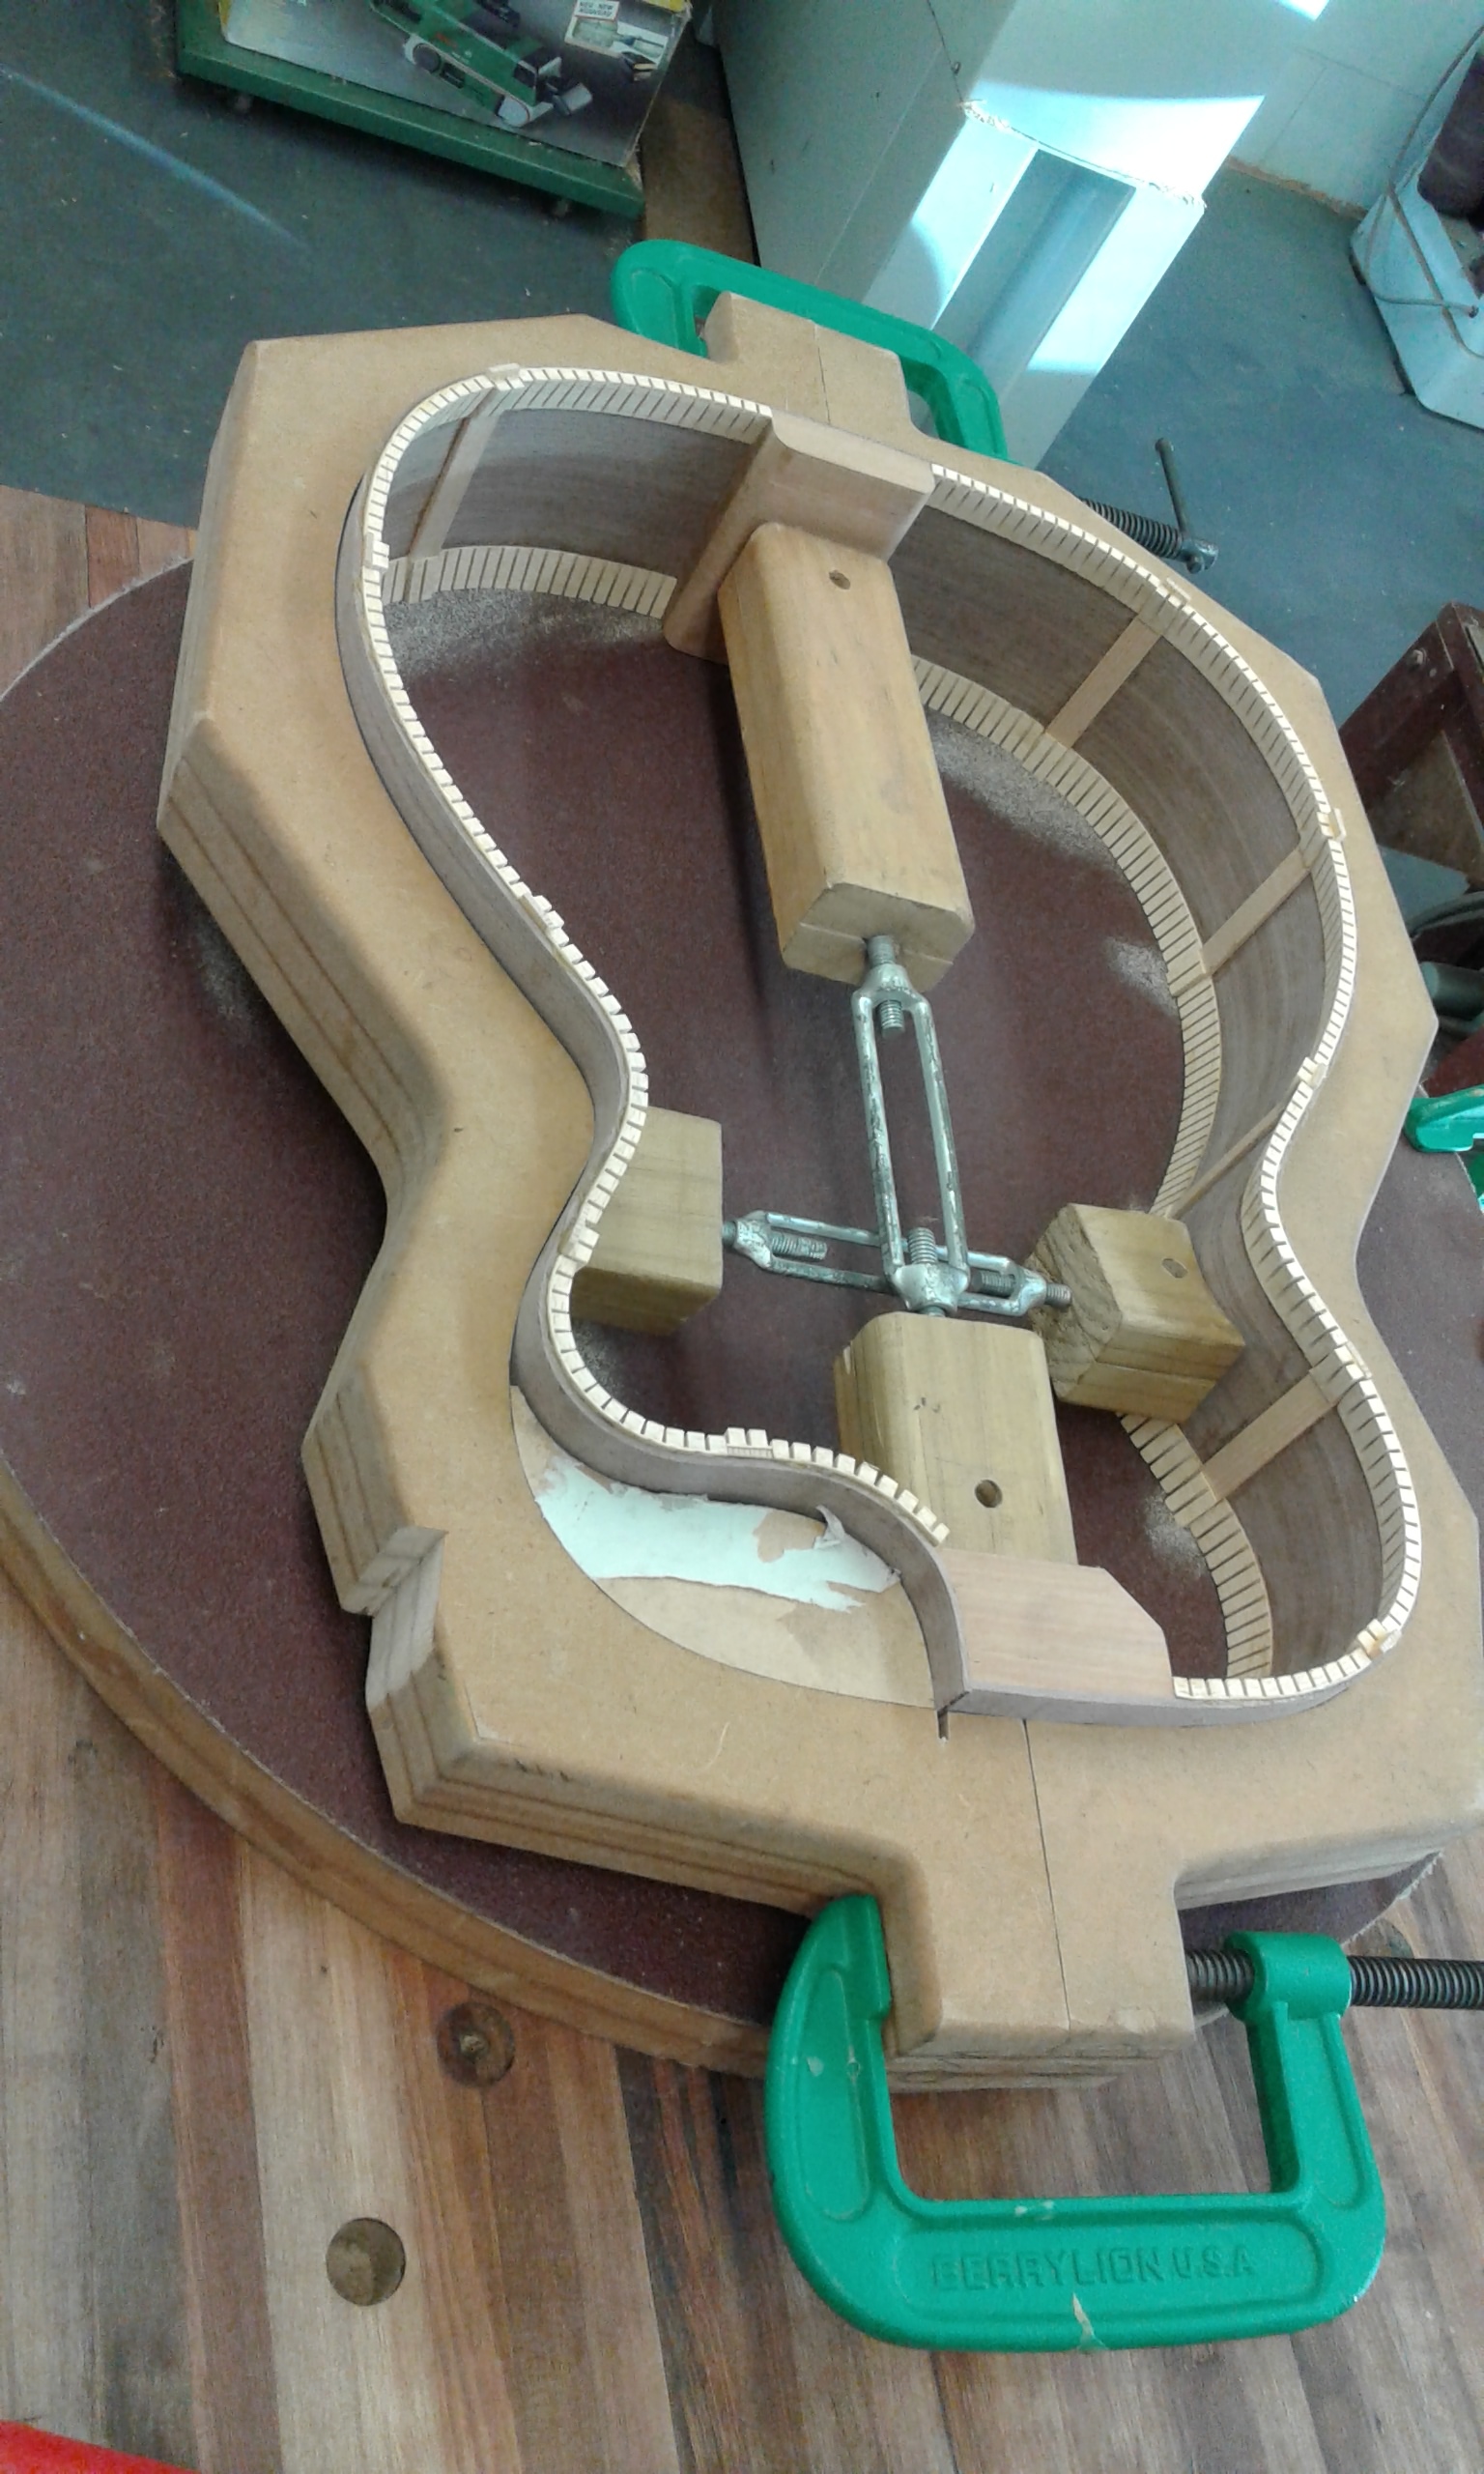
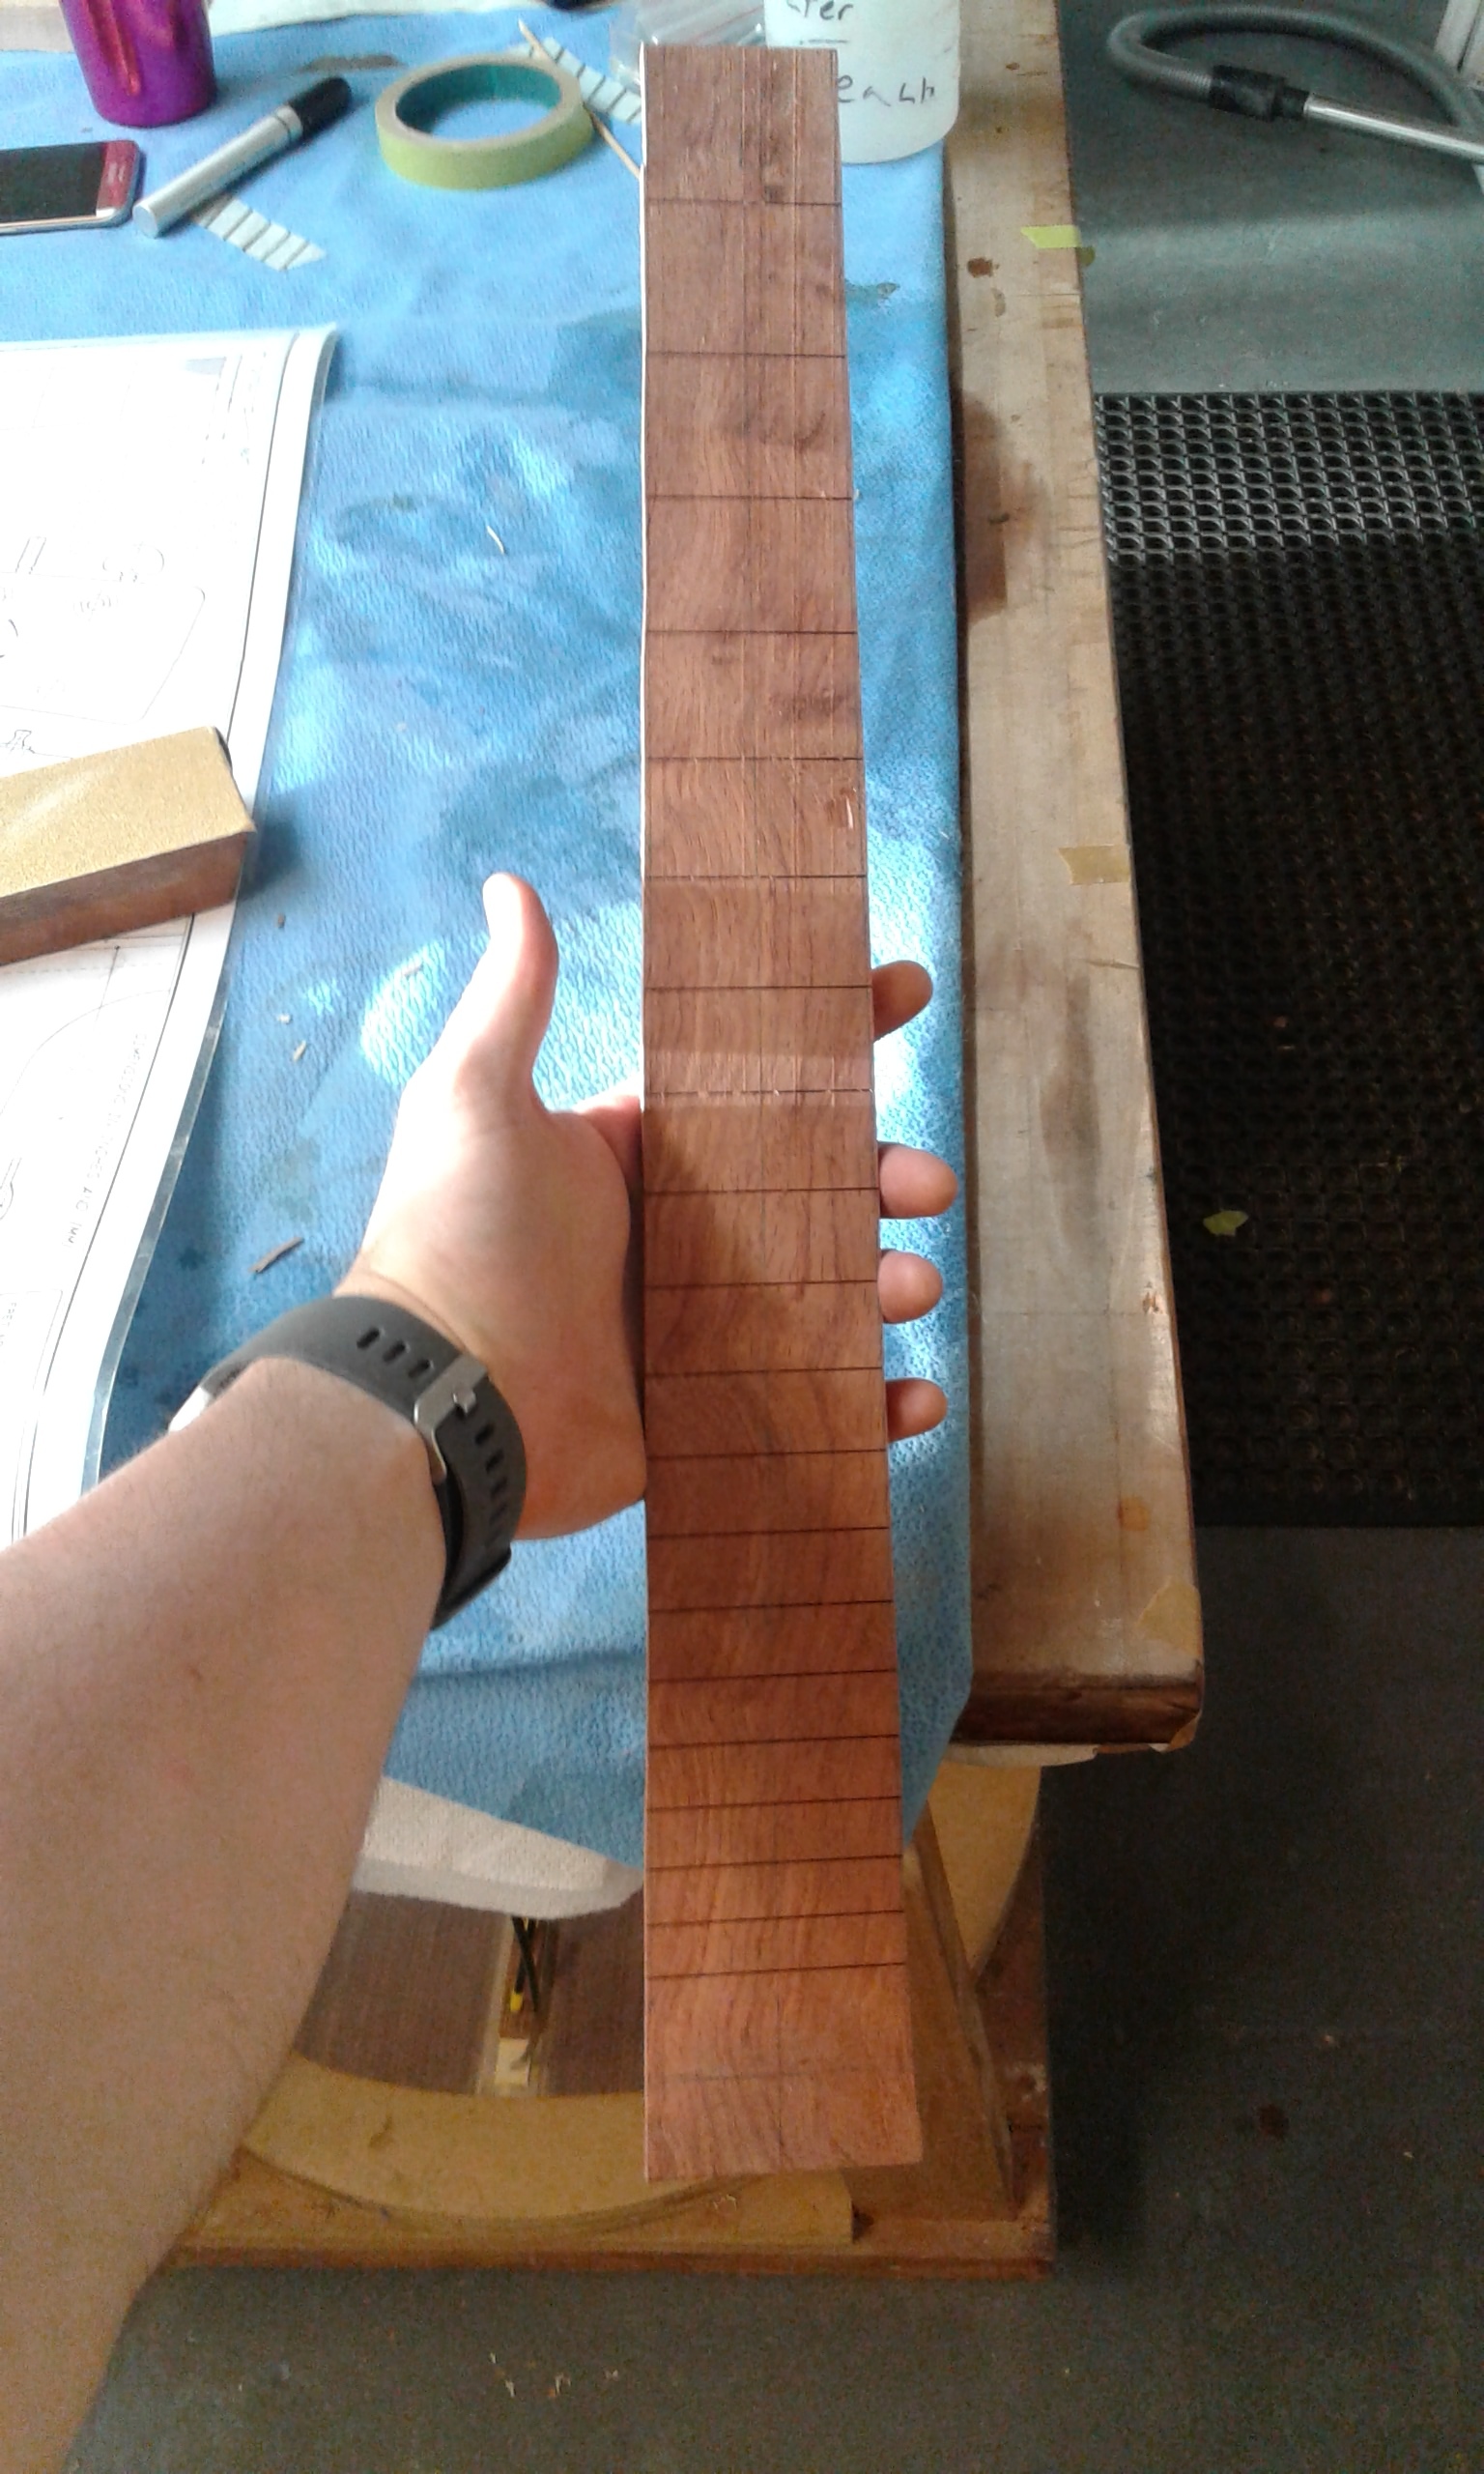
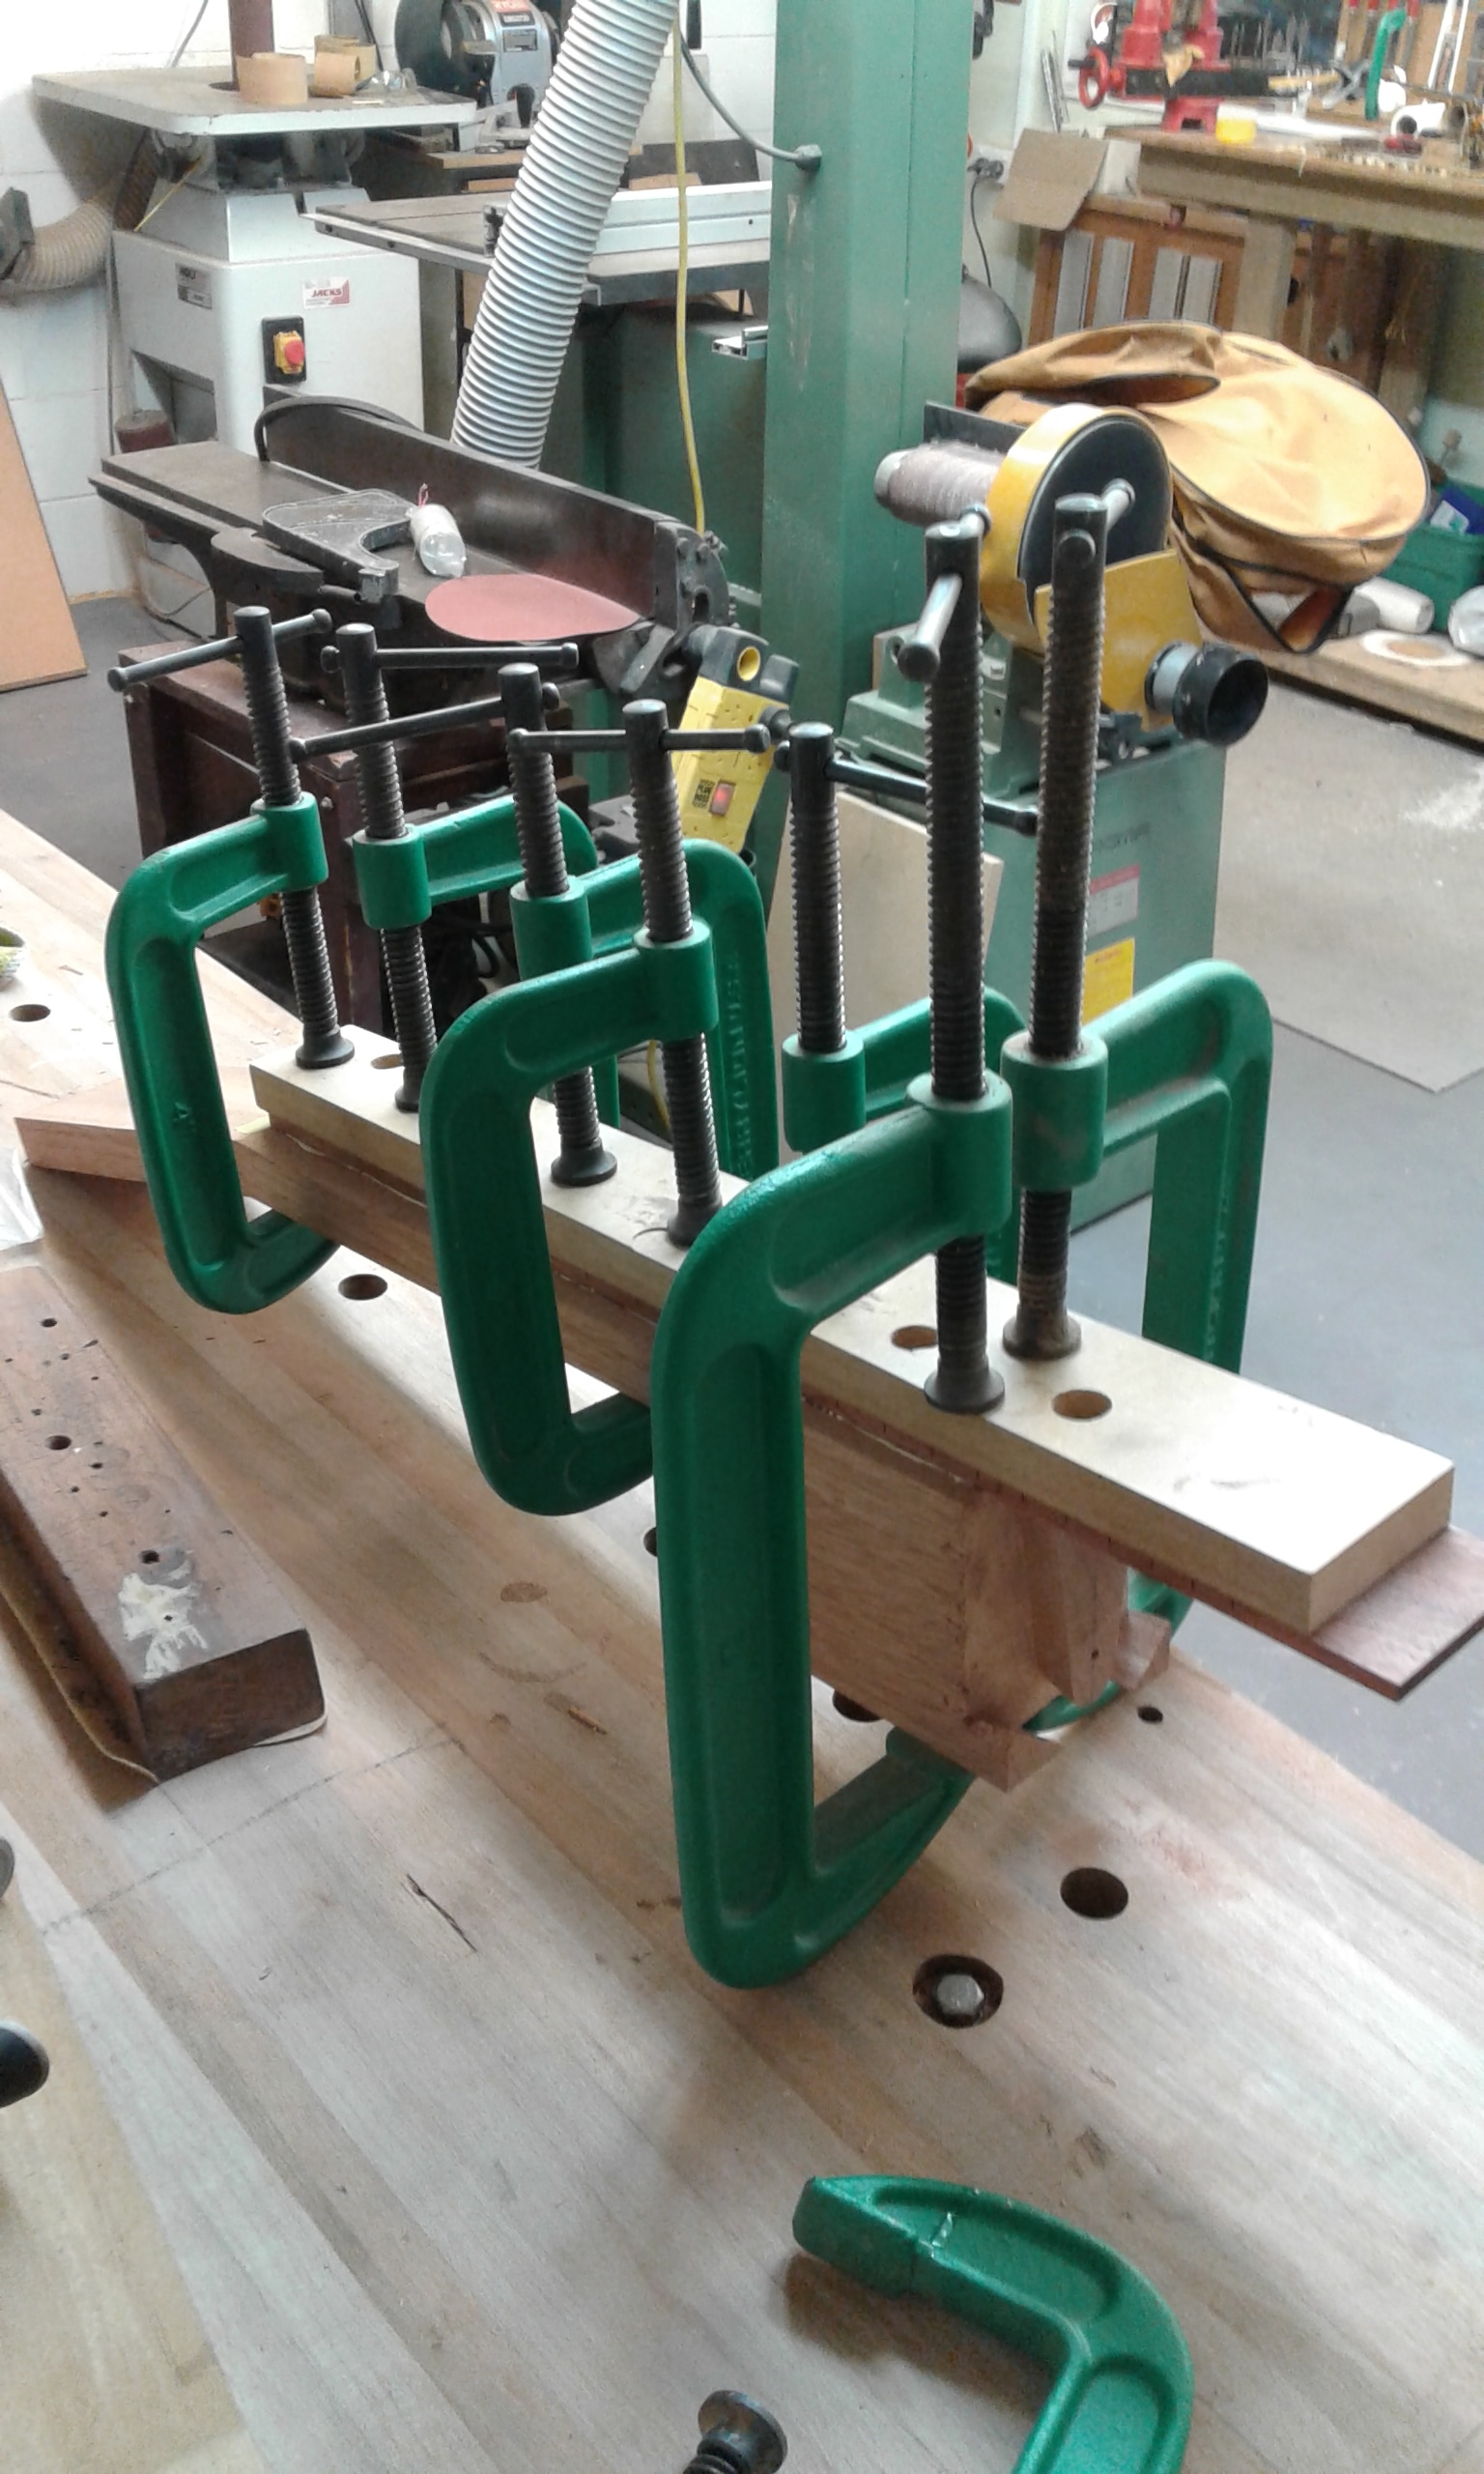
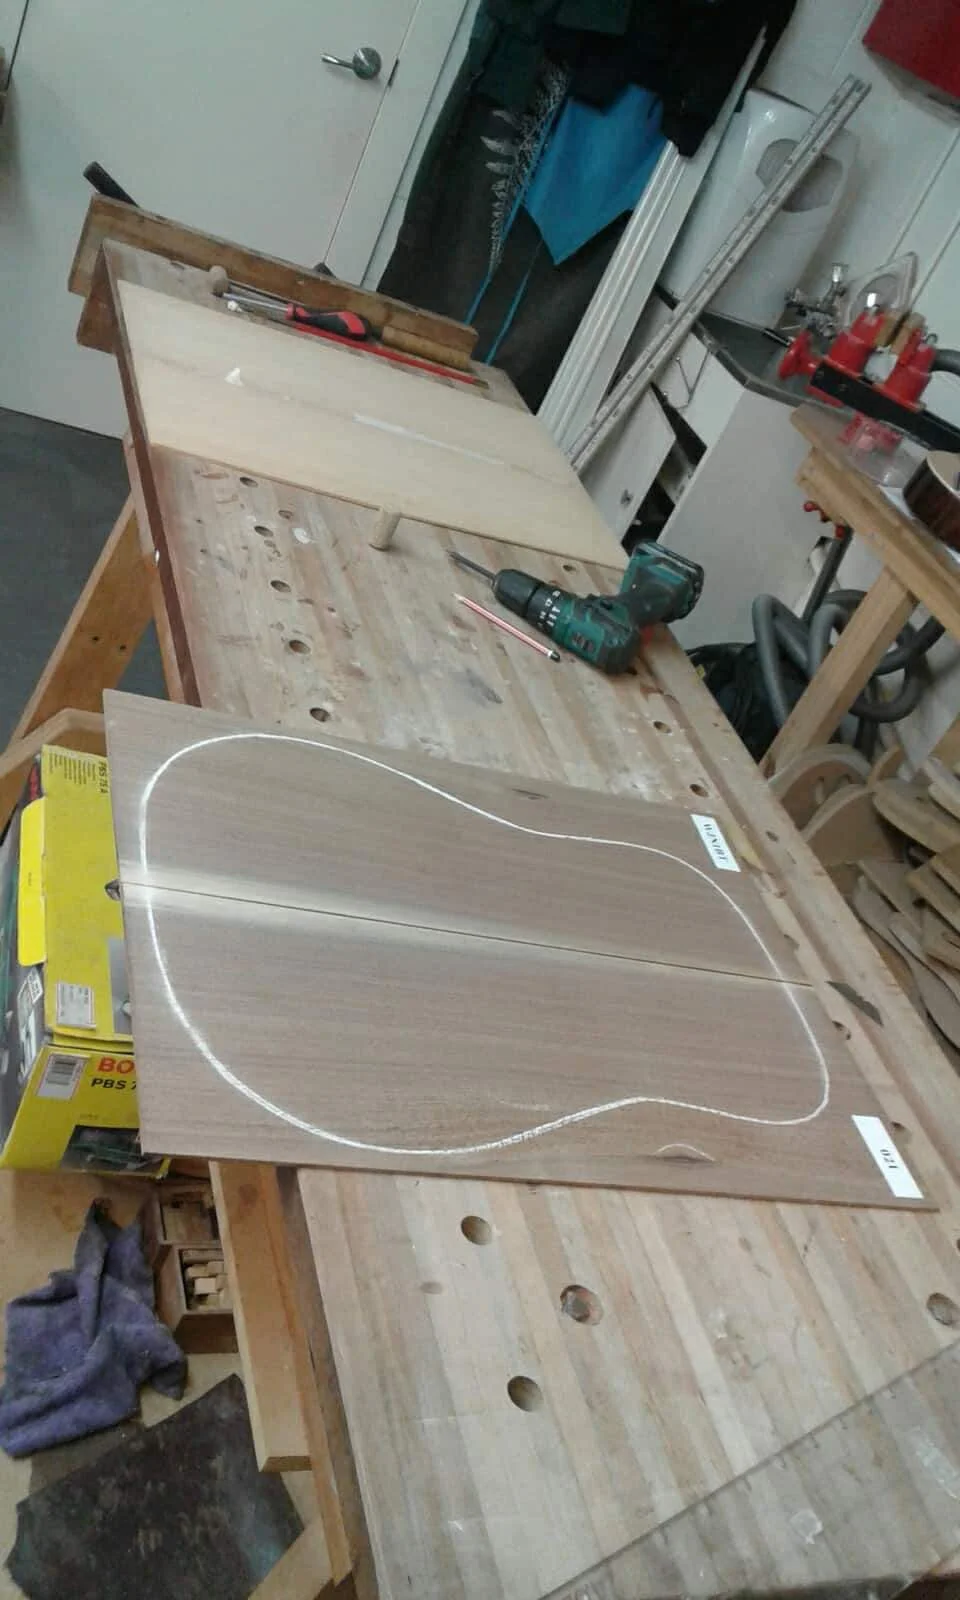
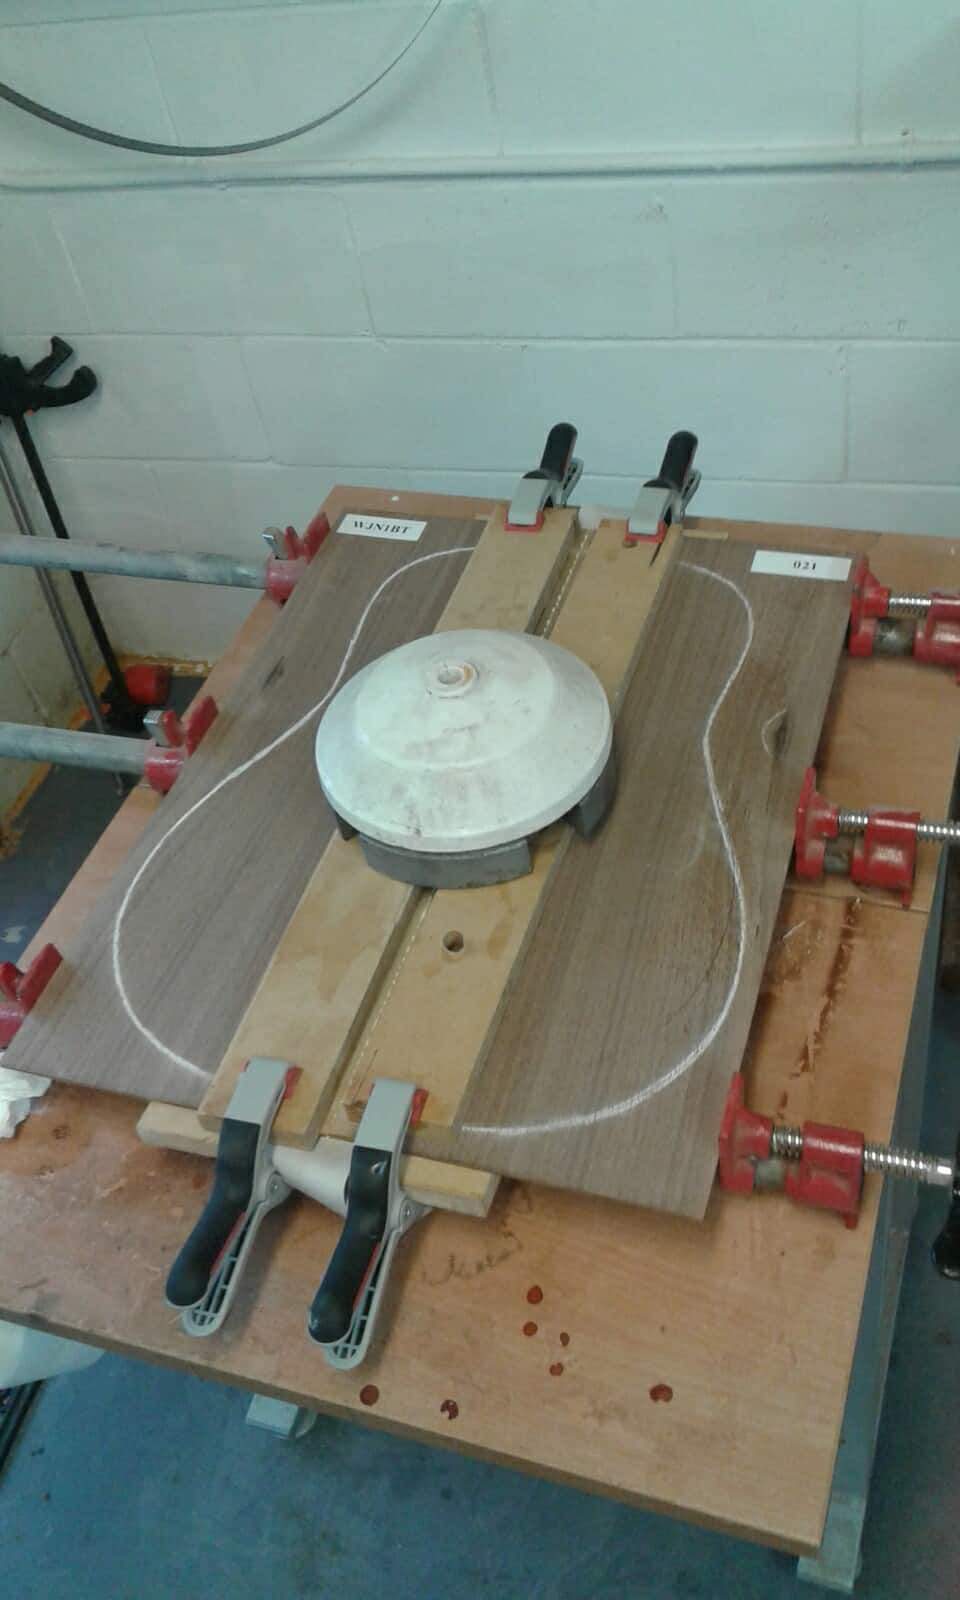
’Black Dynamite’ was a hit. Everyone enjoyed watching it, and I’m sure you will too (if you enjoy a little sillyness, of course). This session was largely about me watching Trevor finish the fretwork on the neck. First I drilled the holes for the Tuners (properly this time) and free-handed a curve at the end. Then Trevor explained every step as he used more and more specialised tools to equalize, curve down, and put softer edges on the frets along the entire neck. He exaplined that this is the one part of the process that he always does, as it has a massive affect on playability and sound. The last picture is all of the metal dust over the neck. We finished the session by gluing the neck to the body.


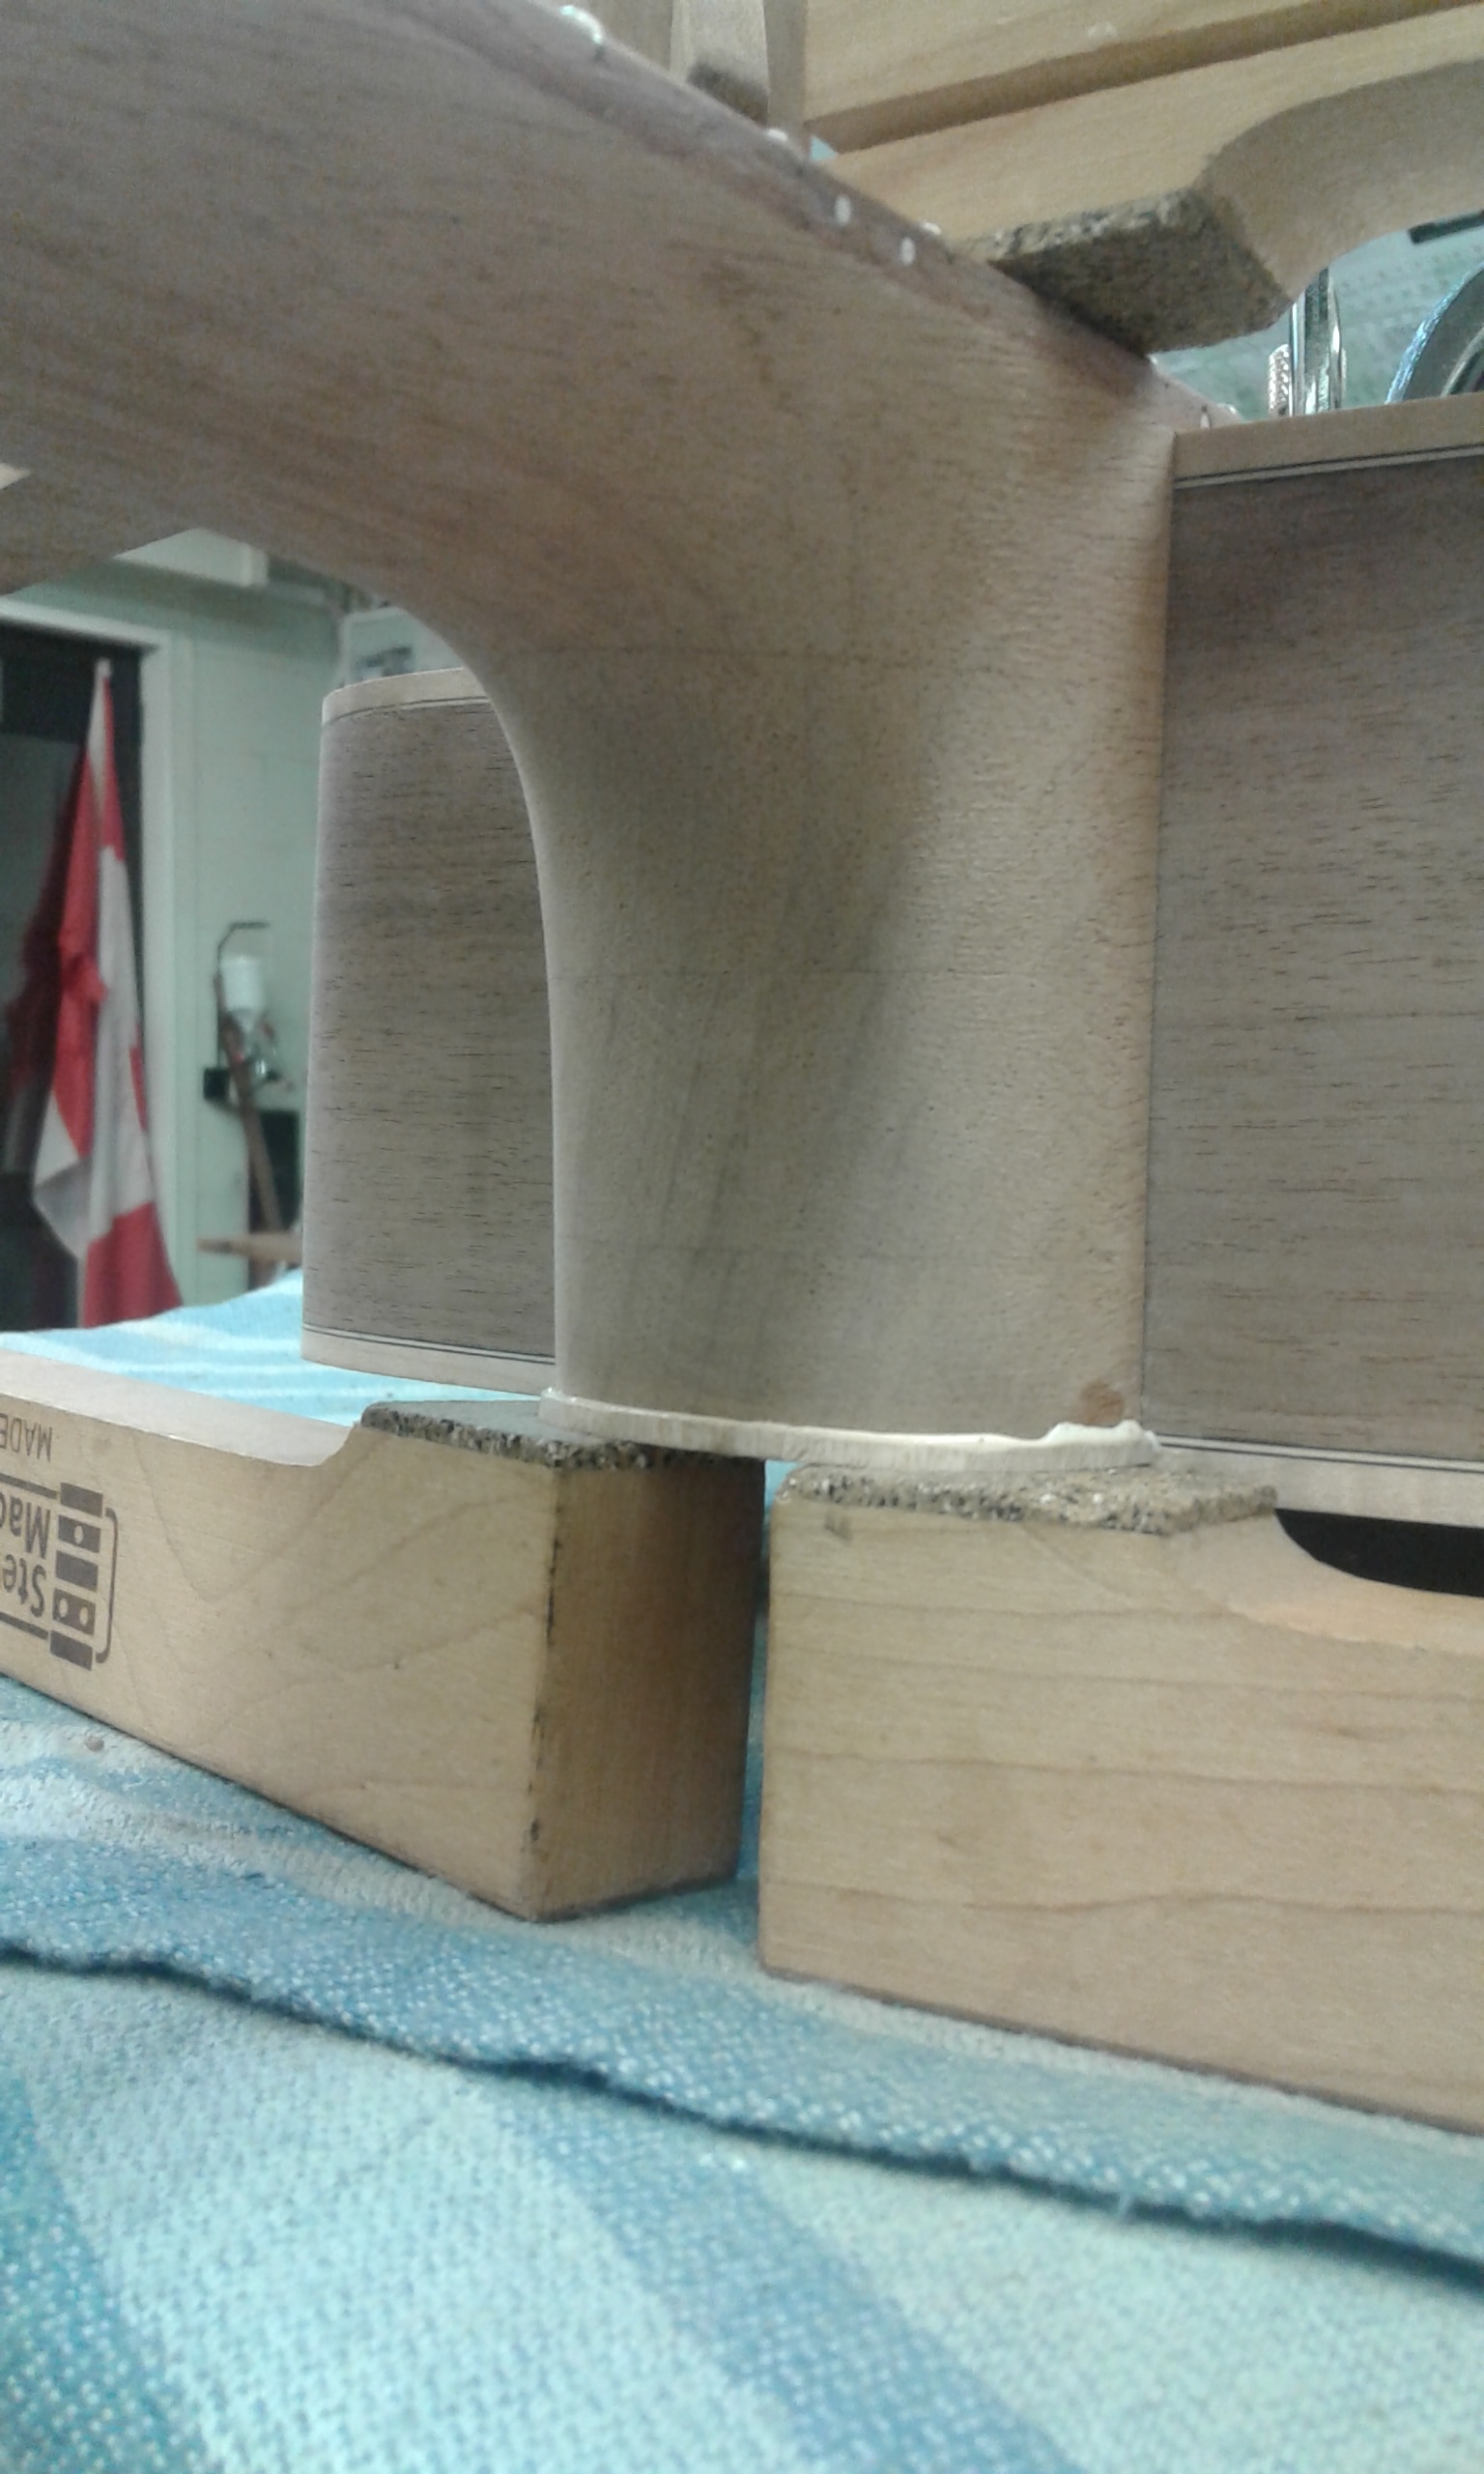
Session Twenty-Seven
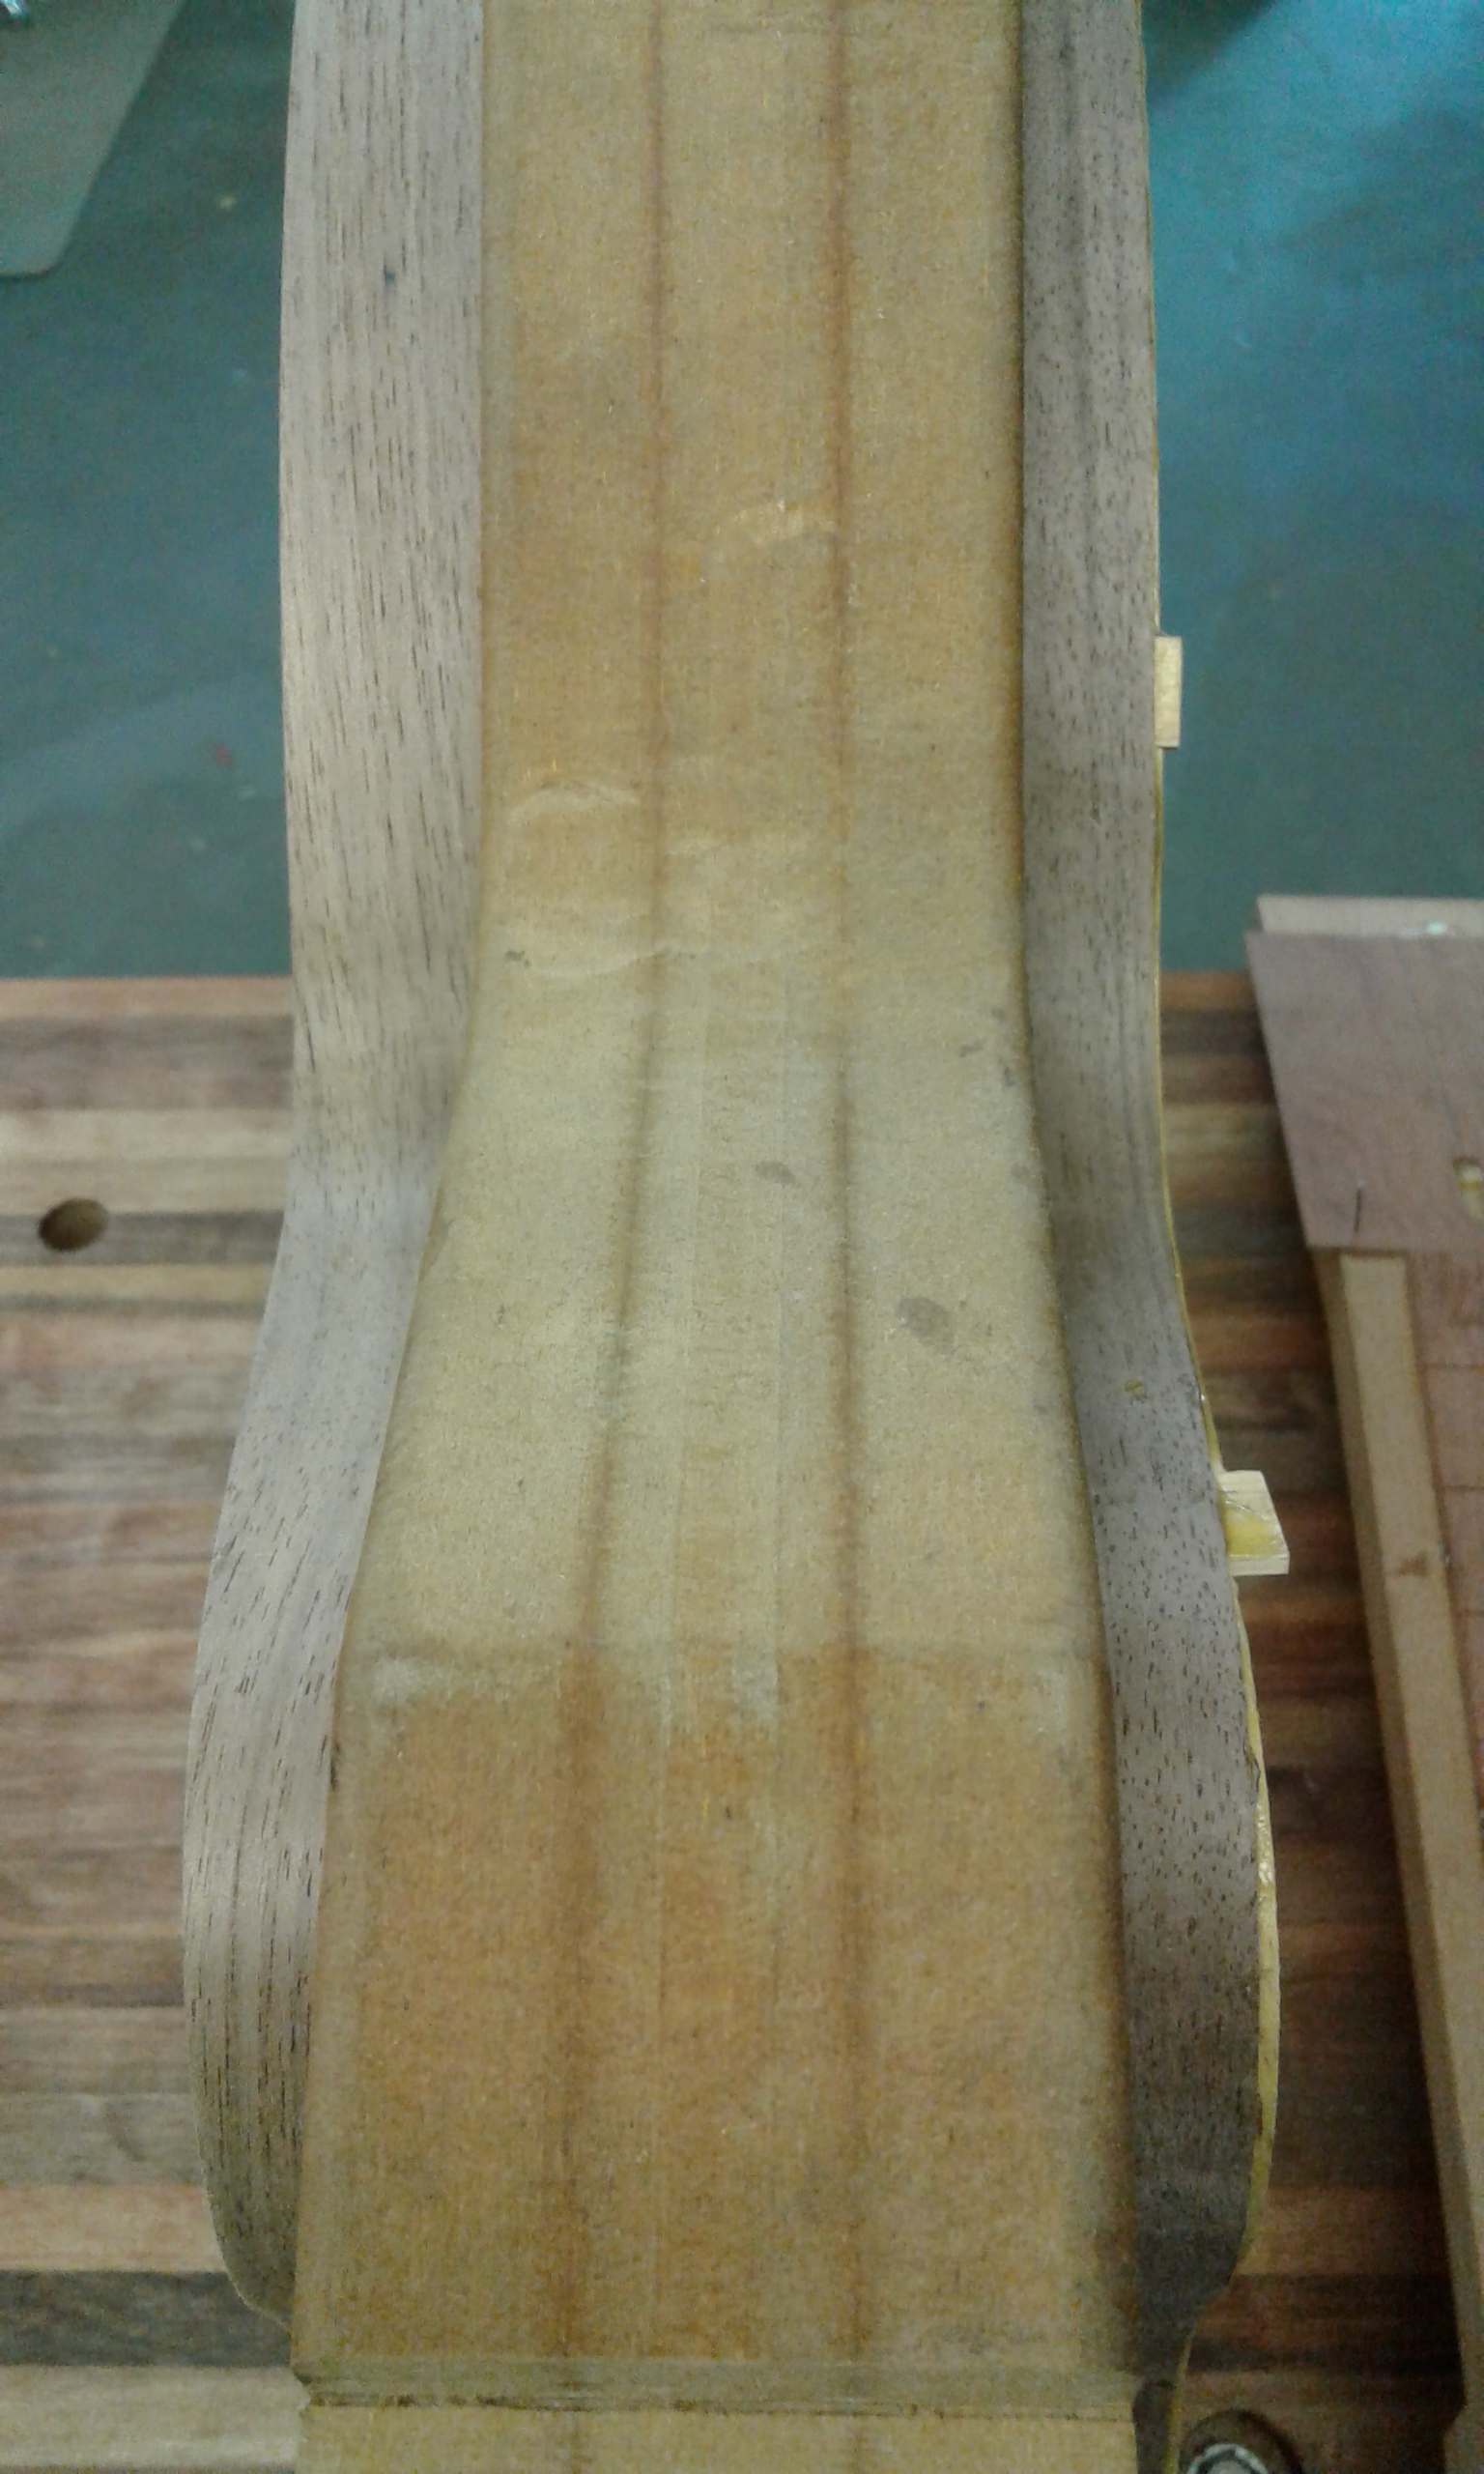
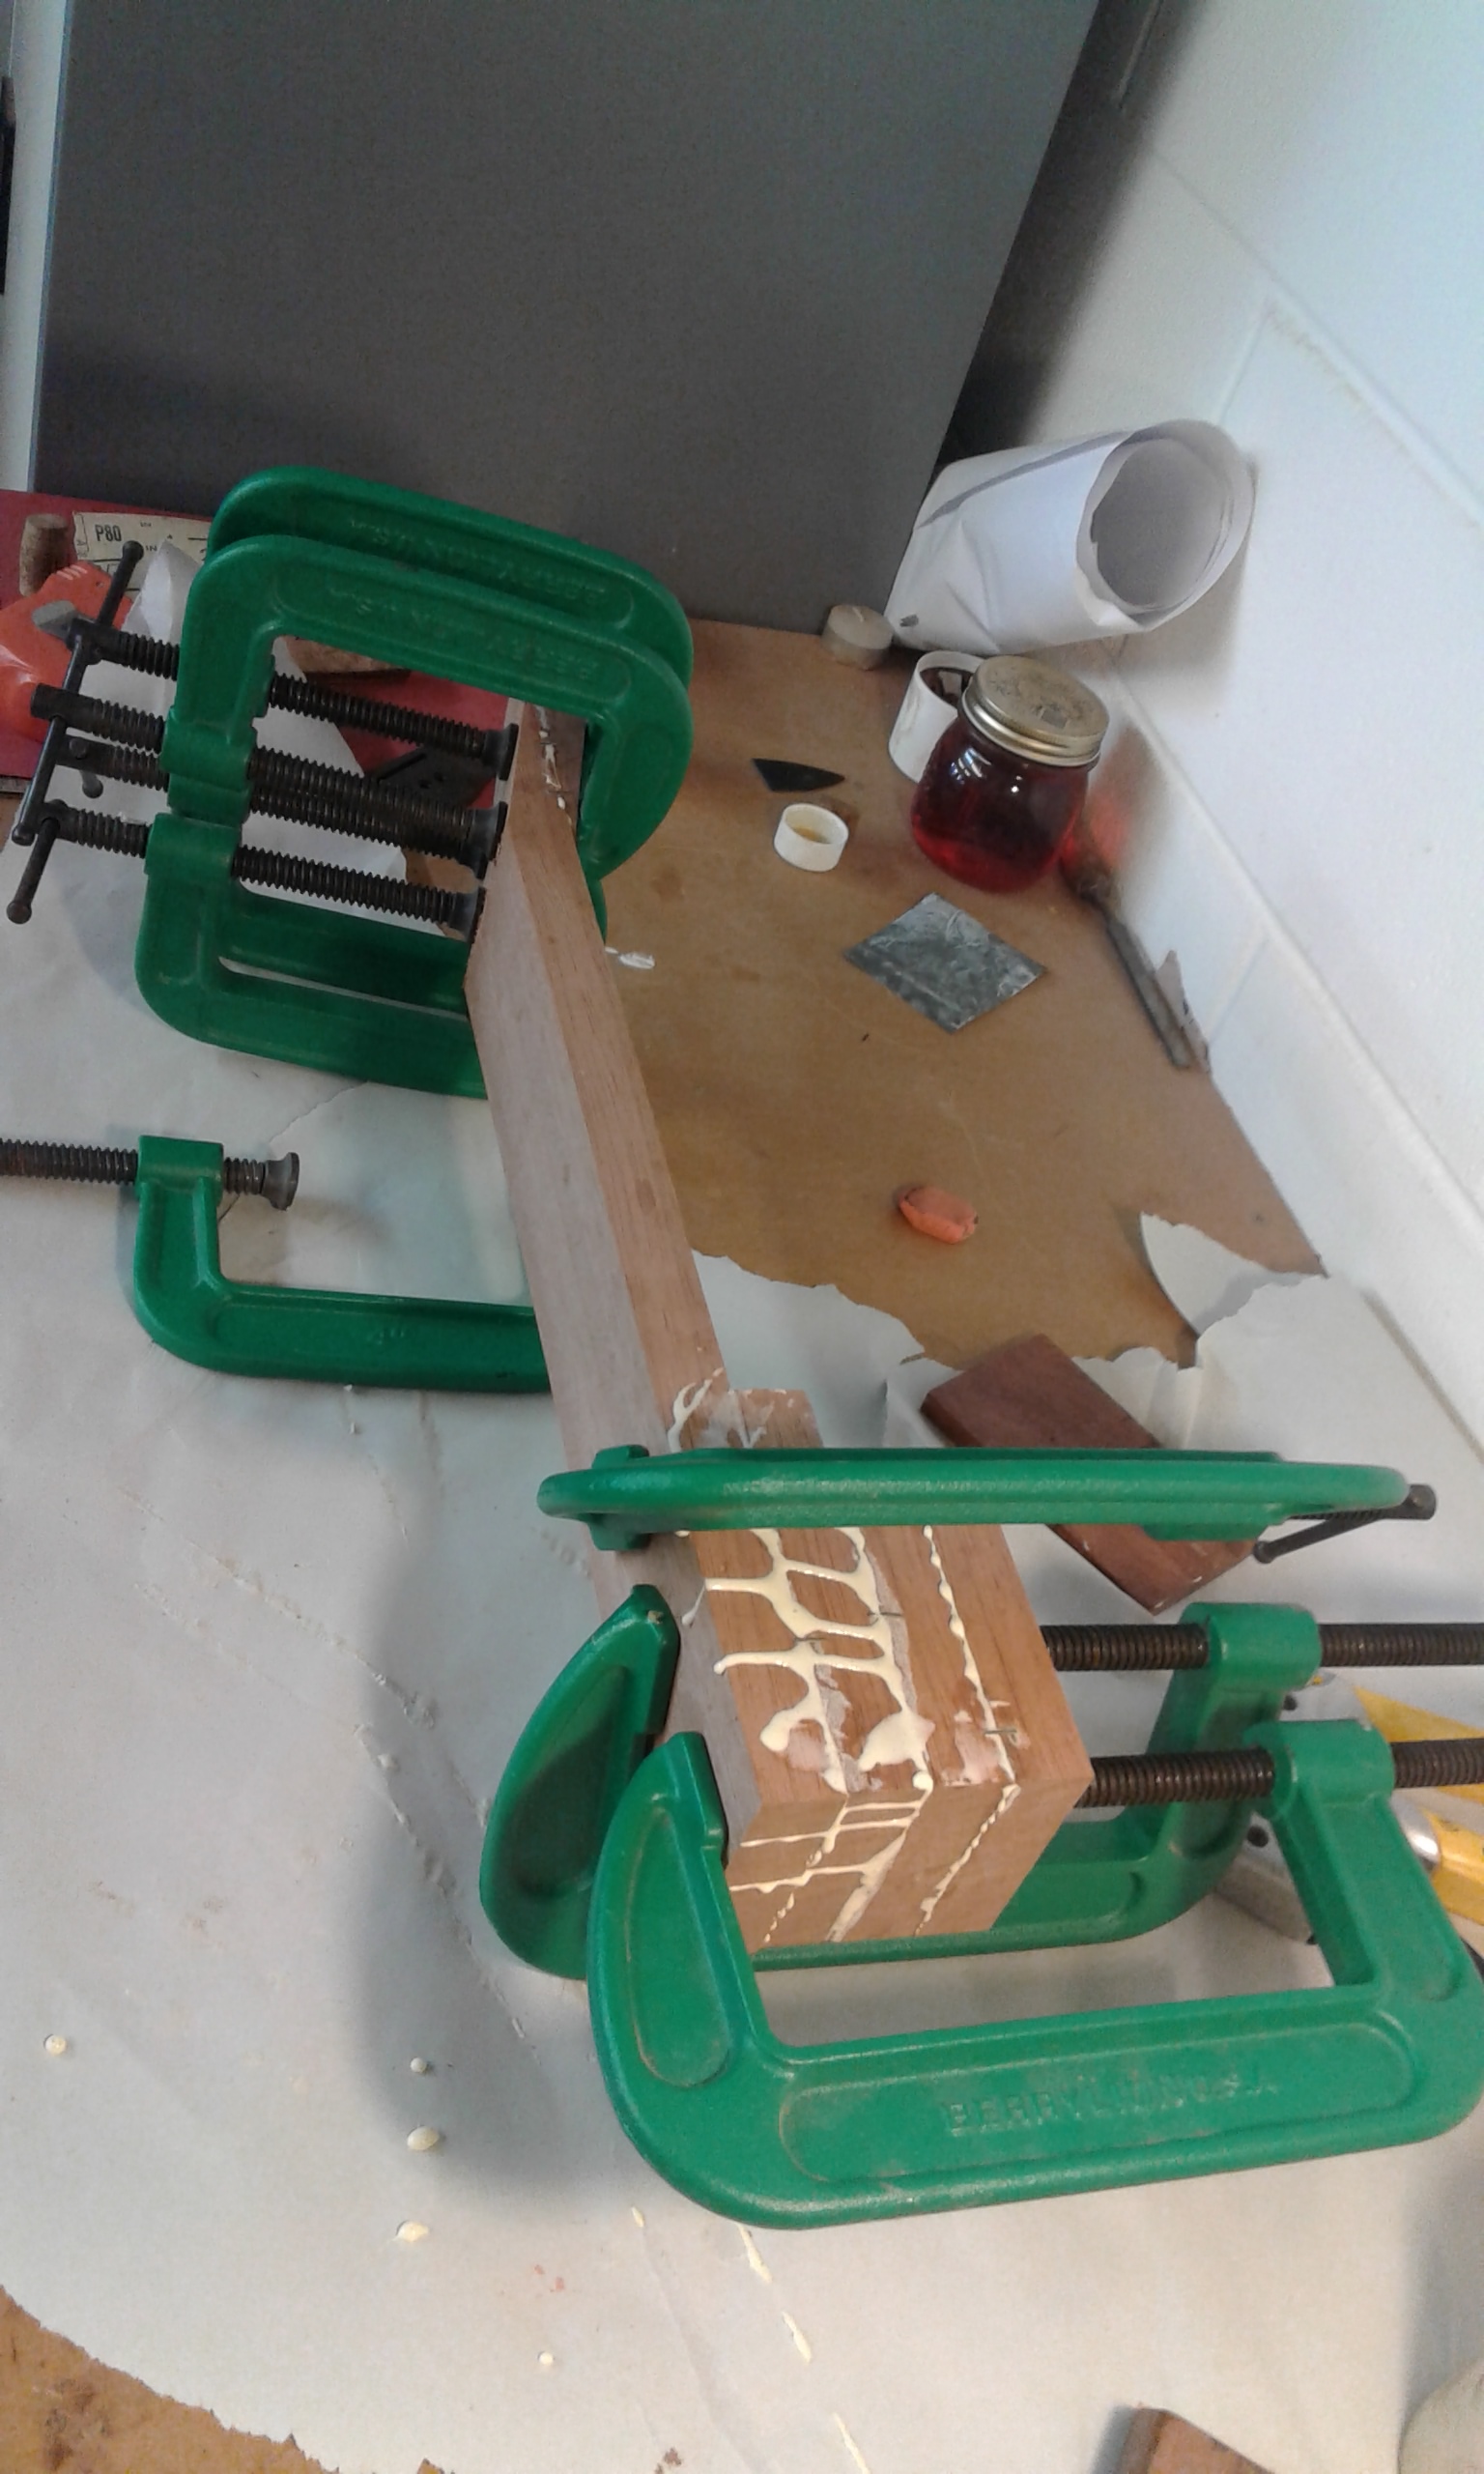
By the time I arrived, Trevor had done some pre-math and figured out exactly where to place the Ebony Bridge, but it was still flat when I arrived. My job was to put the appropriate curve into the Bridge. This was achieved by sticking a piece of sandpaper to the already curved Top and sanding the Bridge against the curve itself. It took a long time. We then created a small cap to glue onto the base on the neck and make it look uniform with the Edging. The Session finished by glueing both of these on.
Session Twenty-Eight
This is the moment that most people had been asking me about for weeks: '“When do you get to oil the guitar?”. The answer is, today. We laid a couple of coats of clear on the headstock, and then I donned gloves and used a small soft metal scrubbing pad to apply the oil. I’ve put a couple of shots below so you can see the contrast of with vs without oil. Trevor said we should be able to finish the project within the next couple of sessions.


Session Twenty-Nine
This was a busy one. We could sense the home stretch, and acted accordingly. I sanded back the headstock and lay down the symbol I had chosen (The Seed of Life). It’s purely black on the Rosewood Headstock, and shines underneath another couple coats of Clear. On the Bridge I drilled and reamed the holes for the Pegs to fit into comfortably. Then Trevor super-glued the electronics for the pickup to my fingers. It was a hard job to position these little golden pads correctly, so difficult that I did it once, then Trevor did it twice. We took a little off an interior brace in order to fit the controller for the pickup, and finished by drilling a big hole in the Bass of the guitar to enable it to plug in, and a matching button near the neck to support a strap. One session to go.


Session Thirty
The Final Session. The birth of my guitar. Trevor was wearing a shirt that I gifted him last week, it has my face on it. This session was all about details. I made a little plate to cover the truss-rod hole in the Head, using a specific drill piece so that the screw used to secure it was more flush with the plate itself. Next was fixing in the Tuners. Using a ruler to make sure they were level, I drilled and screwed them into place. This next bit was super fun, Trevor had glued into place the Nut previously to figure out where the bridge goes, and he had marked the top and bottom string. My job was to find the right spacing between the strings using a specialised ruler, then to file into those marks using specialised files. After I was finished, Trevor took over and worked magic in performing the rest of the initial setup and testing the sound: video below.
While this was going on I watched another student sawing fret-holes. It was surreal to think that six motnhs ago I was doing the same, then I look to the right and Trevor is playing the final product. He’s confident with the sound and hands it to me. I sit and play a newer song, and it’s like a first piece of perfectly cooked steak, the feeling of warm laundry, fresh sheets, a cool water in the summer heat, and a warm mug in the middle of winter. It’s more than all of these things. I’m literally giddy. This is one of my life’s dream and it’s coming true in my hands.
We take a few pictures, and I zip it into a carry case (I pick up a hard travel-case the next day). It’s bittersweet to know that I won’t be coming back next week, but that doesn’t stop me from laughing maniacally all the way home.