
Luthiery Log - 05/2019
I’m building a guitar, and logging the progress on the 7th of each month. Here are Months: One, Two , Three, and Four.
So I may have gone a little crazy this month. After coming back from holiday I was itching to get back into Luthiery, and Trevor had more availability, with some students finishing their guitars, and others starting later in the year. So to keep things brief, I’ll combine these sessions into Weekly groups.
Sessions Fourteen, Fifteen and Sixteen
This week was all about the Face and the Neck. We found two short supports for the Face had been positioned badly, and when correctly mirroring the other short supports, they were now too short. Really they had always been too short, but now we had discovered it. Measure, Cut, and Dish the replacement supports, then glue them all into place. Below the X Brace needed a bridge plate to strengthen where the strings will eventually be pulling the top of the guitar, and finally we popped in three small braces to strenthen the sound hole.
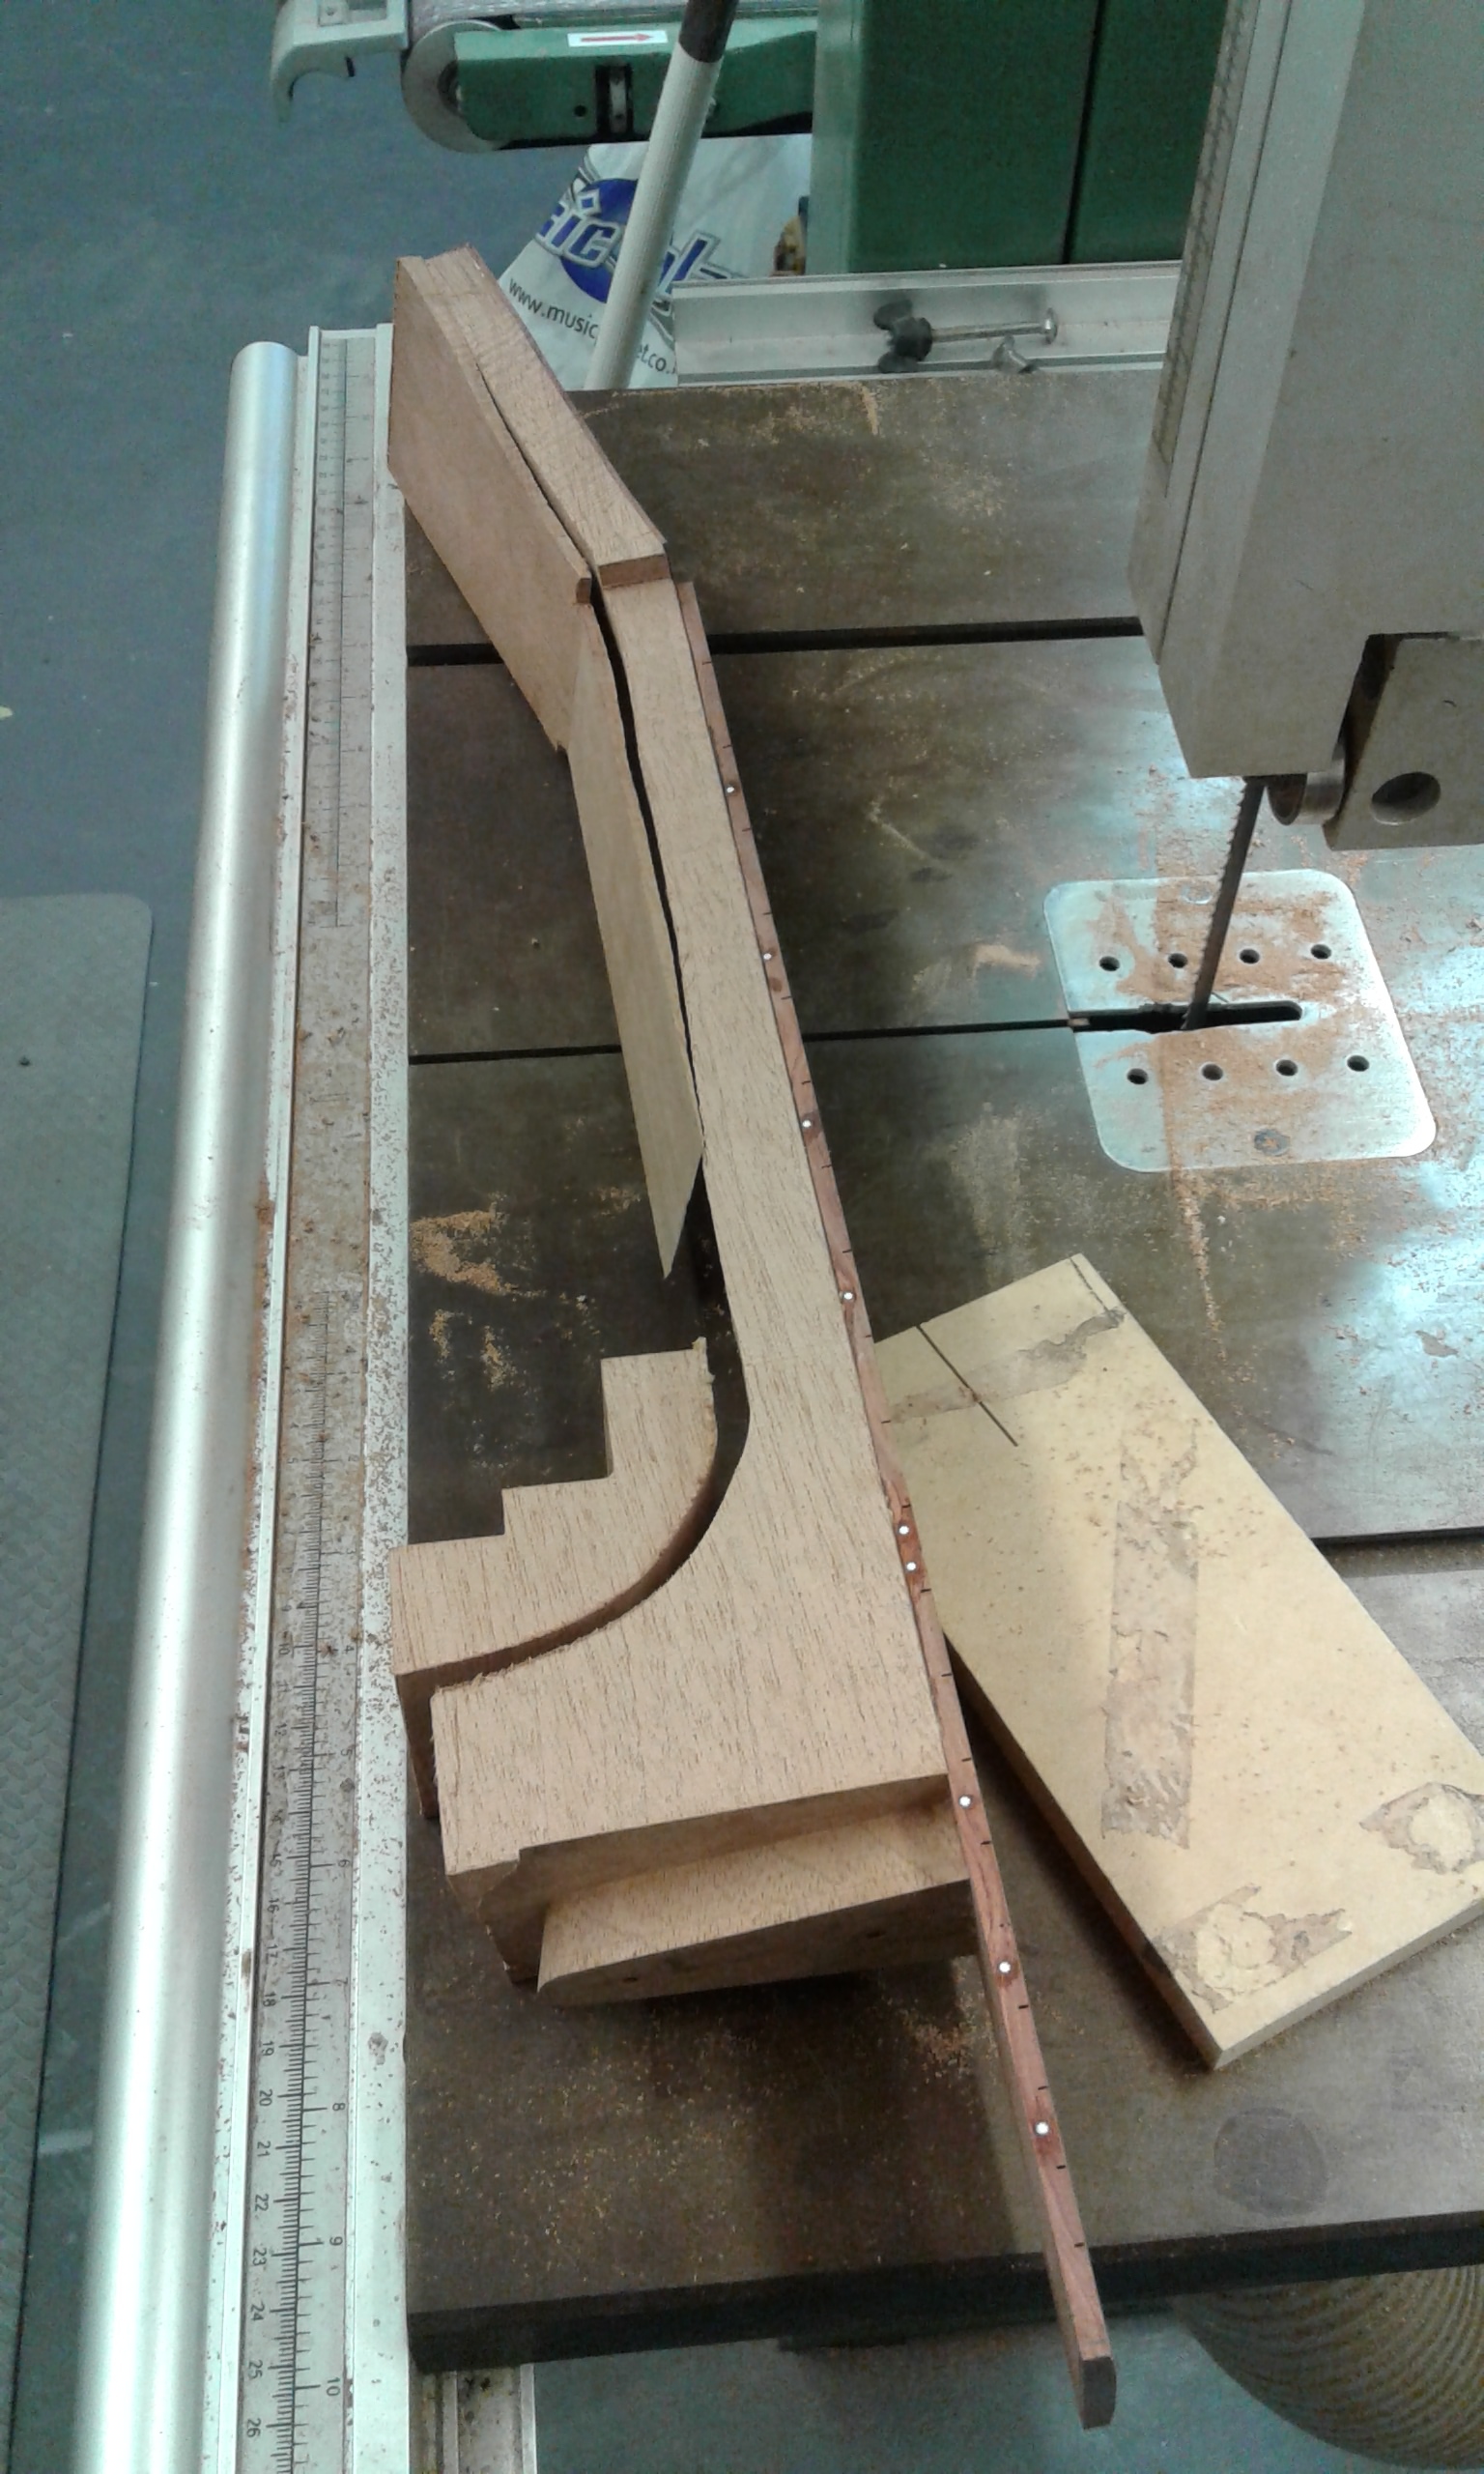
We also started marking the Neck to be trimmed down and carved. The main cuts were made on the bandsaw, finishing everything else we could reach with the drum sander. This next part, Trevor said, is his favourite part of guitar building. We put some oil on the Fretboard to bring out it’s natural beauty, before cutting some special wire strips to size and banging them into the neck to create Frets.


Sessions Seventeen and Eighteen
A lot of these sessions went into Carving the Neck. Using a couple of rasps, Trevor would show me how to get the right curve, carve an example patch, and then have me match the curve on the rest of the neck. I was nervous to go too far, and slow to get the hang of this one. I certainly felt better after Trevor confessed he had made seven practice necks before being allowed to touch a real one.
This next part, Trevor said, is his favourite part of guitar building. I used a chisel to pare down the supports under the Face, turning them into real treble-braces and Tone Bars. Trevor showed me how to get very close to the Face without carving into it. During this time I met a couple of other students. Jim was changing professions after a long time serving in the NZ Air Force, so was in Auckland temporarily to learn the craft. He made the beautiful blue electric that you see below. I also met Daniel who was working on a gorgeous Bass, but I neglected to get photos.


Sessions Nineteen and Twenty
This next part, Trevor said, is his favourite part of guitar building. Now that evrything was pared down and sized for the Face and Back, it was time to mark out facets in the Kerfing along the sides. It reminded me of Japanese woodwork, small and intricate. I’m certain that if a Japanese woodmaster saw my work he would call me a barbarian. Neverthe less, we managed to dry-fit the Back onto the sides and were happy with the fit. Before gluing it on, we had to do the same for the top. That way it’s easier to see if which parts needed to be brought in. At the end of session Twenty, we glued the Back onto the sides.


Sessions Twenty-One and Twenty-Two
The first order of business? Glue on the Face. So we did. And it was glorious. Things were going well … a little too well. Next order of business, calculate, mark, and drill the holes for where the Machine Heads, or tuning pegs, would sit in the headstock.
Now I must have been tired that day, because I’m usually good at math.
I added 45 on to 42 and ended up with 97.
It made sense in my head. It looked fine when me marked the placements. It looked fine when we drilled the first hole. The second hole looked great. The third hole was too close. Nope, both the second and third were out by ten millimetres. Solution: Plug the holes with dowels, sand off the face-plate, make a new one. To repeat this work was painful, but a good learning experience to not just measure twice, but to check the math.
This next part, Trevor said, is his favourite part of guitar building. The final session of the month was sanding down the Face and Back until they were flush with the Sides, then routing around the edges to create a track for some lining to be laid on, and strengthen the edges of the body.


