Luthiery Log - 01/2019
It was a hot day when I met Trevor Binford. I walked up outside his shop (Binford Luthiery) in Onehunga while he was doing some repairs on his car. We didn’t shake hands, his were covered in grease. Inside his shop I described that my steadfast Cort guitar had broken for a second time in the ten years I’d owned it, and although it was repaired, I was looking for a replacement for performances. I’d decided, in a fit of madness, that I would embark on the Guitar Buildshop course, in which Trevor guides you through building your own guitar. So after confirming an appointment, trading emails, and a suitable fistbump, I leave.
It would only be fair to say I was equal parts excited and terrified.
Session One
I turned up after work. We’re alone in the shop. Trevor confirms a few details from the emails we’ve traded, and then tells me his teaching style.
Step One: Describe. Trevor tells you the next step we’re going to take, any machines or material we’ll be using, and some pointers to keep in mind.
Step Two: Demonstrate. He performs the start of the task to give you a good visual indicator of what good technique, and result, looks like.
Step Three: Observe. He’ll watch you do the same.
Step Four: Run Away. Not completely, but once he’s confident in your ability, he’ll go work on some other task (usually a repair for someone else) and leave you to it.
At any point during any step you can ask questions, or double check what you’ve done.
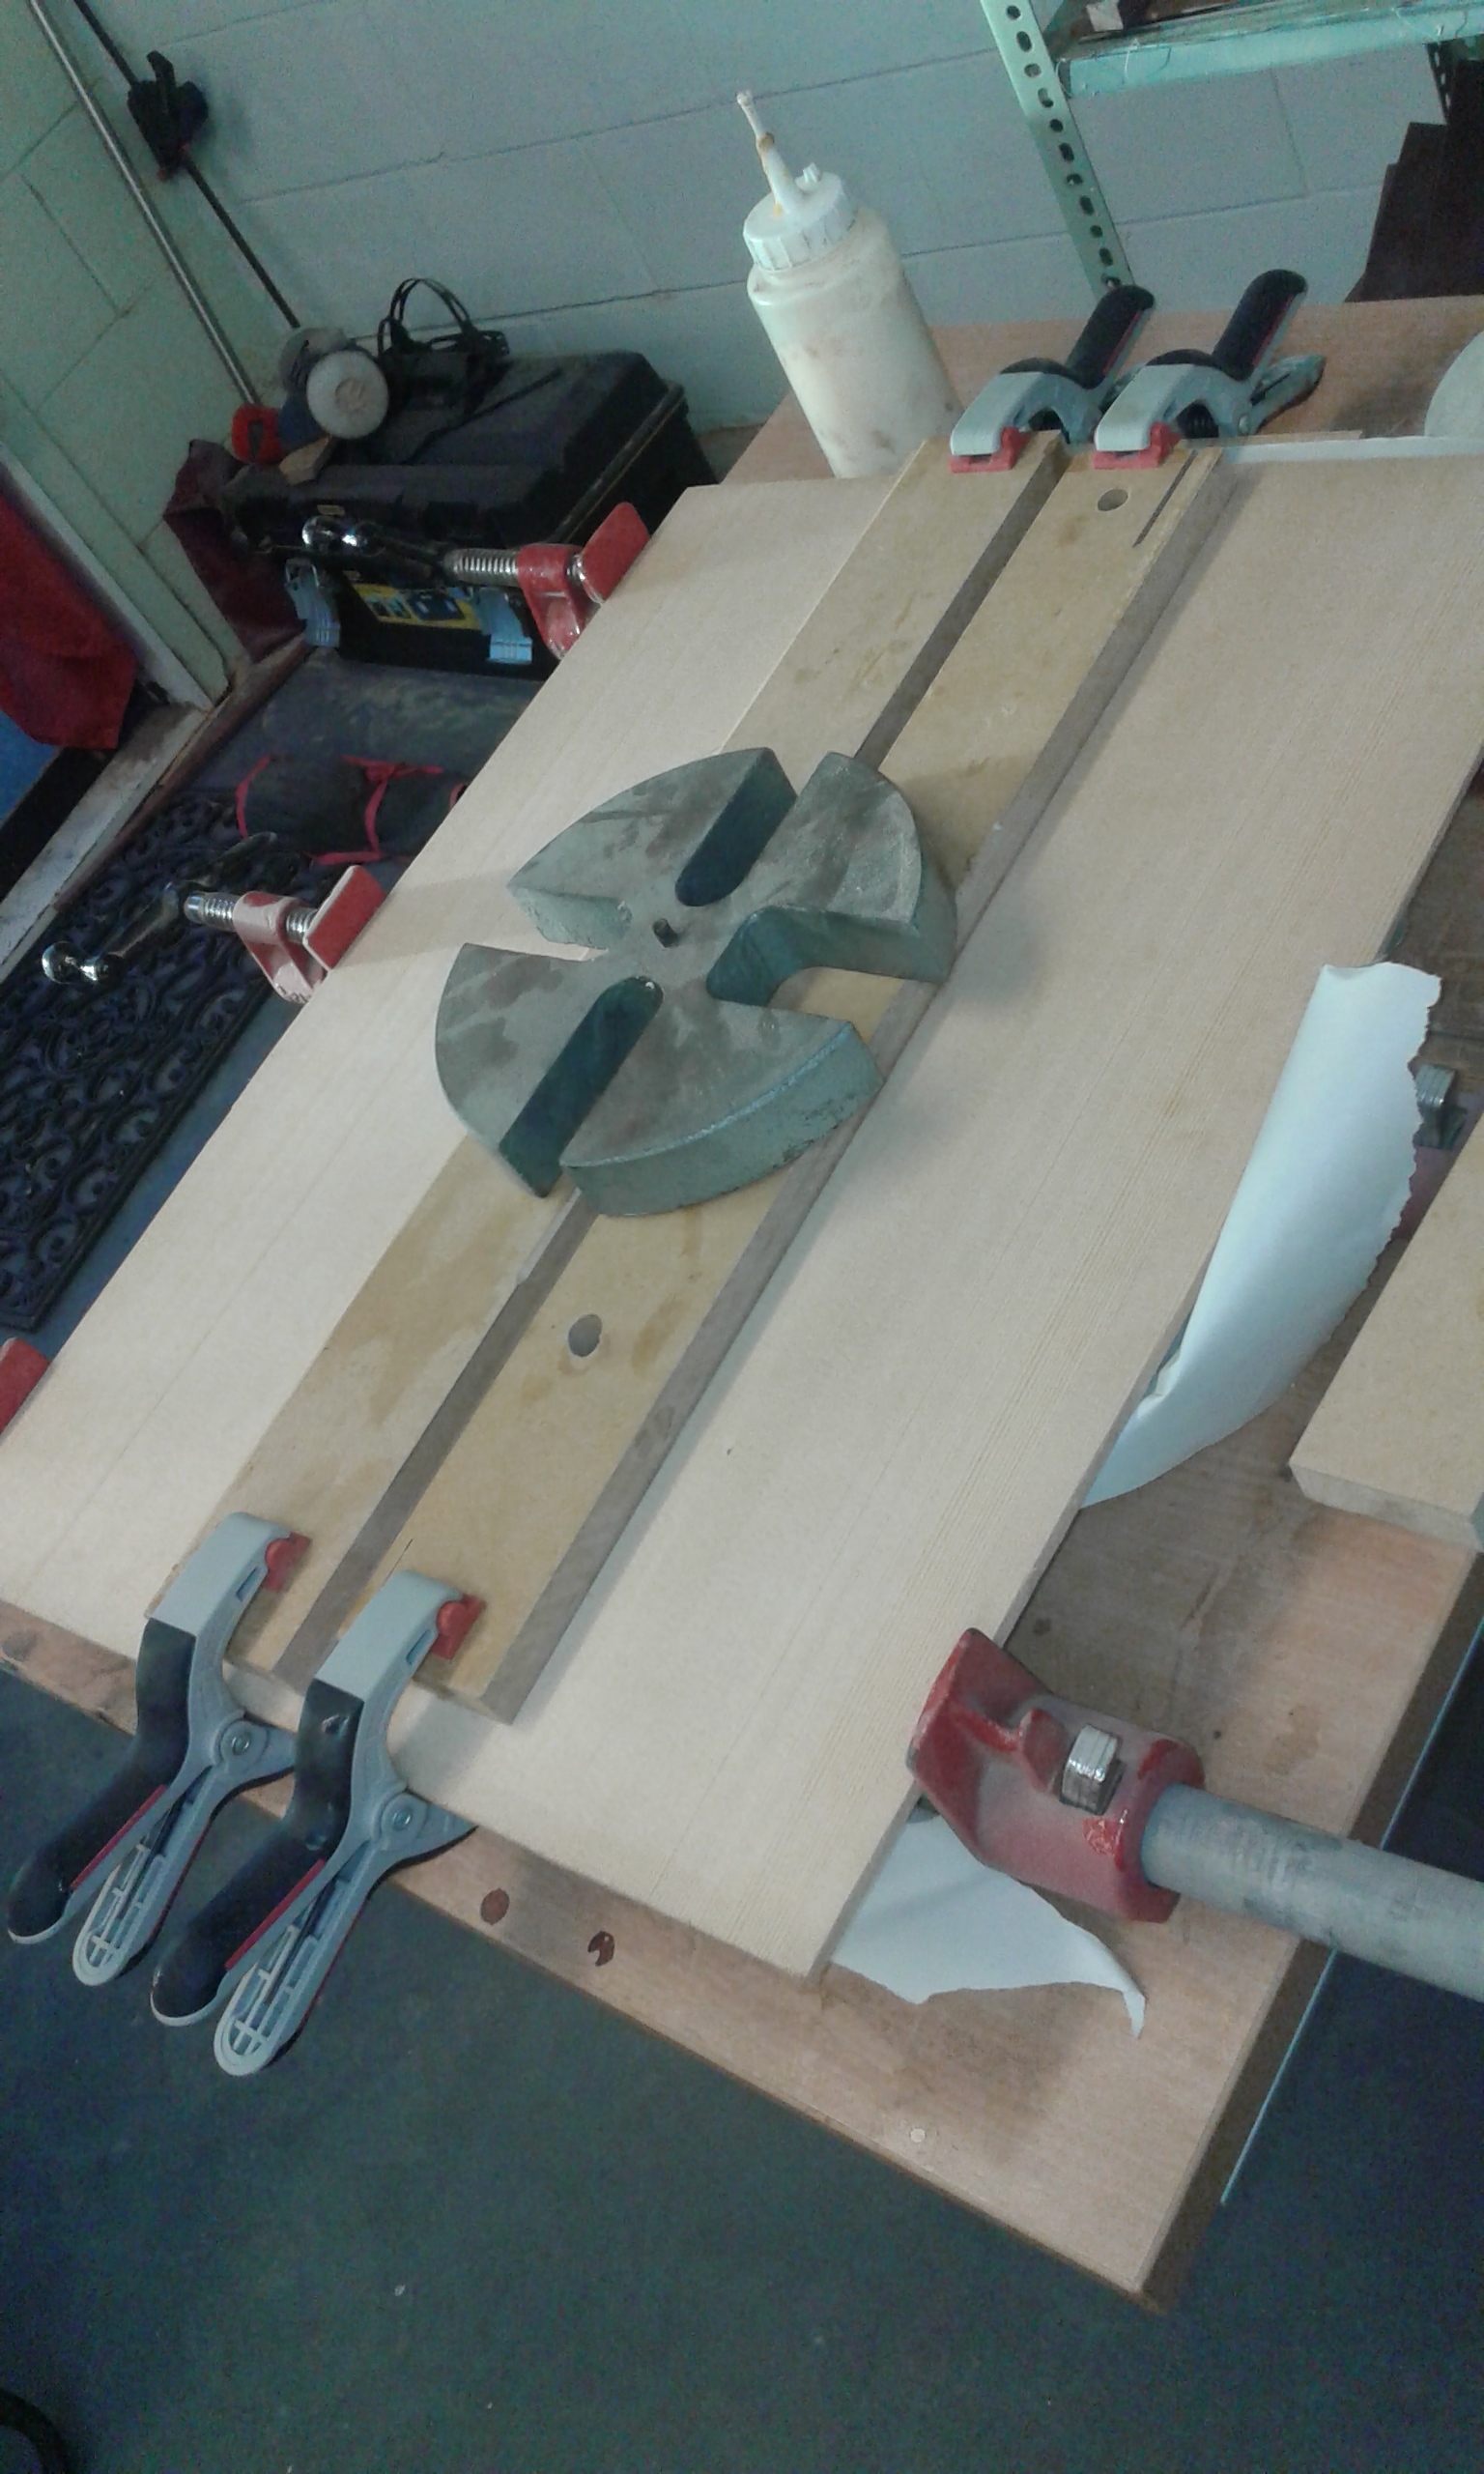
The first task? Choose which two bits of Citka Spruce would become the face. There were four options in stock to choose from, each a bookended pair for symmetry. I learned about the merits of strength versus flexibility, the grain lines of the wood and the effect each would have on the sound. I chose the last pair based on the grain, both for the above and for aesthetic. He applauded my choice and said he would’ve made the same given the same options. Either I’m nailing this, or he has great customer service. We use a machine and a sanding block to square up the insides, then glue the pieces together, holding them all with clamps and weight.
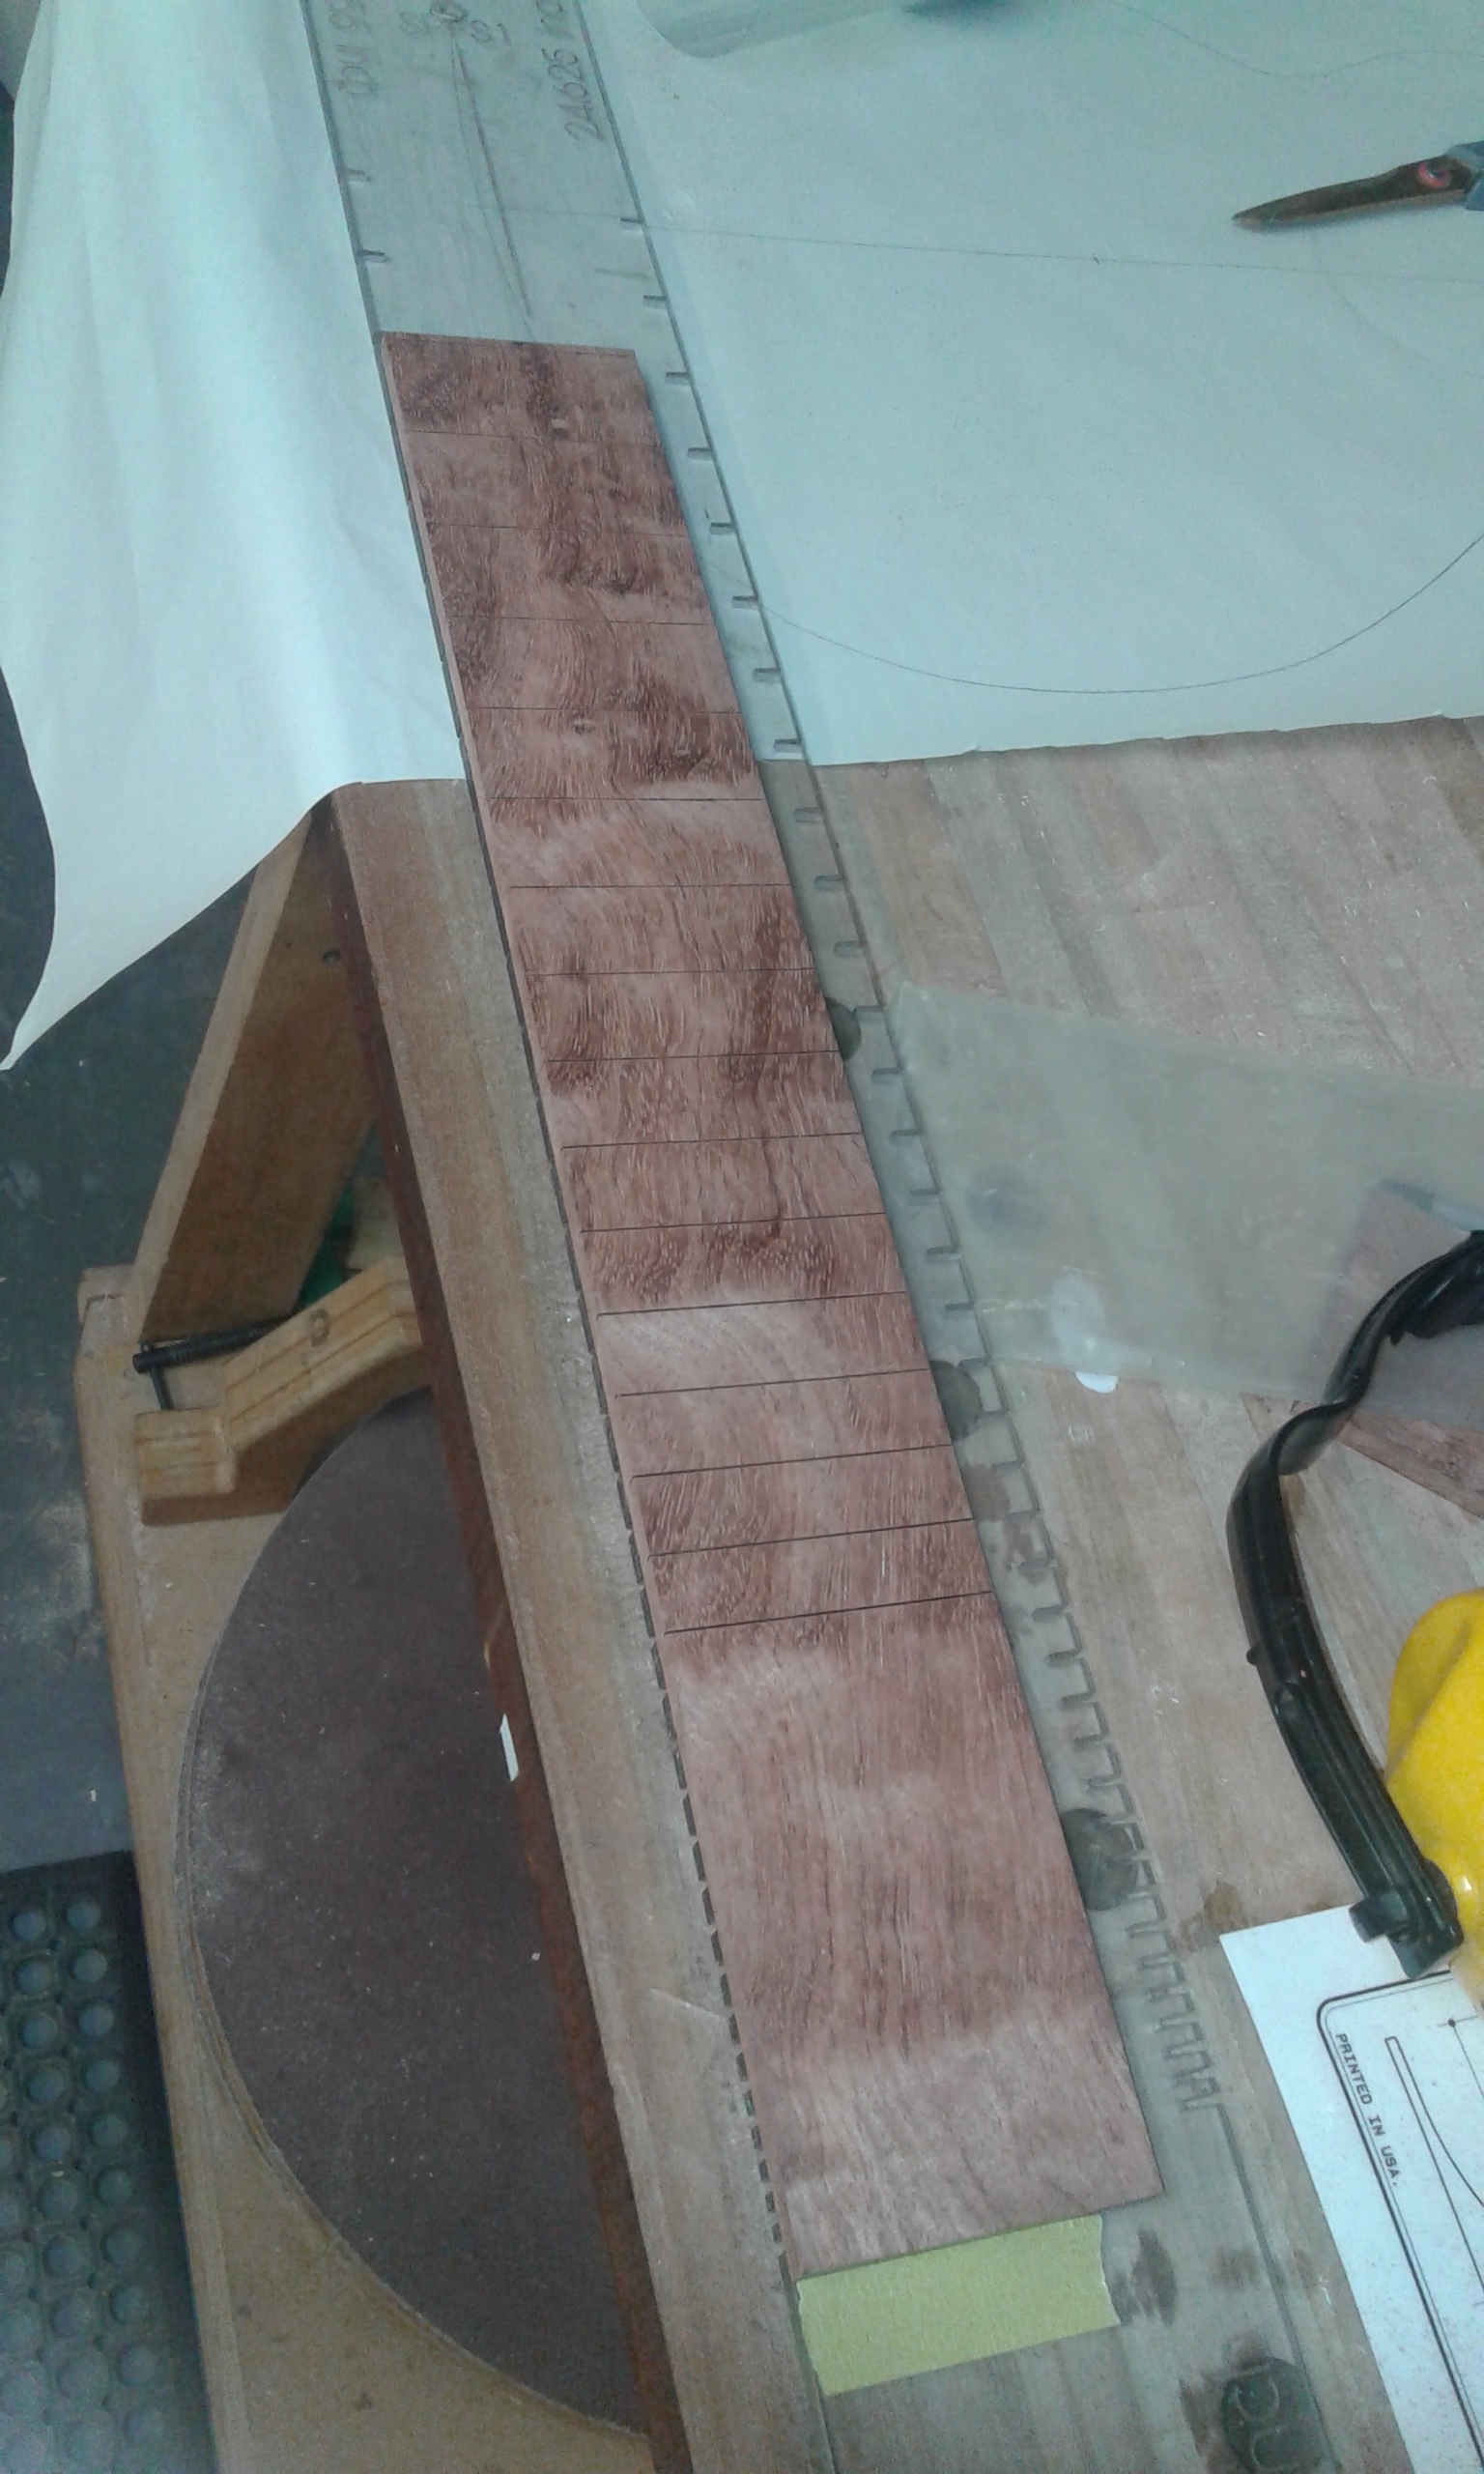
Then he busts out some Bubinga which will become my future fretboard, and a crazy jig and reference board. We begin cutting holes for frets, which takes the rest of the session as we listen to Jonothan Coulton (my choice). I leave, less terrified, more excited.
Session Two
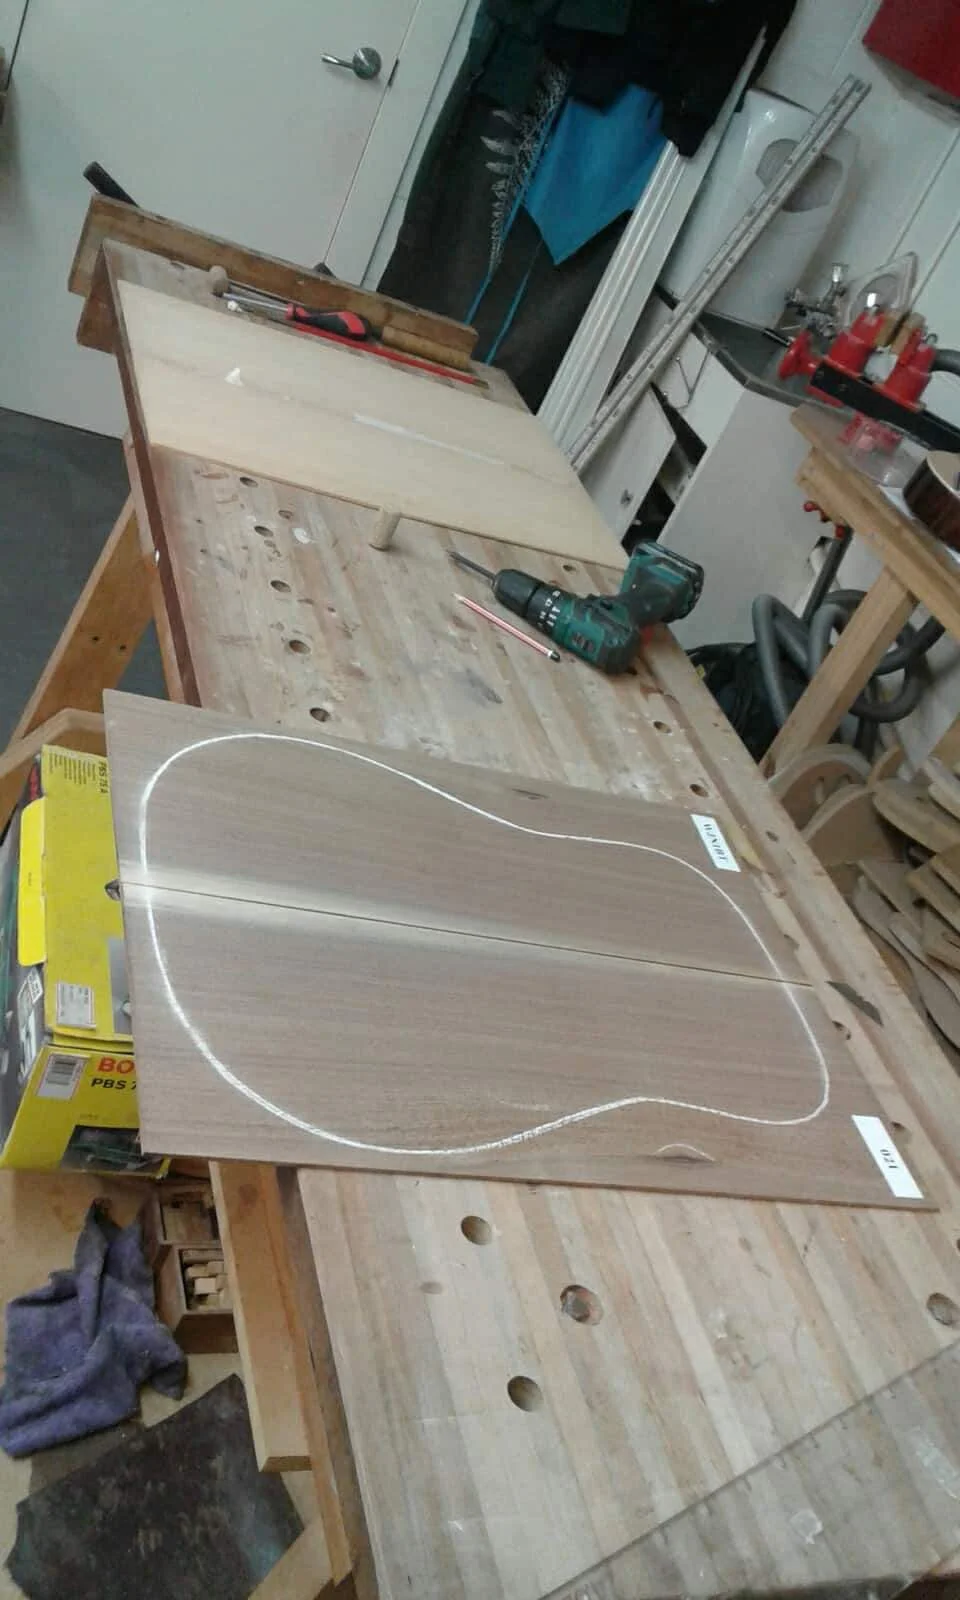
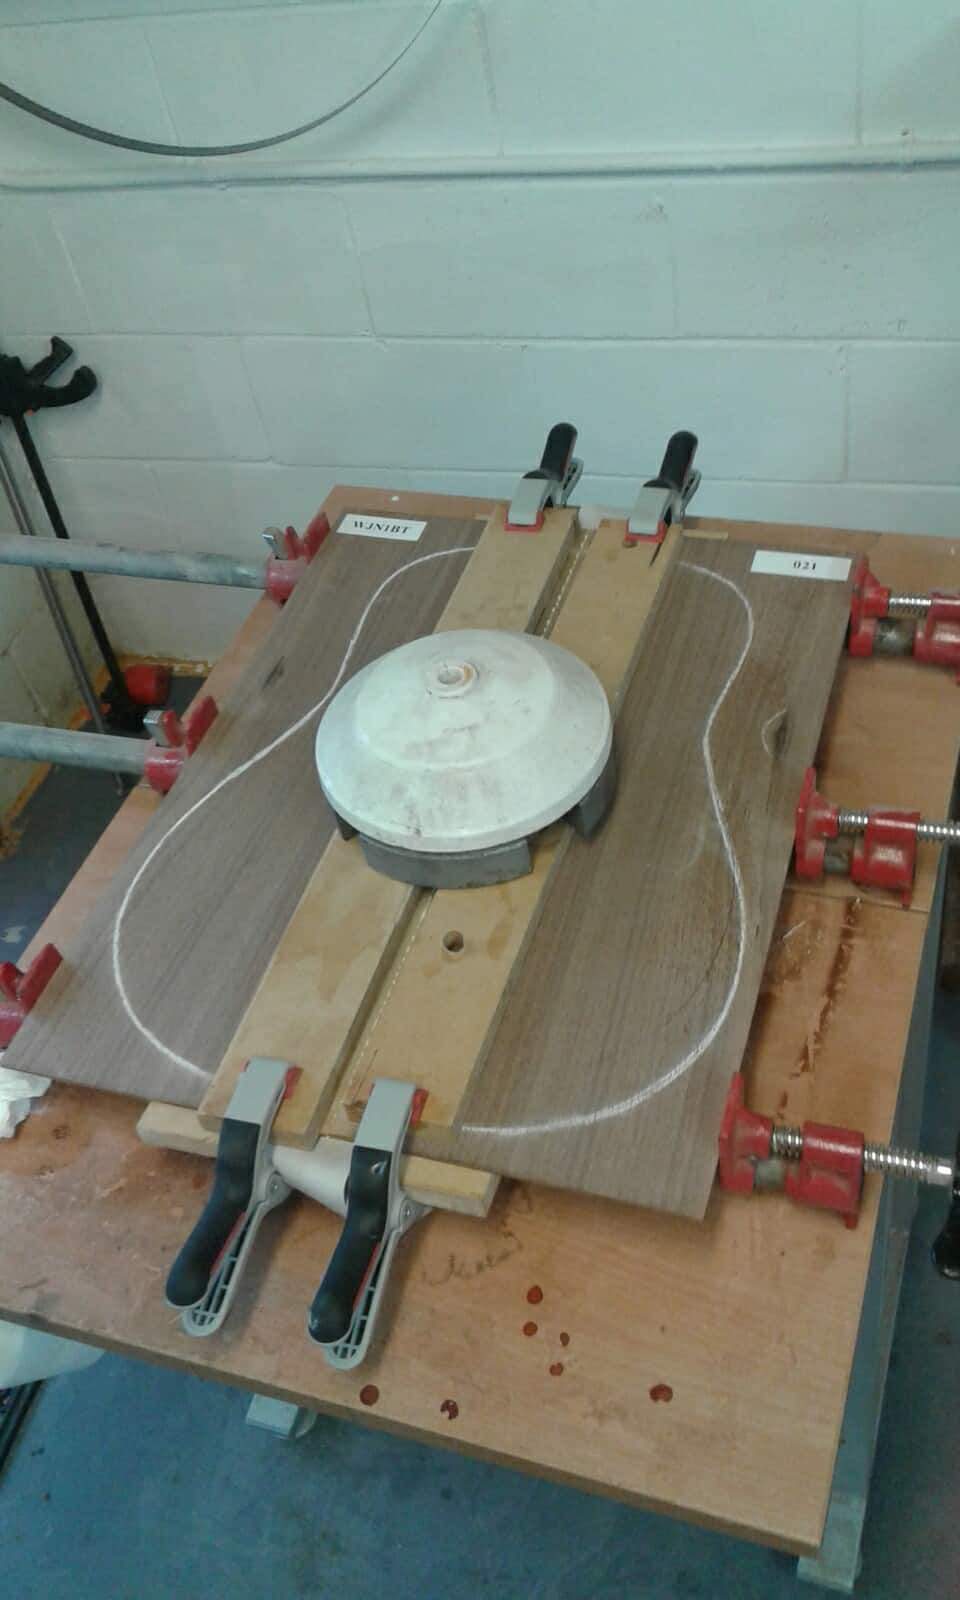
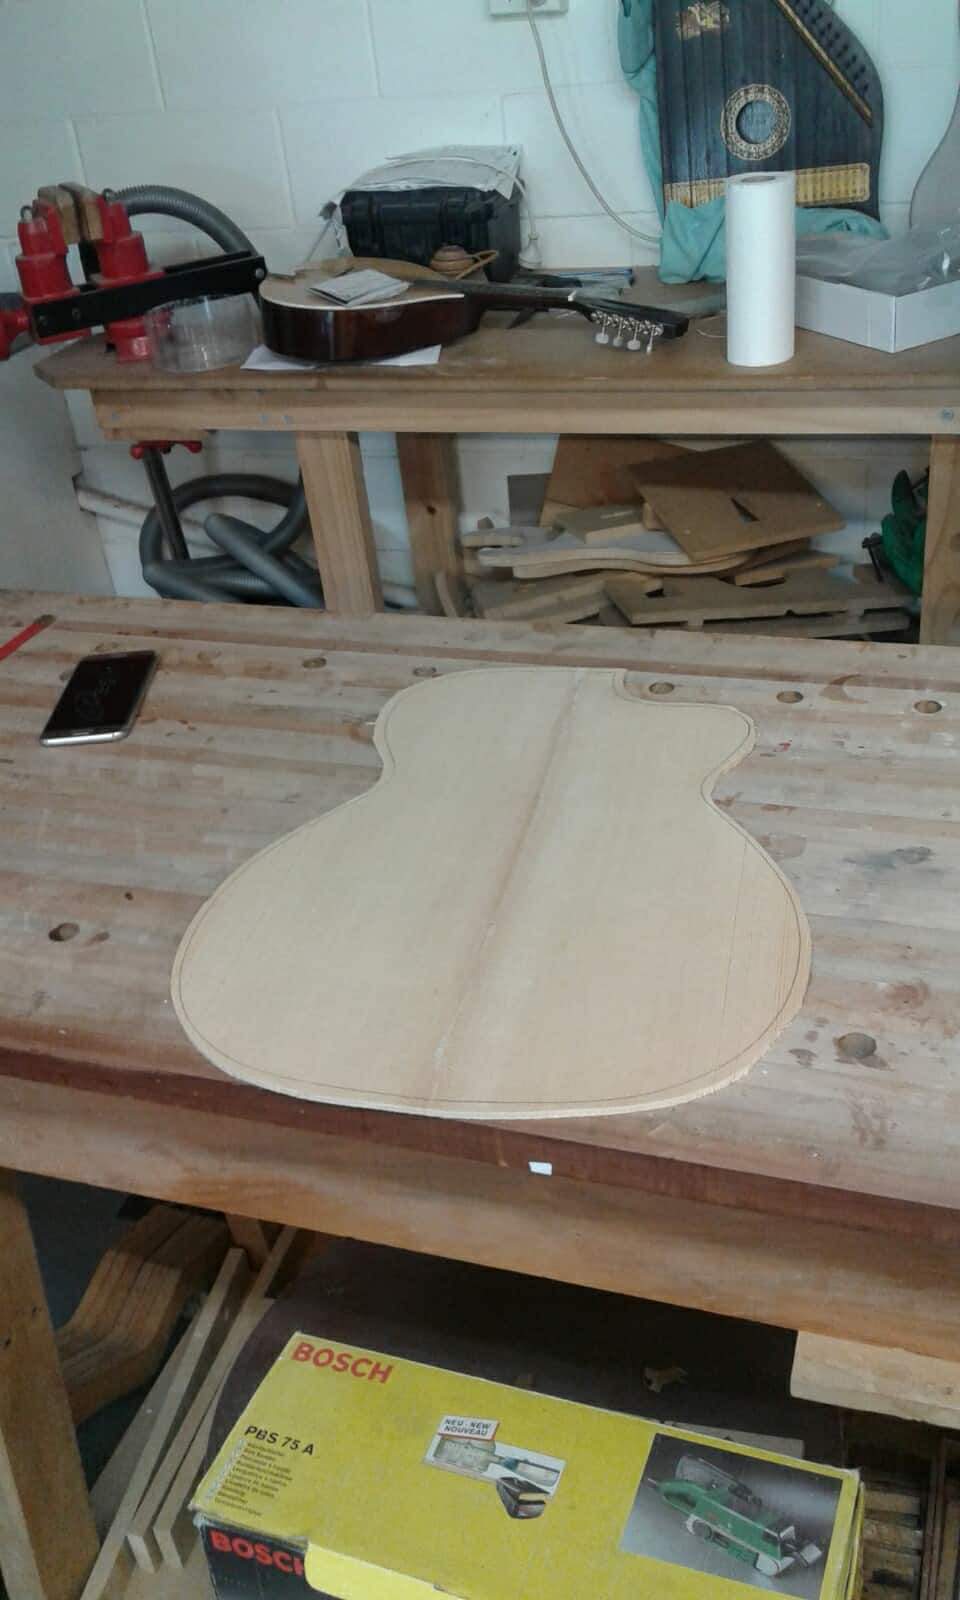
My Sides and Back have come in, and the Face is dry. There’s another person in tonight, sanding down their Neck. But before we get to that, more Fretholes required. I finish the fretboard, and we repeat the steps from last week for the Back. I decide to keep the white stripe in the Back, it’s not glue, it’s the heart of the Walnut tree that provided the wood. It’s left to set and we take the Face to the bandsaw. I sweat bullets as I’m cutting out the shape of my guitar, particularly around the cutway (not a standard option that Trevor offers, as it’s a bit more finnicky). I don’t lose any fingers.
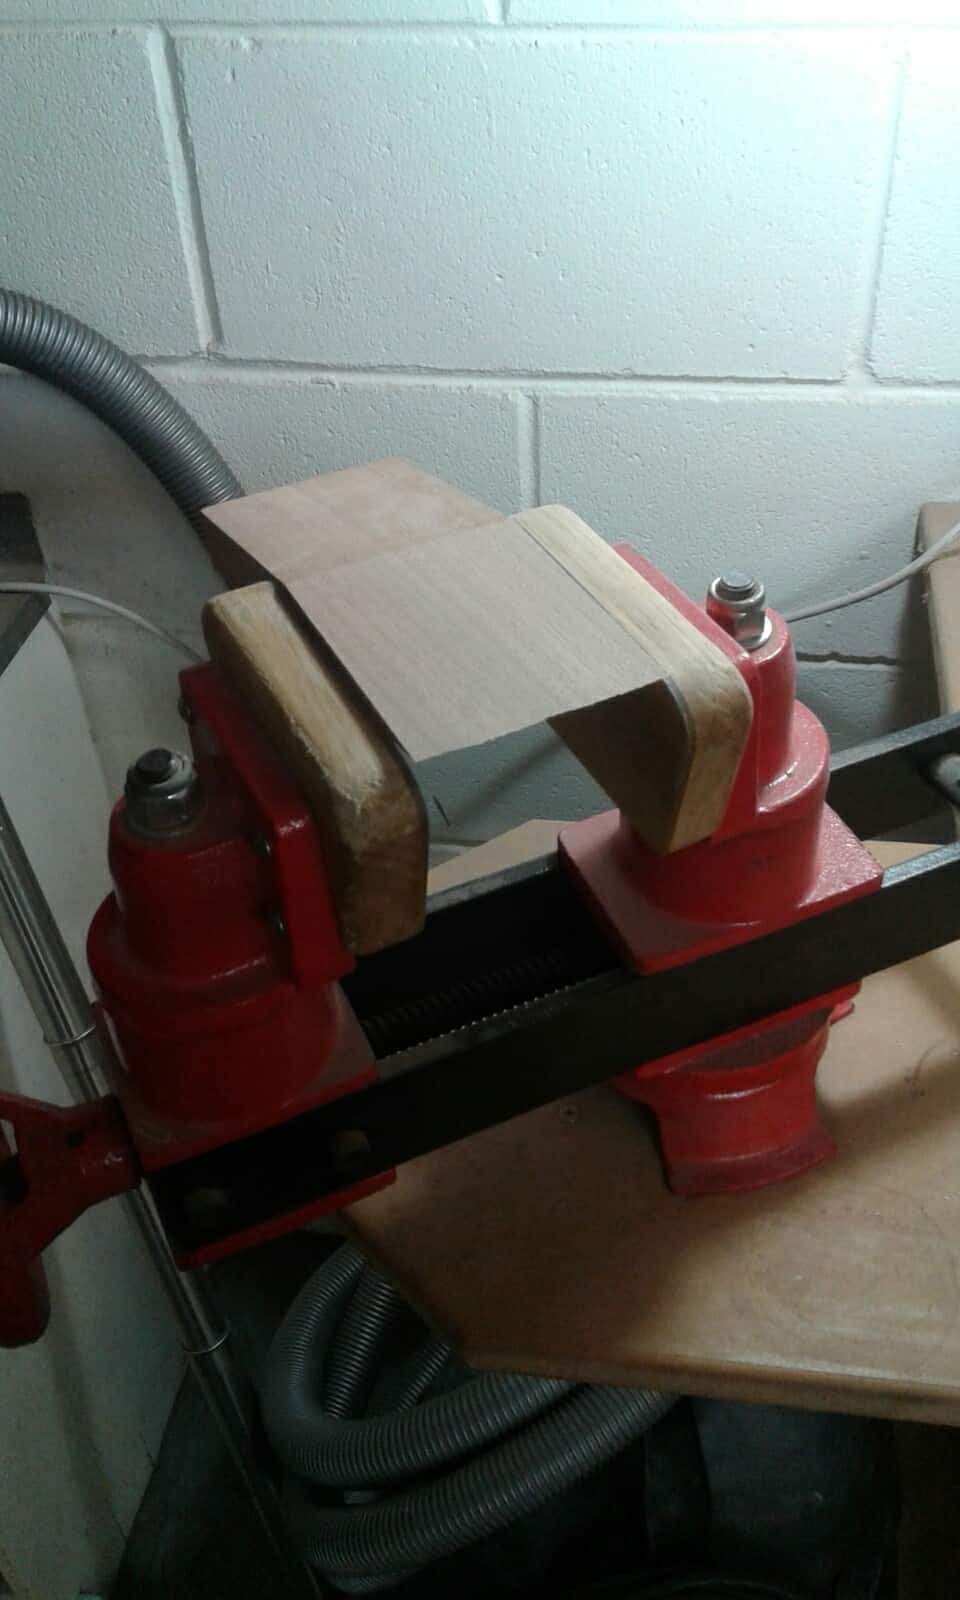
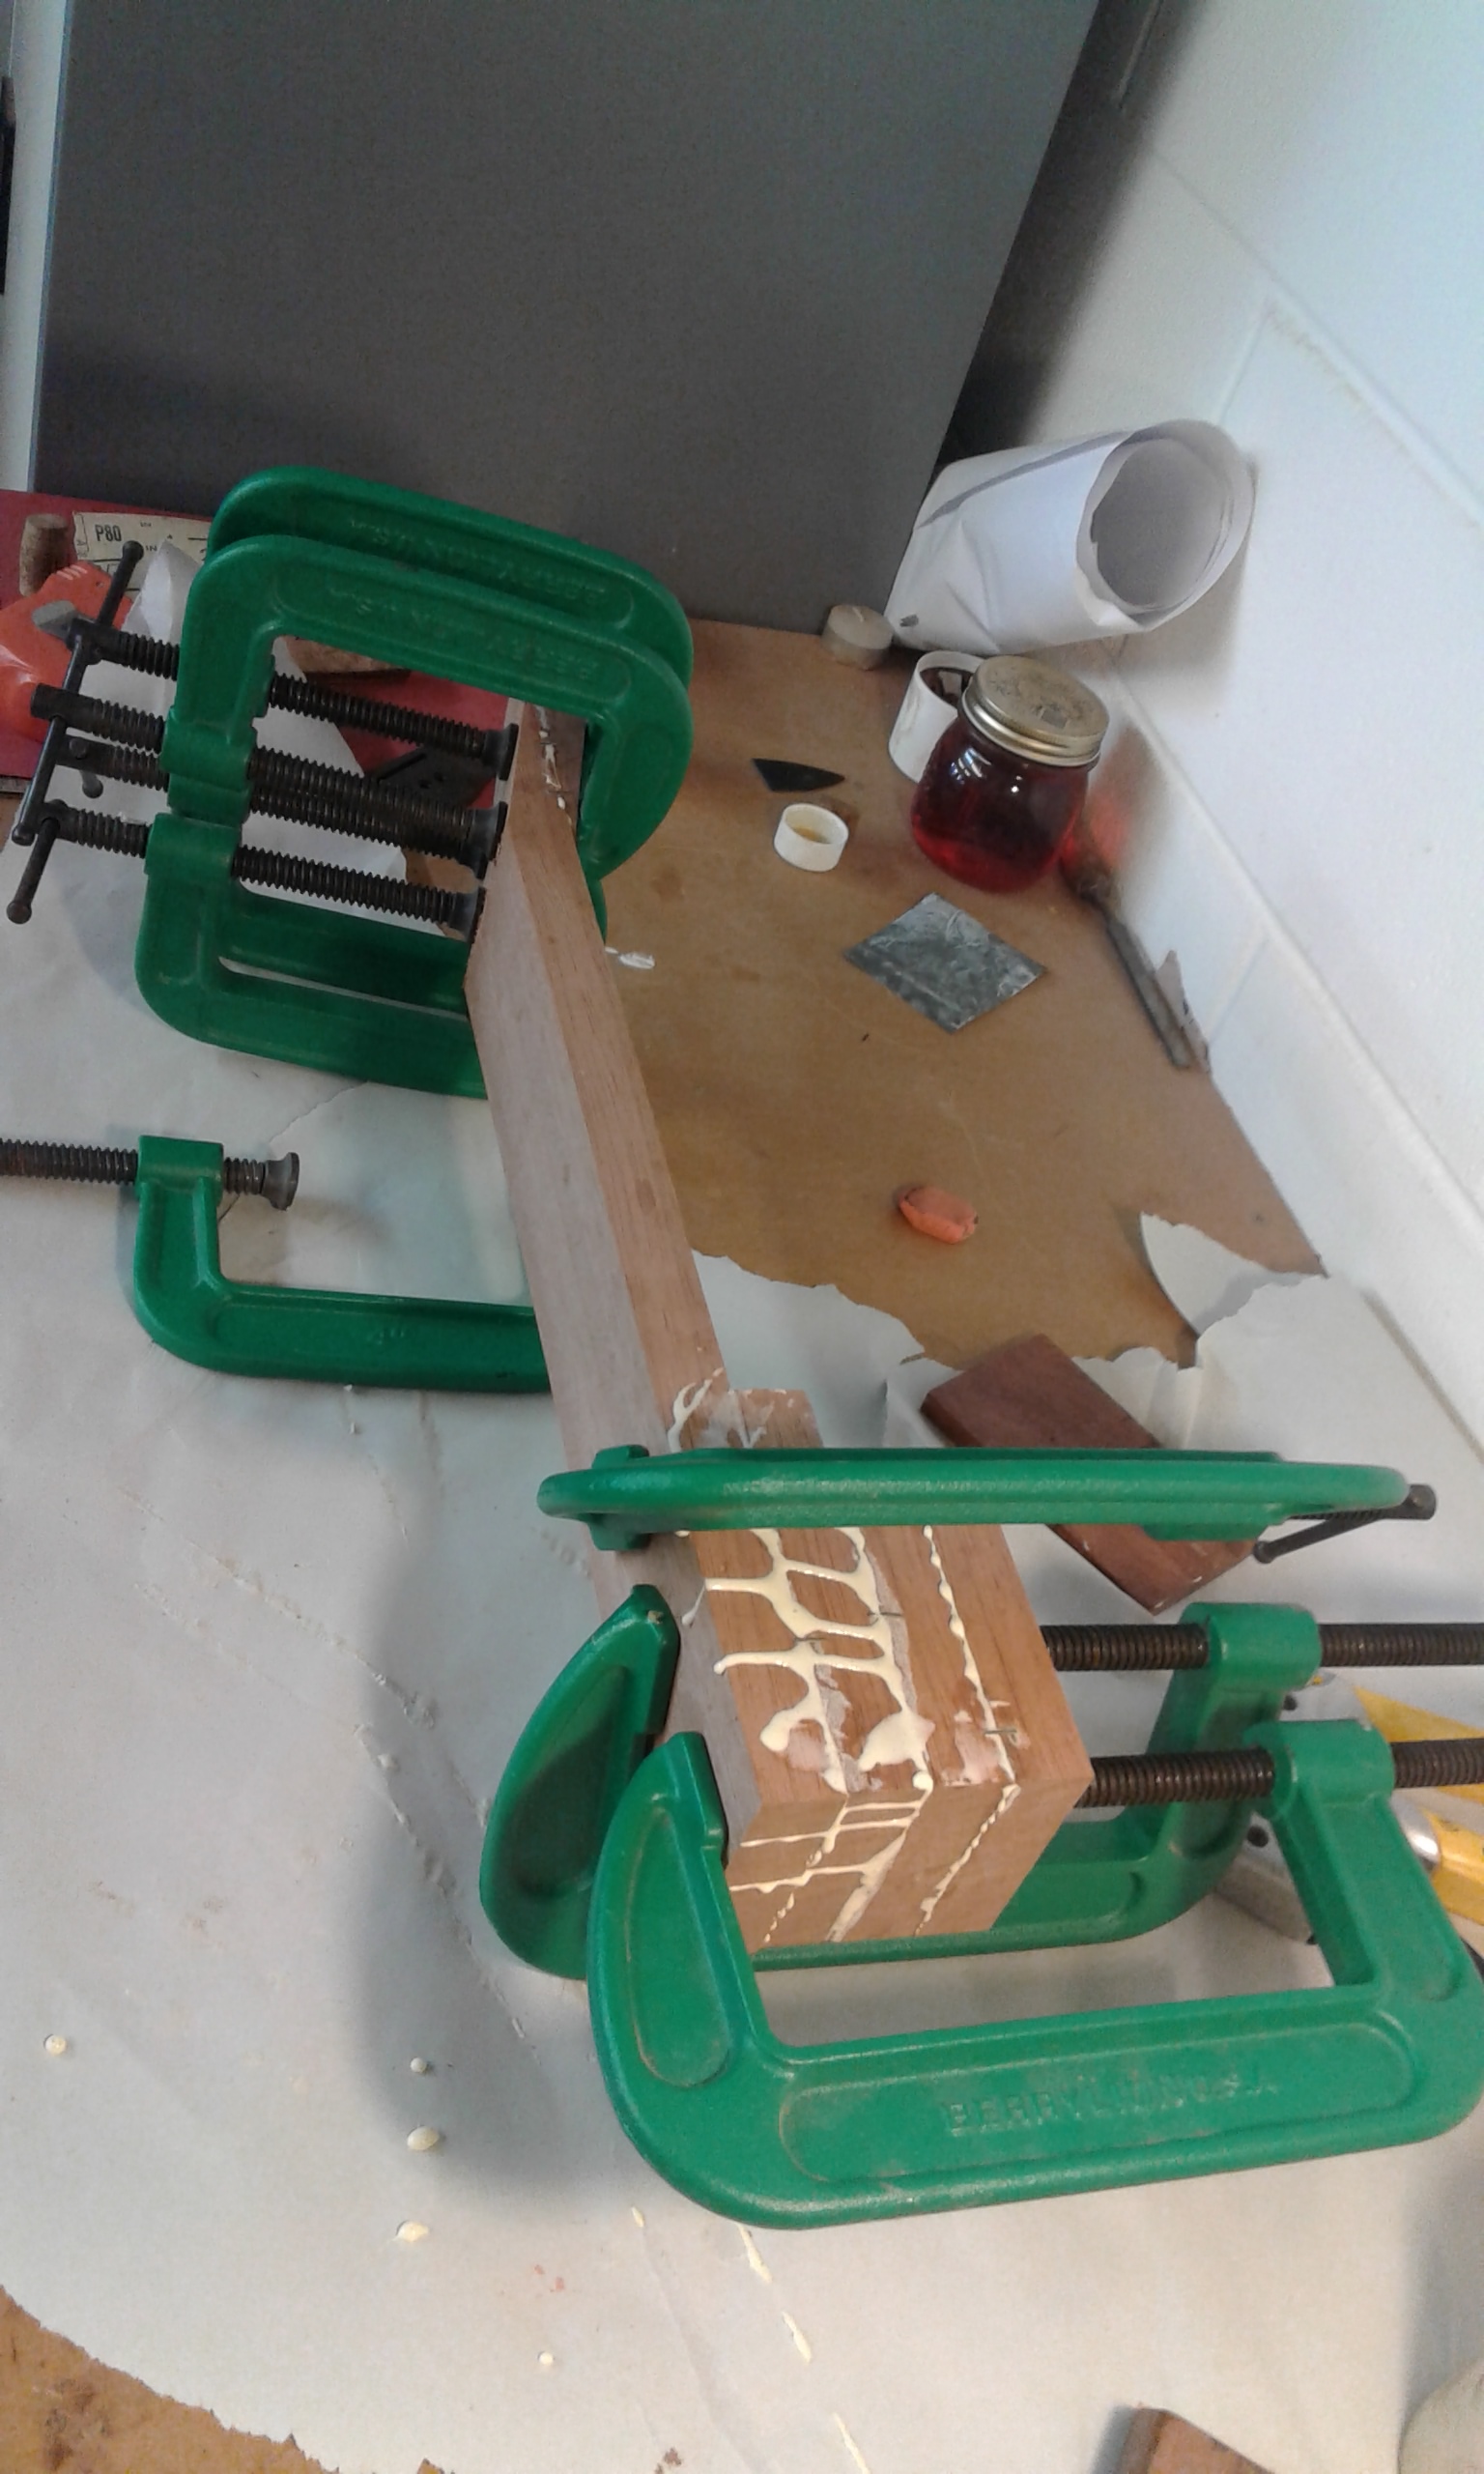
The Neck follows. One solid piece of Mahogany that we cut at an angle to create the Head. A few more lops from the other end to create the part of the Neck that meets the Body. and the session finishes with a bit of sanding before the Neck pieces can be glued up.
Session Three
We’re alone again. The Back is dry, and is quickly cut out on the bandsaw. I now have a definite inside and outside surface on both the front and back. More importantly, I still have all eleven fingers. The joint surfaces on the Neck are sanded and glued, then stapled together, just to show it we mean business. During sanding we listen to Warren Zevon (Trevor’s Choice) and he is surprised when I recognise the singer. We become best friends (his words) over the lyrics and subtle guitar lines. Then we route the space for the Rosette, lay the Rosette, and route the Soundhole, all in the Face. He says we’re making really good progress.
Session Four
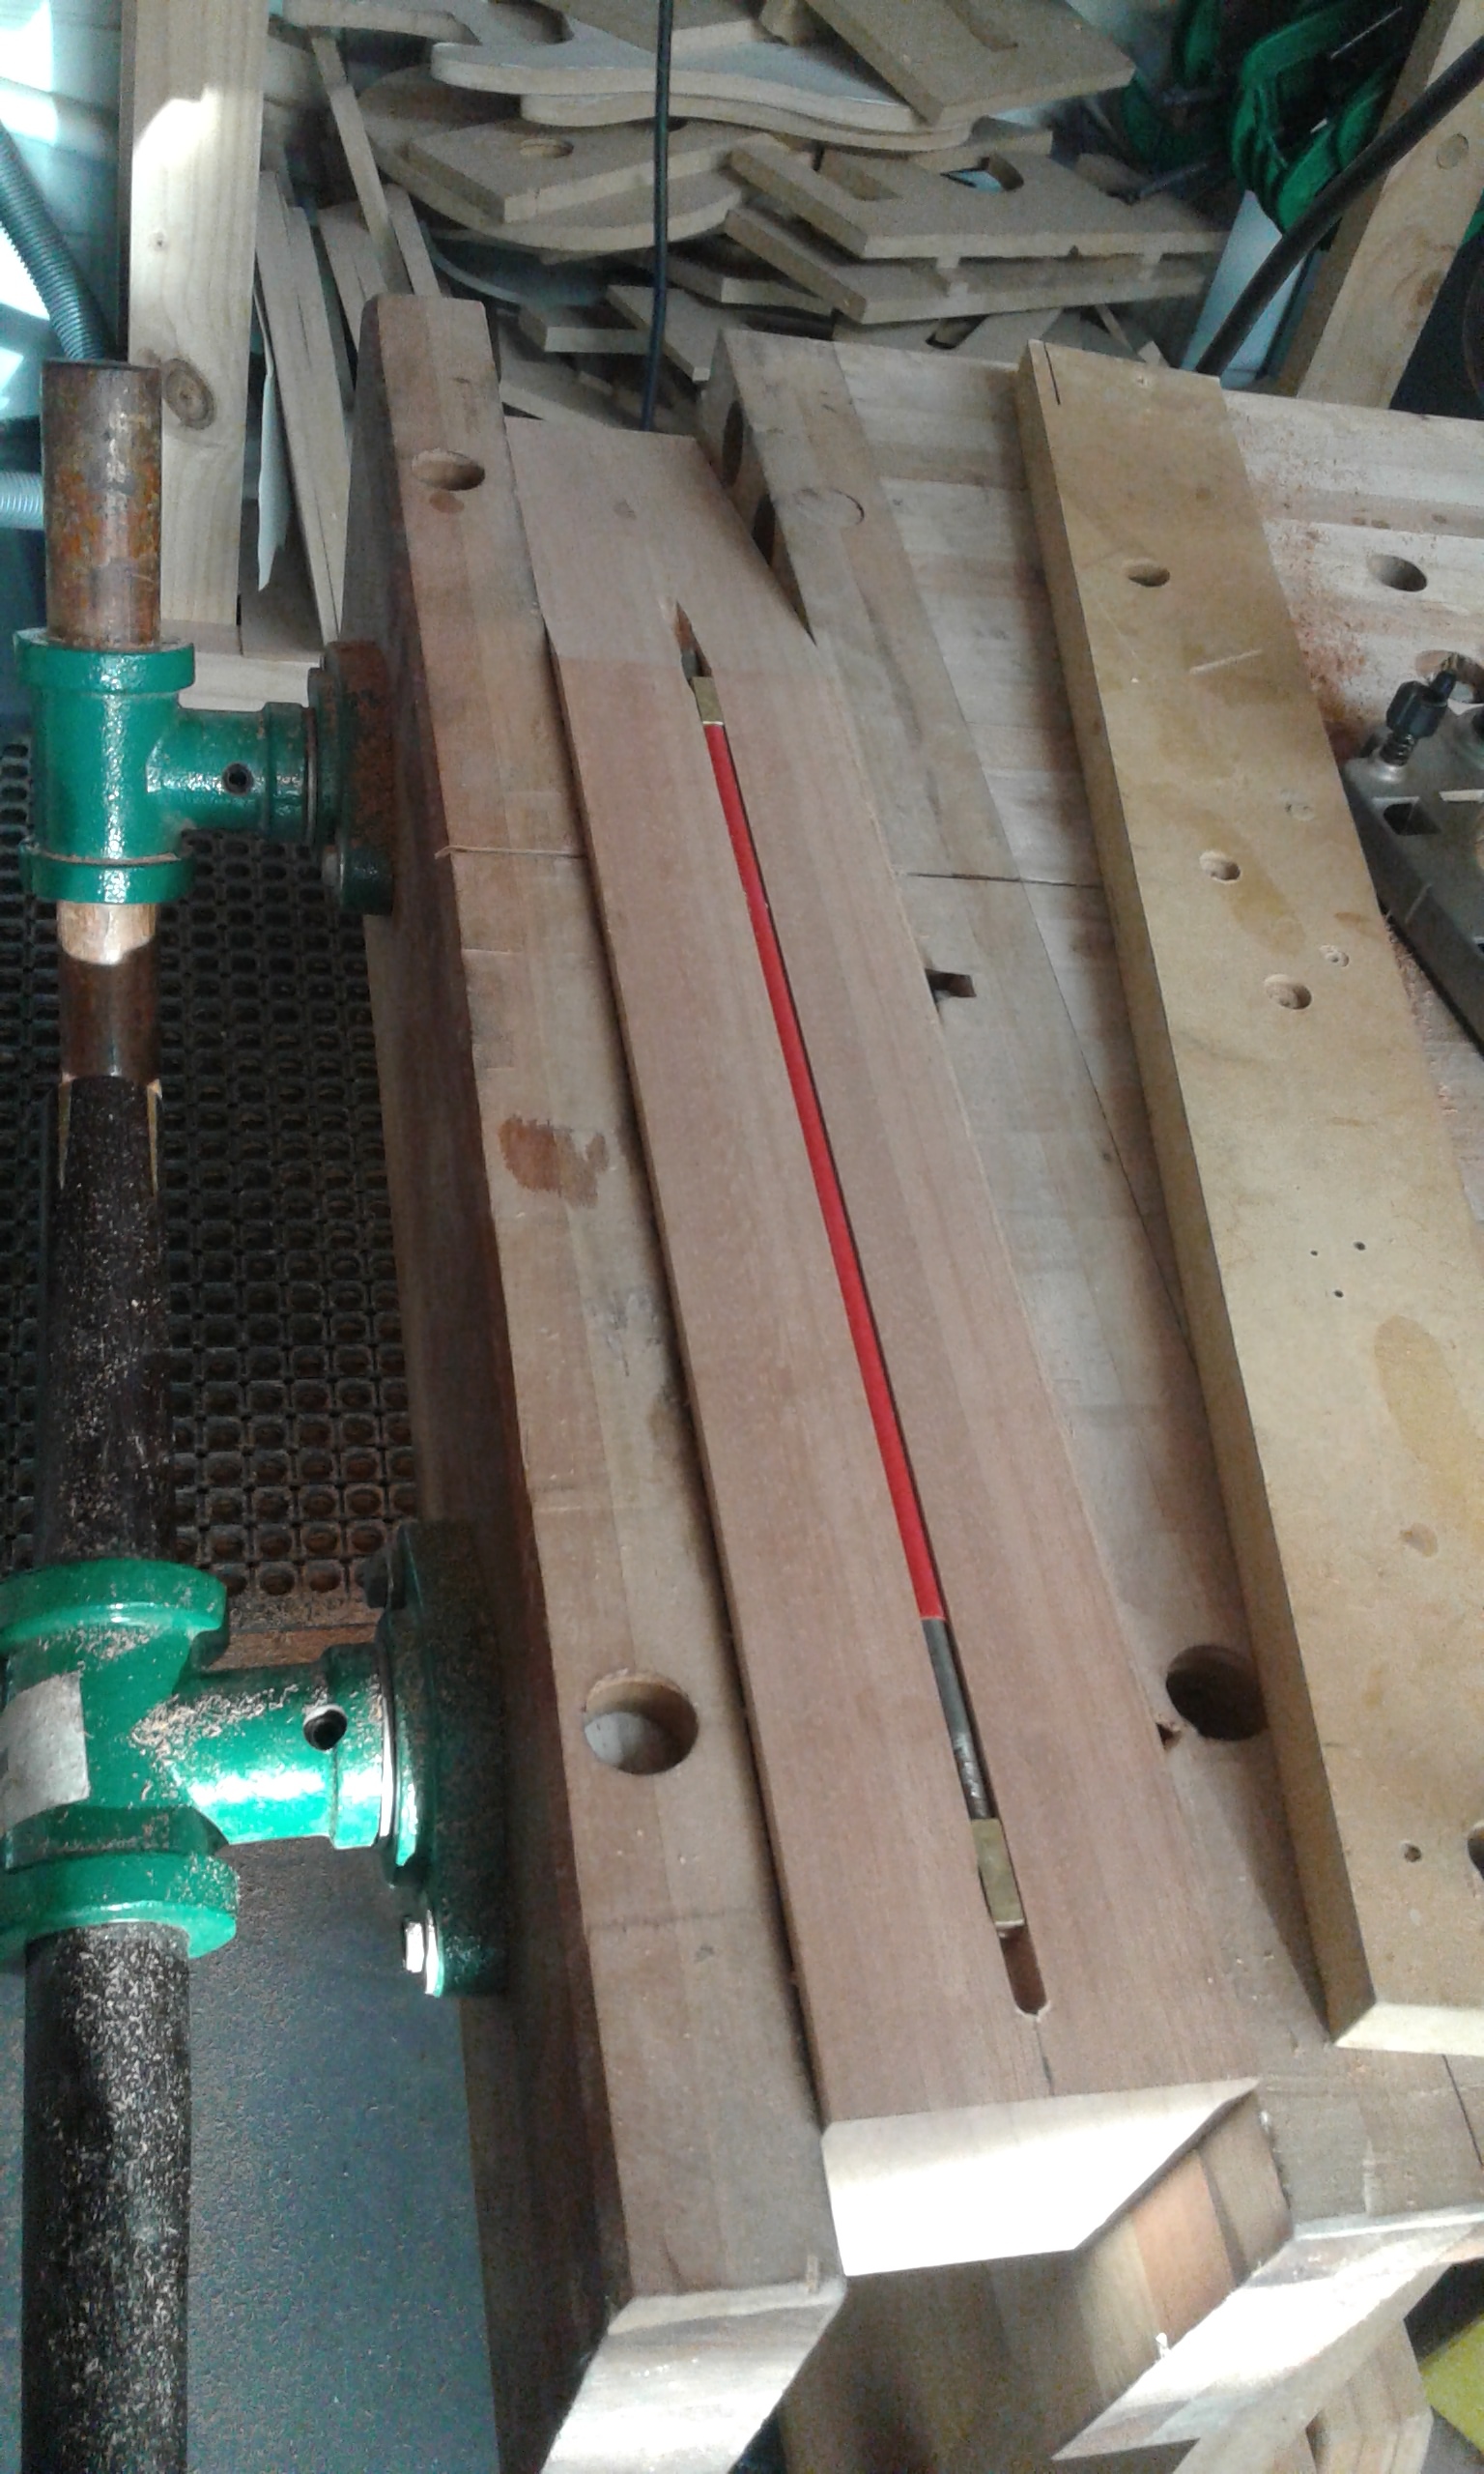
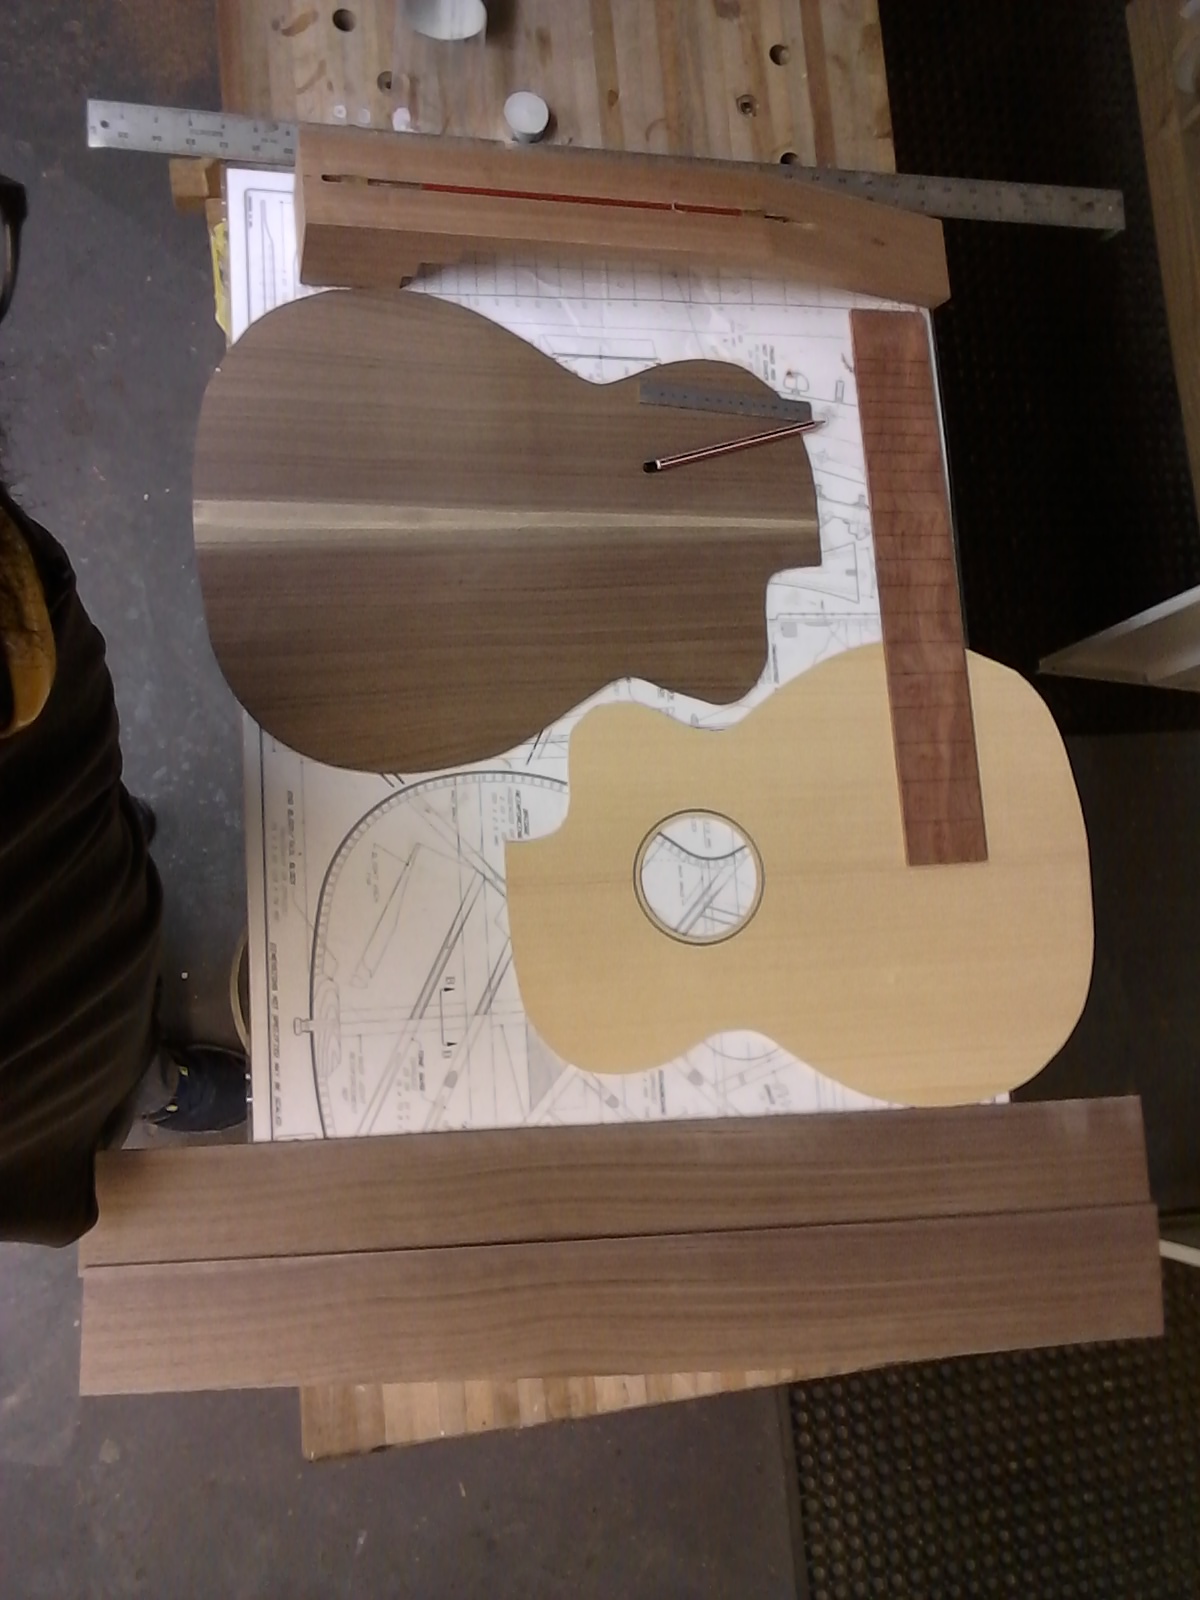
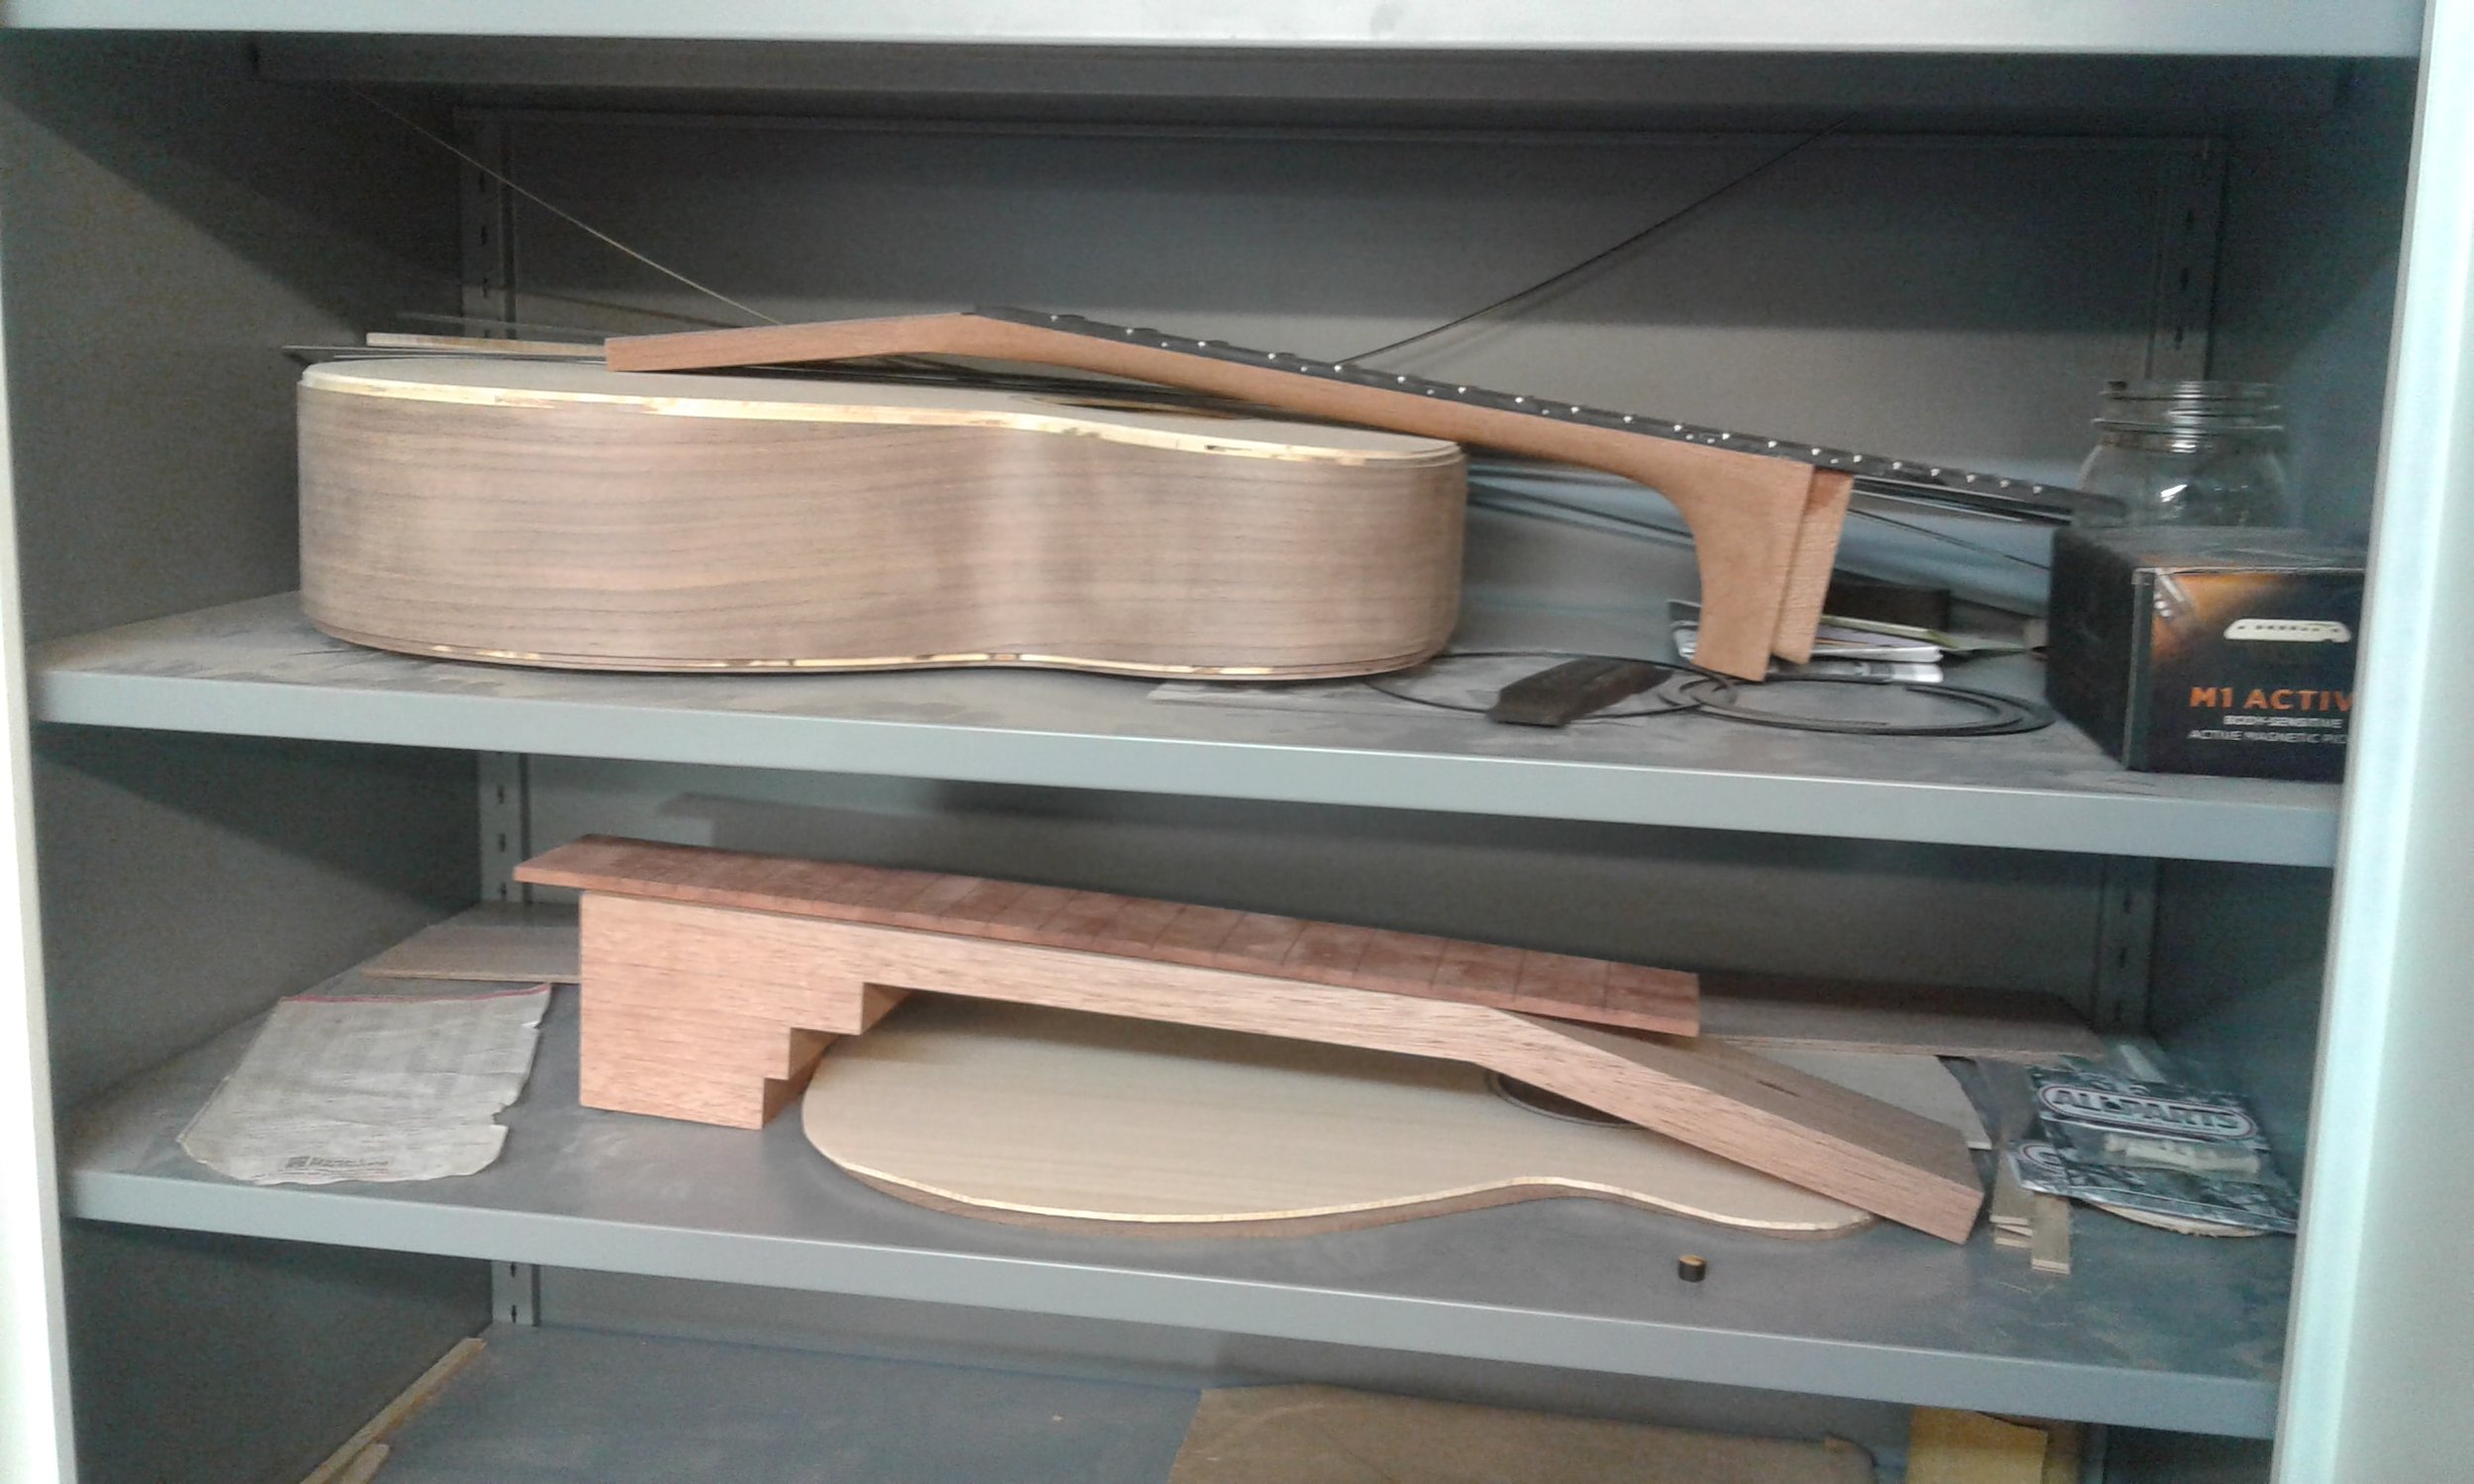
The Neck is dry, so I use a chisel to zip off the excess before running it through a series of machines to square up the sides and faces. Then we set up a router and bore into the solid, rich Mahogany to make room for the Truss Rod, the part which can bend the neck forward and backward to help control the Action over the Frets. The rest of the session is to use a thicknesser to lower the thickness (weirdly) of the Face, Back and both Sides. It’s a long process, and only toward the end do we realise there is no music. I become an annoying Millennial by grabbing a few last photos before ending my first month in the shop: One of all of the parts laid out, another of the parts in the cupboard below a more finished project.
The last depicts two madmen: one who decided this was a good idea, and the other who decided the same, except full time.